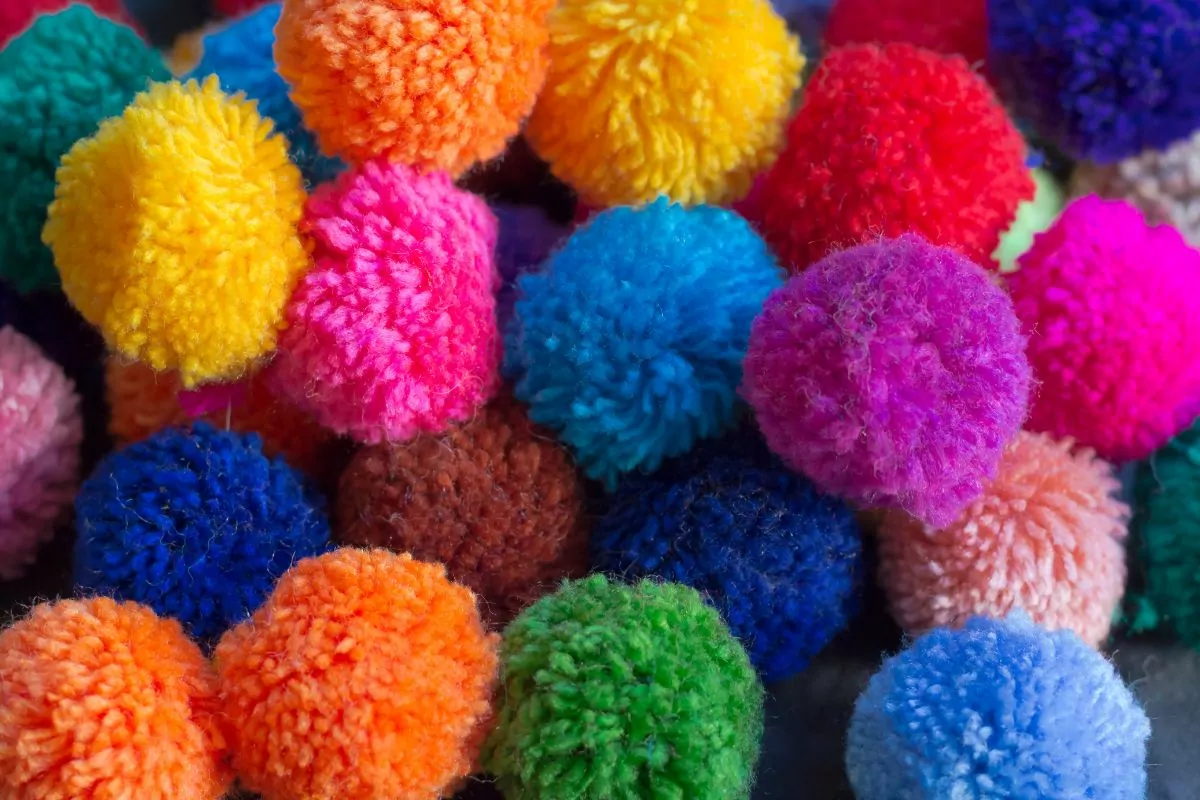
They are particularly fun to make with kids as it has a level of revelation when you actually get that pom pom effect, which kids love.
Beyond being a fun activity to get kids into crafts, the knitted pom pom can actually have some practical uses in certain knitting projects.
For example, if you wanted to make a knitted hat (see also “How To Make A Flat Cap Hat“), you can easily add one of these fun pom poms to the top for that type of look .
It can be a fun way to help a child feel involved in something, especially if you have knitted them a wooly hat, you can help them make the yarn pom pom and add it on top, so they can be proud when wearing their hat, and enjoy wearing it.
Keep reading to learn a few different ways to make these yarn pom poms, so you can get to making them right away – find out below.
Making Yarn Pom Poms From Scratch
While there are specific tools you can use to create yarn pom poms, which we will get to later, this is the original way to make them, with materials and tools you will have laying around your house already.
What You’ll Need
Cardboard
Circular item for tracing
Pen for marking
Scissors for cutting
Yarn
1. Create Your Own Pom Pom Template
To create the pom pom effect you actually need to create these unique templates first.
This may seem a little confusing at first, but the use of this template will be obvious as you continue the process.
We need to create a cardboard ring with a hole inside, like a donut, so we can wrap our yarn around this.
The cardboard should be relatively thick, if you have recently received a delivery in a cardboard box, or used moving boxes, this is the ideal thickness to keep everything in place.
Next we need to outline the shape of the pom pom template on the cardboard.
For this you will need a pen for marking as well as some circular, flat, object you can trace around. You will need two circular objects, ideally one that is large and a smaller one that can fit inside.
A note on the object you trace – the large circular ring will ultimately determine the diameter and size of the pom pom you will create, while the smaller circle should provide at least an inch or two of space between its diameter and the larger outer circle’s diameter.
It can be fun to create a few different sized rings so you can create a few different pom pom sizes, which can also be ideal for matching with the size of a knitted hat, should that be the purpose of your pom pom.
2. Cut Out The Cardboard Template
Let’s note that this part requires both a steady hand, and a responsible adult to supervise someone using scissors, should you be doing this with a child.
Albeit, you can easily use kids scissors or just regular kitchen scissors, don’t bother using sewing scissors unless you feel obliged.
Cut the larger circle out first, then you will have to cut through the circle in order to be able to cut the interior circle out.
If you make this cut a little wider it can make passing the yarn through a little easier especially for smaller kids.
3. Start Wrapping The Yarn Around The Template
Time to pick your favorite yarn, ideally in the color that you want your pom pom to be.
An expert tip is to add more than one color of yarn for a multi color pom pom.
You can either do blocks of color or do thinner layers all around the template and then layer different colored yarn on top.
Pass your yarn through the slit you have created and hold it in place with your finger, then pull it through the circle and then back through the slit and repeat.
Holding it in place with your finger for the first initial wraps will hold it in place and then you can remove your finger.
You want to wrap around the full diameter of the circle at least until it is full.
For a fuller pom pom you want to wrap it around quite a lot, the inner circle should start to close the more you wrap it around.
If you want a looser and floppier pom pom for something specific simply limit how much you repeat the wrapping process.
When you have reached your desired fullness and don’t want to wrap anymore, simply cut your yarn and tuck the loose bit into one of the seams created by the wrapped yarn.
4. Cut Around The Edge Of The Template
Having completed the previous step, we should have a cardboard ring that is thick and covered completely in yarn.
On the very edge of the ring there will be a noticeable edge, we want to carefully cut around this whole edge to create the pom pom effect.
You want to be sure to cut through all the yarn, without leaving any still wrapped around the cardboard.
Slowly the cut pieces of yarn should start sticking out through the interior hole we created. Be careful not to let any pieces of yarn escape the cardboard just yet.
5. Tie The Cut Pieces Of Yarn Together
From the previous step, you should have your cardboard template still separating two sides of cut yarn pieces.
What we want to do is tie all these pieces together so they stay as one piece.
In order to collect all these yarn pieces together we need to effectively tie a separate piece of yarn around the center.
Using the cardboard template as a guide, get a small piece of yarn and tie it tightly around the whole pom pom.
Try to pull this knot as tight as is reasonable to make sure everything stays in place.
Once you have successfully secured all the yarn together, you can remove this cardboard template, even saving it for another time should you want to.
6. Shape The Pom Pom
You pom pom might be a little ragged and misshapen, depending on how efficiently you tied the yarn together in the previous step.
However, no matter how successful you were you can now tidy things up with a pair of sharp scissors.
Just like a haircut, you want to shape the pom pom into your desired shape, ideally a full circle.
Keep turning as your trim so that you get a circular effect, and go to the extent you feel it looks good.
If you are attaching the pom pom to something, it’s a particularly good idea to leave two longer bits of yarn sticking out so you can tie it and attach it onto the object you desire.
A tip is to fluff the pom pom to check if it needs any more trimming. Roll it around in your hand to fluff it, which can reveal any loose strands that could do with some trimming.
With this last step, you should be done and can use your pom pom for whatever you want.
How To Create A Yarn Pom Pom With A Pom Pom Maker
A pom pom maker can be a useful tool if you are planning to make a lot of pom poms in one go. It means you don’t have to waste so much time creating a cardboard template.
You can also buy them in various sizes or in packs so that you can create different sized pom poms easily, knowing your template will never snap or break or become misshapen.
1. Wrap Your Yarn Around One Half Of The Pom Pom Maker
This pom pom maker has two pieces that attach to a centerpiece, simply you can open one half of the circle and wrap this and close it, then move onto the next half and close it.
With these pom pom makers you can wrap quickly and without worry while the cardboard templates can require a little more tact to make sure the template does not lose its rigidity.
2. Repeat For The Other Half
The pom pom maker will split into two sections so you wrap one half and then wrap the other exactly the same.
One useful tip with these makers is that they make it easier to create fuller pom poms.
Once you have wrapped one half you could simply push the already wrapped pieces to one side in order to create more room for more yarn to be added, you can’t really do this with a cardboard template.
3. Cut The Edge Of The Circle
With this maker the edge we need to cut is handily separated from the main bit of plastic you were wrapping around.
In other words there is an obvious channel for you to cut through. You want to do this on both sides like normal.
4. Tie The Loose Yarn Strand Together
With this pom pom maker it is super easy to tie the pom pom together and means the pom pom will be a lot more neat.
The intersection of the pom pom maker has another clear channel in which you yarn will easily fit in, keeping a nice clean knot on the pom pom, helping it be shaped.
These pom pom makers allow you to wrap around twice and secure a double knot if you want to be extra safe.
5. Remove The Pom Pom Maker
The pom pom maker should really easily be able to detach from the pom pom, and you should have a nice clean and tidy pom pom left behind.
Once removed, you can simply fluff and shape the pom pom as you see fit – easy!
Final Thoughts
Whether you use a pom pom maker or choose to make your own by hand, they are really fun and easy to make, and are an ideal addition to a hat or other knitted garment.