Satin is a luxurious fabric often used to make evening gowns, bridesmaid dresses, and accessories. Creating beautiful garments with satin can be challenging due to its slippery nature. However, with the right tools and techniques you can learn how to sew satin like a pro!
In this article, we’ll cover the basics of working with satin, providing tips on cutting and stitching the fabric.
What Is Satin?
Before we take a closer look at sewing satin, let’s discuss what it is. Satin is a type of fabric that features a glossy finish on one side and a duller finish on the other.’
It’s usually made from silk or synthetic fibers, such as polyester or acetate. The unique weave of satin gives it its luxurious look and feel.
How To Sew Satin?
Now that we have taken a closer look at just what satin is, it is time to consider the best ways to sew it – and we have put together a step-by-step guide to help.
Choosing The Right Satin Fabric
Selecting the appropriate satin fabric is crucial for a successful sewing project. Satin comes in various types, such as silk satin, polyester satin, or a blend of synthetic fibers. Consider factors like drape, weight, and color when choosing your fabric.
Lightweight satin is ideal for flowing garments, while heavier satin works well for structured pieces.
Preparing Your Satin
Before you start sewing, it’s essential to prepare your satin fabric properly. Always check the fabric care instructions, as some satins may require dry cleaning. If washing is permitted, use a mild detergent, and hand wash or machine wash on a delicate cycle.
Hang the fabric to dry or lay it flat, avoiding direct sunlight. Pressing your satin will also help you get the best results – use a low heat setting on your iron and test a small, inconspicuous area of the fabric first.
Place a pressing cloth or a piece of muslin over the satin to protect it from heat damage. You then need to cut the satin to your preferred length, and the nature of the fabric can make this tricky.
Lay the fabric on a smooth surface, preferably a cutting mat or table, and use sharp fabric scissors or a rotary cutter to cut out your pattern pieces. Ensure that you cut with precision, as satin tends to fray easily.
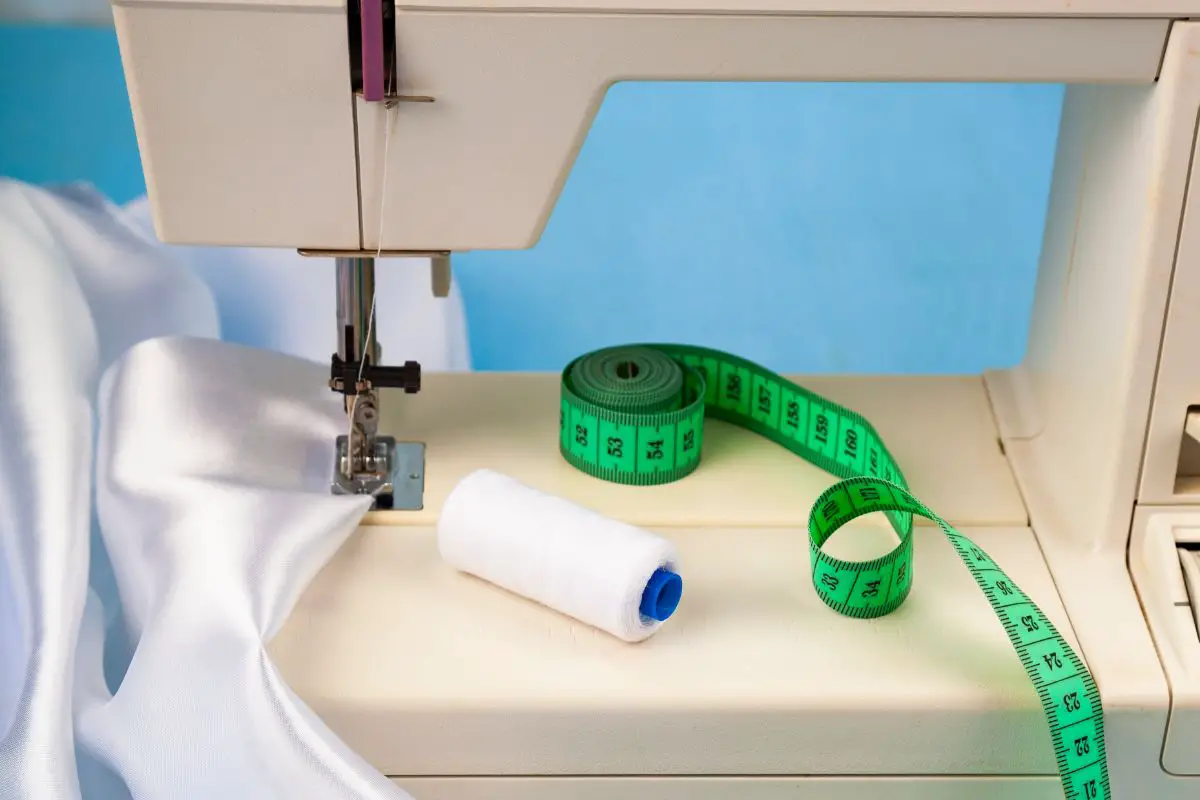
Choose The Right Needle, Thread, And Stitch
The right needle and thread can make a significant difference in your satin sewing project:
Needle
Choose a fine needle, such as a size 8 or 9 sharp or microtex needle, to prevent snags and visible holes. Change the needle frequently to maintain its sharpness.
Thread
Opt for a high-quality polyester thread that matches or complements the color of your satin. Polyester thread has strength and flexibility, reducing the chances of thread breakage.
Stitch Length
Use a shorter length for your stitch, around 2mm, to prevent puckering. Test the stitch length on a fabric scrap to ensure it looks balanced and secure.
Consider The Right Seam Finishes
To keep the edges of satin from fraying, it is important to finish the seam – this literally means enclosing the raw edges. The best way to finish a seam on satin is by using French seams, as they provide a neat and professional look.
Another option is the zigzag or overlock stitch – these work well for heavier satins or when a French seam is not suitable and can help to prevent fraying.
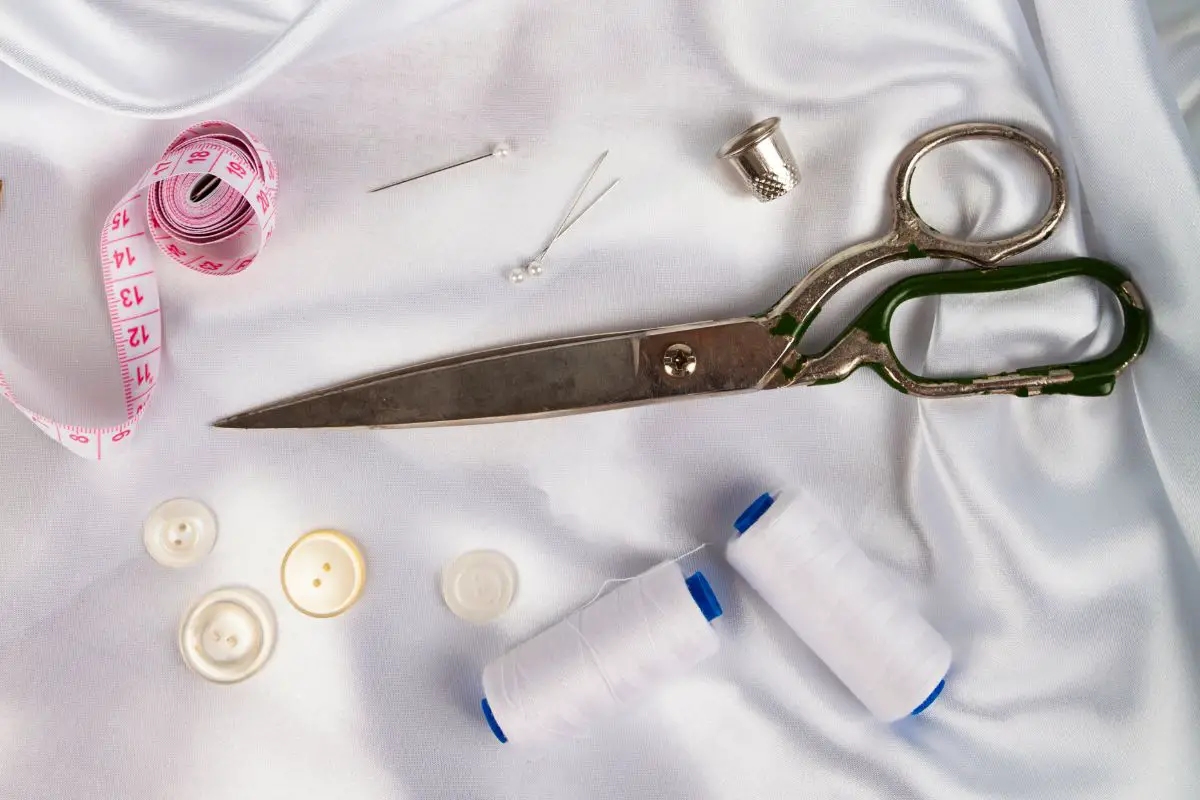
Take Care When Handling And Pinning
Satin can be slippery, making it challenging to work with. When pinning, use fine, sharp pins, and insert them within the seam allowance to avoid leaving visible holes. Alternatively, you can use fabric weights or pattern weights to hold the fabric in place.
You can also consider using basting stitches to hold satin pieces together before final stitching – this refers to stitches that are to be removed later on, and this helps provide temporary stability to help prevent shifting during the sewing process.
Use The Right Sewing Techniques
When sewing satin, it’s crucial to maintain control and precision. Sew at a slow and consistent pace, allowing the fabric to feed smoothly under, and avoid the temptation to rush – this can lead to puckering or uneven stitches.
Use a seam guide to ensure accurate seam allowances, or mark your seam allowances with tailor’s chalk or removable fabric marker – this will help you to stay on track. You can also secure your seams with backstitching at the beginning and end of each seam to prevent unraveling.
Don’t Forget Pressing And Ironing
Proper pressing is essential to achieve professional-looking results. Always test the heat of your iron on a fabric scrap and adjust it to a low to medium setting, and always use a pressing cloth or a piece of muslin between the satin and the iron to avoid direct contact.
Your technique is also important – instead of sliding the iron back and forth, press the iron down gently on the fabric and lift it to prevent stretching or distorting the satin.
Don’t Forget The Finishing Touches
After completing the main construction, it’s time to add the finishing touches. Consider using a narrow machine hem, a rolled hem, or a hand-stitched blind hem for a neat and professional finish.
You can also consider embellishments; satin lends itself well to embellishments like lace, beads, or embroidery. Add these final touches to enhance the overall look of your project, and allow your piece to stand out.
Final Thoughts
Satin is a delicate fabric that requires extra care and attention during the sewing process – but with the right needle, thread, stitch length, seam finishes, and pressing techniques, you can achieve beautiful results.
Don’t forget to add the finishing touches like a narrow machine hem or embellishments to complete your project.