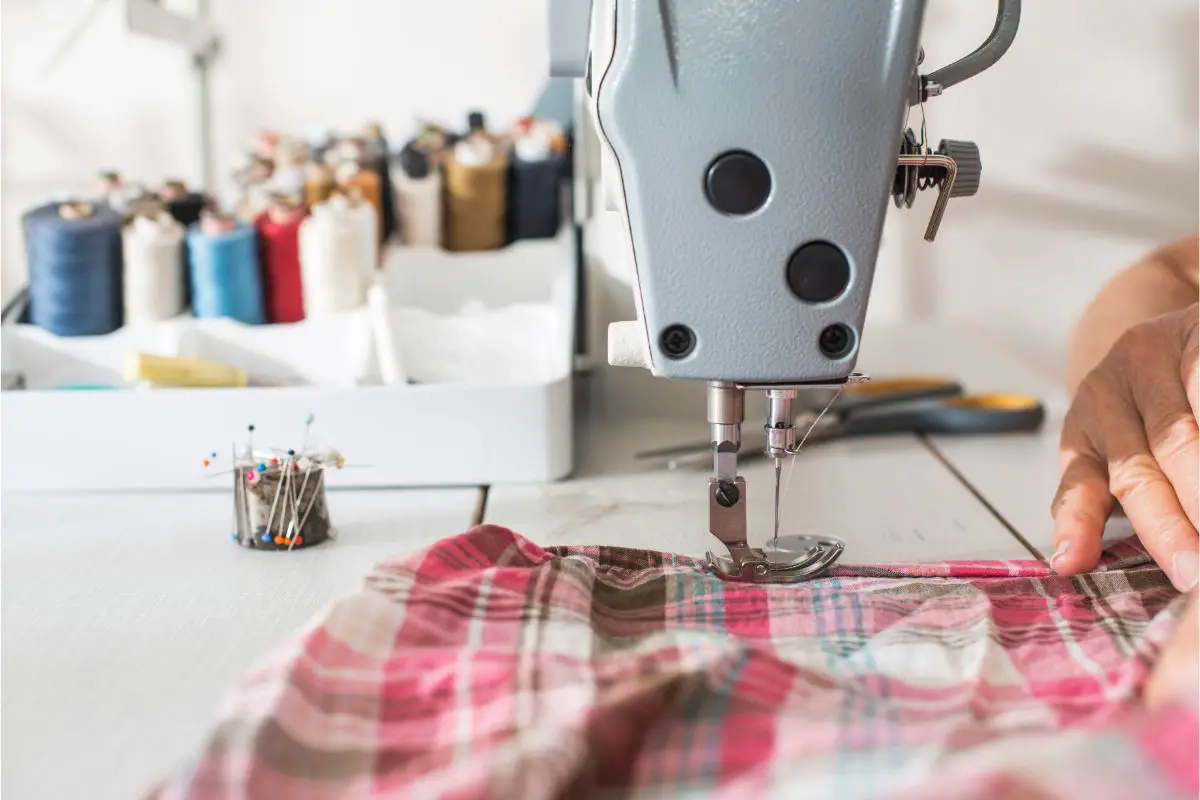
Why Does Thread Keep Bunching Underneath My Fabric?
When it comes to some of the most irritating problems to be had when using a sewing machine, the thread bunching up underneath the fabric is definitely up there as one of the most frustrating.
Also known as ‘bird nesting’ and bobbin thread bunching, this issue can lead to tons of wasted time as well as wasted thread and fabric as you have to unpick piles of lopped thread that will bunch under your fabric and discard any fabric that can’t be salvaged.
There are various reasons why this can keep happening and in this article, we are going to be looking at the most common reasons for this as well as how to prevent them to make for smooth sewing from here on out! Let’s get started.
The Most Common Reasons For Thread Bunching Whilst Using A Sewing Machine
Dull Sewing Machine Needle
Incorrect Needle Size or Type
Sewing Machine Not Correctly Threaded
Uneven Feed of Fabric
Incorrect Presser Foot Pressure
Incorrect Thread Tension
Dirty or Worn Machine Parts
Poor Quality Fabric
Missing Spool Cap
Too Short Thread Tails
Bobbin Inserted Incorrectly
Bobbin Case is Full of Lint
Skipped Stitches Due to Incorrect Stitch Length or Speed.
Let’s take a closer look at each of these issues, as well as how to prevent them from happening when it comes to any sewing projects that you might have coming up in the future.
Dull Sewing Machine Needle
A dull sewing machine needle can cause thread bunching by snagging the fabric or thread and causing it to bunch up.
A dull needle can also damage the fabric, causing it to pull or stretch, leading to thread bunching and other sewing issues.
The needle may also miss the needle plate entirely, causing the thread to loop on the underside of the fabric and form a tangle or bunch.
To prevent thread bunching due to a dull needle, it’s important to regularly check the needle in your sewing machine for dullness and to replace it as needed.
A dull needle will not only cause thread bunching but also result in poor stitching quality, so make sure that you are always using a sharp, appropriately-sized needle for the fabric and project being sewn.
If you find that you need to change your sewing machine needle, but are unsure of how to do so, then check out our handy step-by-step guide on how to change out the needle below.
First, make sure that your sewing machine is completely switched off.
You can choose to raise the presser foot of the machine and place some fabric or paper underneath it, but this is optional.
If you want to skip that step, simply go straight to the presser foot and lower it.
Raise the sewing machine needle up to the highest possible position.
Begin to loosen the screw of the needle, turning it counterclockwise to do so.
Carefully pull the old needle out of the machine.
Once you are sure that you have the right needle for your needs- and that it is appropriately sharp-, then insert the new needle into the machine by having the flat side of the needle facing the back of the machine and then pushing it up into the machine as far as it will go.
Secure the new needle into the machine by tightening the screw back up in a clockwise motion.
Voilà! Your new sewing machine needle should be ready to go.
Incorrect Needle Size Or Type
If the needle in your sewing machine is too large or too small for the fabric being sewn, it can cause the fabric to pull or bunch, which can lead to thread bunching.
Similarly, using the wrong type of needle for the fabric or project can cause thread bunching, as some fabrics or materials require a specific needle type for proper stitching.
For example, using a ballpoint needle on knit fabrics can cause the needle to snag or catch the fabric, leading to thread bunching, whereas using a sharp needle on delicate fabrics can cause damage and result in thread bunching.
To prevent thread bunching due to an incorrect needle size or type, make sure that you select the appropriate needle size and type for the fabric and project being sewn.
This will help ensure proper stitching, prevent fabric damage, and reduce the risk of thread bunching.
Our handy guide to replacing your sewing machine needle can be found above, so make sure to check it out if you think you have the wrong kind of needle for your sewing project (see also “Easy Sheer Plaid Top Sewing Guide“).
Sewing Machine Not Correctly Threaded
An incorrectly threaded sewing machine can cause thread bunching by disrupting the flow of the thread.
If the upper thread is not correctly threaded through the needle and tension discs, it can become tangled or caught, leading to thread bunching.
Similarly, if the bobbin is not correctly threaded or installed, the thread may become tangled or caught, causing thread bunching and other sewing issues.
Make sure that you follow the manufacturer’s instructions for threading the machine appropriately, including the correct order of threading the needle, tension discs, and bobbin.
As long as you are precise and read the instructions thoroughly, you are sure to have your sewing machine correctly threaded in no time.
Double-checking the threading before starting to sew can also help ensure that the machine is correctly threaded and reduce the risk of thread bunching.
Uneven Feed Of Fabric
An uneven feed of fabric can cause thread bunching because the machine isn’t able to evenly distribute the fabric into the needle, causing a buildup of fabric and thread.
This can result in tangled threads and bunched fabric, leading to seams that are not smooth or even.
In order to prevent any thread bunching from an uneven feed of fabric, it’s important to ensure that the fabric is fed into the machine evenly and without any bunching or twisting.
Incorrect Presser Foot Pressure
Incorrect presser foot pressure can cause thread bunching because if the pressure on the foot presser is too high, it can push the fabric and thread too hard, causing them to bunch up.
On the other hand, if the pressure is too low, the fabric and thread won’t be held securely, which can also lead to a severe and irritating case of bunching.
In both cases, the machine will have difficulty stitching evenly, leading to thread tangles and bunching.
If you want to avoid using the wrong pressure whilst using the presser foot of your sewing machine, it’s important to adjust the presser foot pressure according to the type of fabric being used and the stitch being made.
It can be easy to forget about the pressure limits when you are in the zone whilst working on a sewing project, but this can be a real detriment to your work if it isn’t considered, so do your best to remember.
If you find that you forget what pressure needs to be applied, make some notes and dot them around your sewing area so that you can keep it in mind at all times whilst working with your machine.
Incorrect Thread Tension
Incorrect thread tension can cause thread bunching because if the tension is too tight, the thread will be pulled too tightly, causing it to bunch up.
If the tension is too loose, the thread won’t be held securely, also leading to bunching.
Whether the thread tension is too loose or too tight, your sewing machine will have difficulty stitching evenly, thus leading to thread tangles and infuriating bunching.
When it comes to tackling the issue of incorrect thread tension within your sewing machine, you should be able to adjust the thread tension to match the type of fabric being used and the stitch being made.
When you have the correct thread tension, the top and bottom threads will interlock and form a smooth, even stitch without fear of bunching!
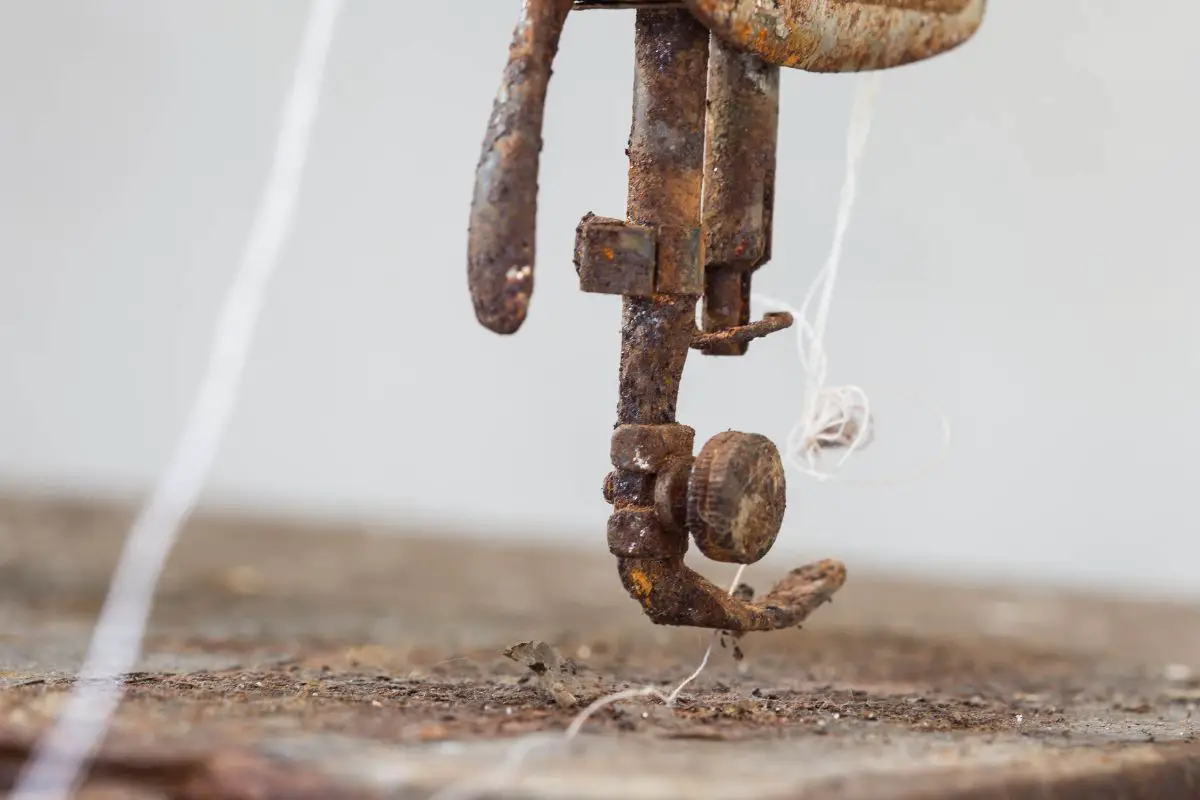
Dirty Or Worn Machine Parts
Dirty or worn machine parts are another common cause of thread bunching while using a sewing machine.
You might not realize it, but there are a wide range of different elements that can build up whilst you are using a sewing machine.
This can include lint, thread debris, and other materials. These will build up inside the machine, causing friction and tangling of the thread.
Regular cleaning and maintenance of the machine, including oiling moving parts, can help prevent this.
Additionally, worn or damaged parts, such as feed dogs or a hook and bobbin case, can cause also lead to thread bunching as well as skipped stitches.
It’s important to regularly inspect and replace worn or damaged parts to ensure the machine is functioning correctly.
Poor Quality Fabric
Poor quality fabric can also cause thread bunching while using a sewing machine due to the tendency of lower quality fabrics to be uneven or loose in terms of threads and weave.
Fabric with loose or uneven weave can shift and bunch as it is sewn, causing the thread to become tangled.
Fabrics with a high tendency to stretch, such as knit fabrics, can also cause thread bunching if not handled correctly.
To prevent this particular issue, it’s important to choose high-quality fabric and to properly prepare it for sewing, such as pre-washing and pressing.
If you are unsure as to which fabrics are the best choices or which are the highest quality, make sure to do your research beforehand so that you can not only pick the one that best suits your particular sewing project, but also the one that is the best possible quality for your budget.
Selecting the correct stitch type and needle size for your specific fabric choice can also help to prevent thread bunching, so keep this in mind when you are selecting your fabric.
Missing Spool Cap
A missing spool cap is another common cause when it comes to thread bunching whilst using a sewing machine.
The spool cap helps to hold the spool of thread in place and prevent it from unraveling. Without a spool cap, the thread can become tangled, leading to thread bunching.
It’s important to ensure the spool cap is in place and secure before beginning to sew.
If the spool cap is lost, it should be replaced to prevent thread bunching and other issues with thread delivery.
Always check your spool cap before you begin to do any sewing with your machine and if it is missing, it is best to hold on off on using your machine until you have gotten your hands on a replacement cap.
Too Short Thread Tails
If the thread tails on a sewing machine are too short, thread bunching can occur due to a problem that we spoke about earlier: inappropriate tension with your thread.
The thread tails should be long enough to ensure proper tension and to prevent tangling, but not so long that they become caught in the moving parts of the machine.
A general guideline is to have a thread tail of at least 6 inches on both the top and bottom threads.
If you want to ensure that this doesn’t become a problem in any future sewing projects, make sure to regularly check the thread tails and adjust them as needed to prevent that annoying thread bunching as well as any other thread-related issues.
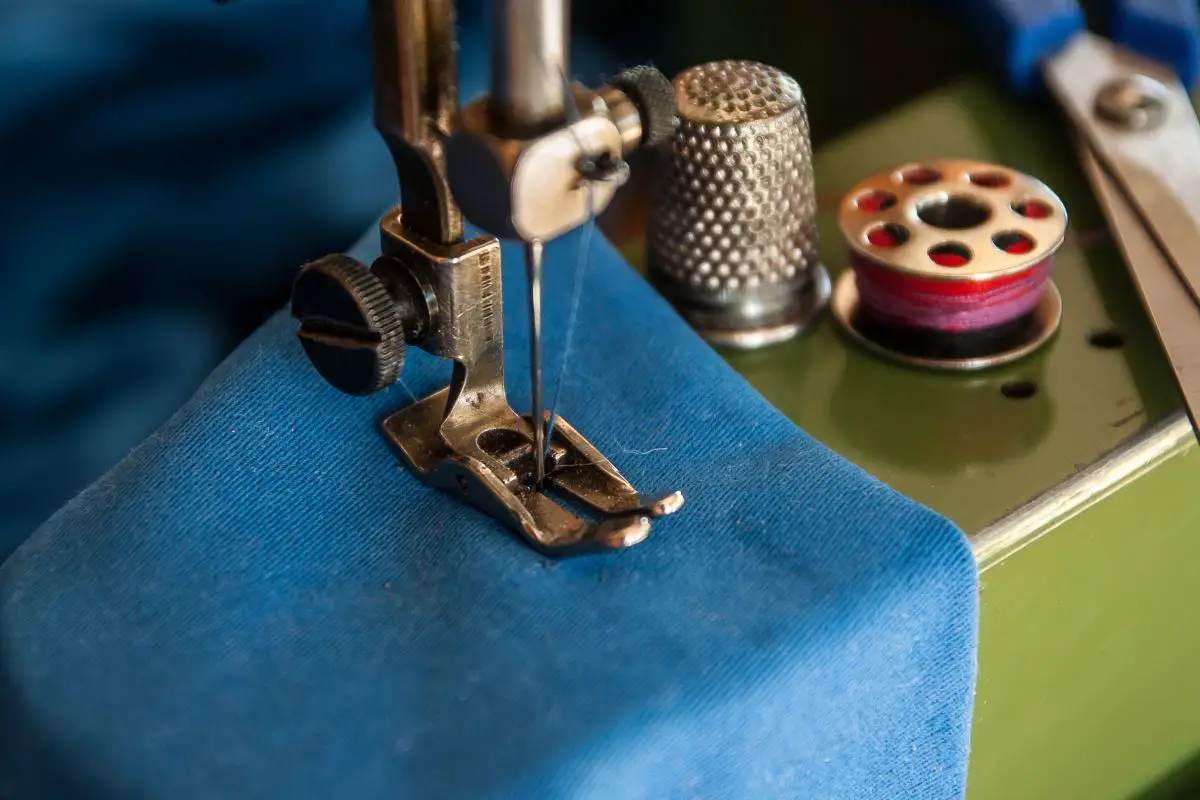
Bobbin Inserted Incorrectly
When we talk about the bobbin in relation to sewing, we are referring to the cylinder or spindle within the machine that is used to wind the thread.
The thread will be wound around the bobbin, making it an essential part of a sewing machine.
An incorrectly inserted bobbin can cause thread bunching in a sewing machine due to incorrect thread tension.
When the bobbin is inserted incorrectly, the thread may not be wound tightly enough or may be wound in the wrong direction, causing it to become tangled as it is fed into the machine.
The resulting thread tension can be uneven or too loose, leading to thread bunching and skipped stitches.
The incorrect placement of the bobbin can also cause the thread to become caught in the moving parts of the machine, further exacerbating the thread bunching issue.
To prevent thread bunching due to incorrect bobbin insertion, make sure to follow the manufacturer’s instructions for proper bobbin insertion and to regularly check the bobbin for proper placement and tension.
The Bobbin Case Being Full Of Lint
A bobbin case full of lint can cause thread bunching in a sewing machine by obstructing the movement of the thread and causing friction.
Lint and other debris can accumulate in the bobbin case and surrounding parts, interfering with the smooth movement of the thread.
This can cause the thread to become tangled or caught, leading to thread bunching and skipped stitches.
The buildup of lint can also cause the thread tension to become uneven or too tight, further exacerbating the issue.
To avoid any unnecessary thread bunching due to a lint-filled bobbin case, it’s important to regularly clean the machine and remove any accumulated lint and debris.
This will help ensure smooth, uninterrupted movement of the thread and prevent thread bunching.
Skipped Stitches Due To Incorrect Stitch Length Or Speed
Skipped stitches due to incorrect stitch length or speed can also cause thread bunching in a sewing machine.
If the stitch length is set too short, the machine will stitch too quickly, causing the thread to bunch and tangle.
If the speed is set too fast, the machine can skip stitches, causing the thread to become tangled or bunched.
Skipped stitches can also result in the fabric puckering or becoming misaligned, further contributing to the thread bunching issue.
This is another particularly frustrating issue, but you can avoid thread bunching via incorrect stitch length or speed, by making sure that you have the correct stitch length and speed for the fabric and project being sewn.
The stitch length should be appropriate for the type of stitch being used and the fabric being sewn, and the speed should be set to allow for smooth and even stitching.
Regularly checking and adjusting the stitch length and speed can also help prevent thread bunching and other sewing issues.
Final Thoughts
There is no doubt that thread bunching is an incredibly irritating issue that can arise when using a sewing machine, and these are only a few of the reasons that can cause this problem.
However, now that you have some knowledge of the most common causes of thread bunching, then you can make active steps toward avoiding the problems.
Practices such as proper threading, appropriate stitch length, using good quality, lubricated thread, accurate fabric alignment, and regular cleaning and oiling of your machine can prevent thread bunching altogether, so make sure to engage in these practices whenever necessary.
Whether your bunching is caused by using the wrong type of fabric, incorrect presser foot pressure, incorrect thread tension, poor quality thread, a dull needle, incorrect stitch length, incorrect threading, or any of the reasons that we have discussed today, you can rest assured knowing that you can now solve the problem and avoid in the future!