But for those who have never touched a sewing machine before, it can be tricky to do it right the first time.
At first glance, a sewing machine can seem like a pretty complicated machine, and that in itself is quite daunting.
However, once you know the basics and give yourself time to practice, you’ll be sewing effortlessly in no time!
In this guide, we’ll get you started by showing you how to thread a sewing machine needle.
We’ll go through how you do it by hand, with a needle threading tool, and with an automatic needle threader, and lend you our top tips for preparing your machine and needle for threading.
Anatomy Of A Sewing Machine
Before you start threading, you’ll need to know about all the different components of a sewing machine (see also “Everything You Need To Know About The Sewing Machine“). This will make patterns and guides much easier to follow and understand.
There are many different types on the market, some more high-tech than others, but for this explanation, we’ll go through the parts of the most common type.
You can also find the labeled components in your machine’s instruction manual.
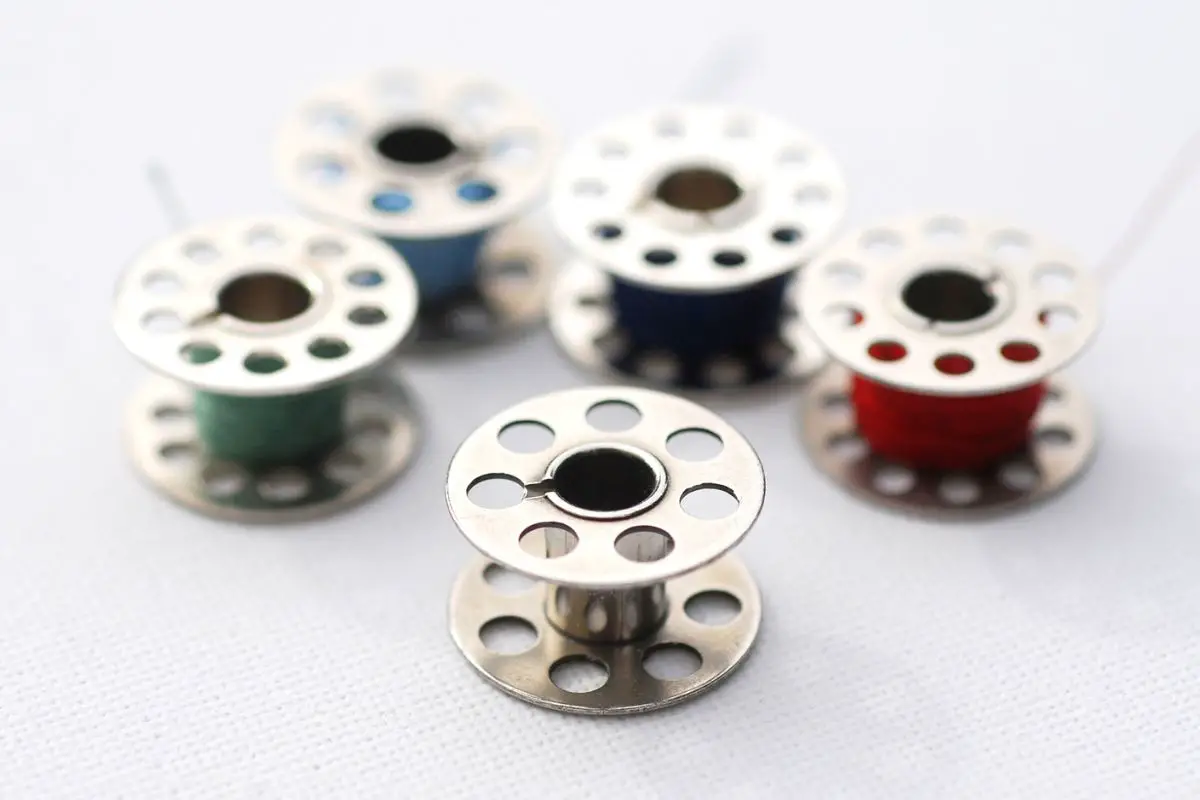
1. Bobbin And Bobbin Case
The thread used to create the underside of a machine stitch is wound onto the bobbin. Bobbins on machines can either be front- or top-loaded drop-in styles.
The bobbin is kept in the bobbin case.
Typically, it cannot be used with different machines. Use only the bobbins that the manufacturer of your specific model has approved; otherwise, the machine might not function properly.
2. Slide Plate
The bobbin can be accessed via a slide plate or a hinged bobbin cover, depending on the machine.
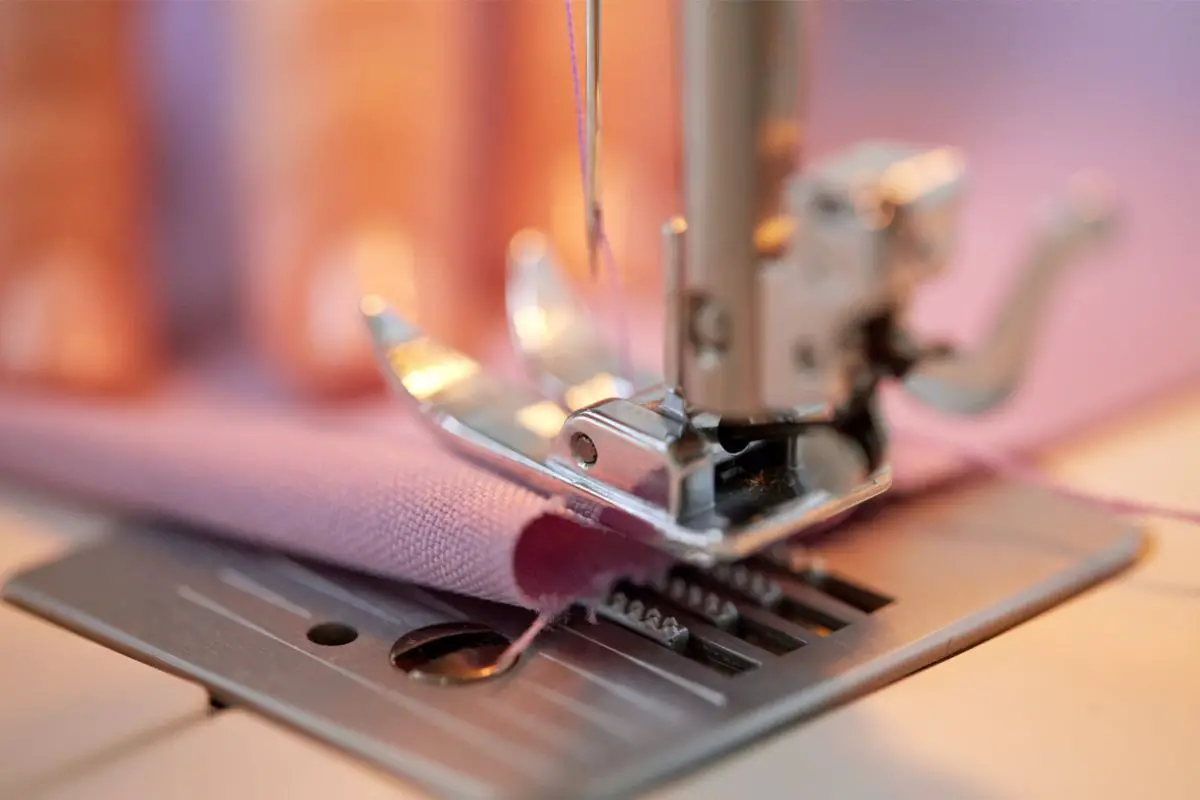
3. Presser Foot
As you sew, this detachable foot holds the fabric in place. For various stitching methods or fabrics, different feet should be used.
For instance, a roller or nonstick foot is used to stitch leather and oilcloth smoothly, while a zipper foot is used to insert zippers.
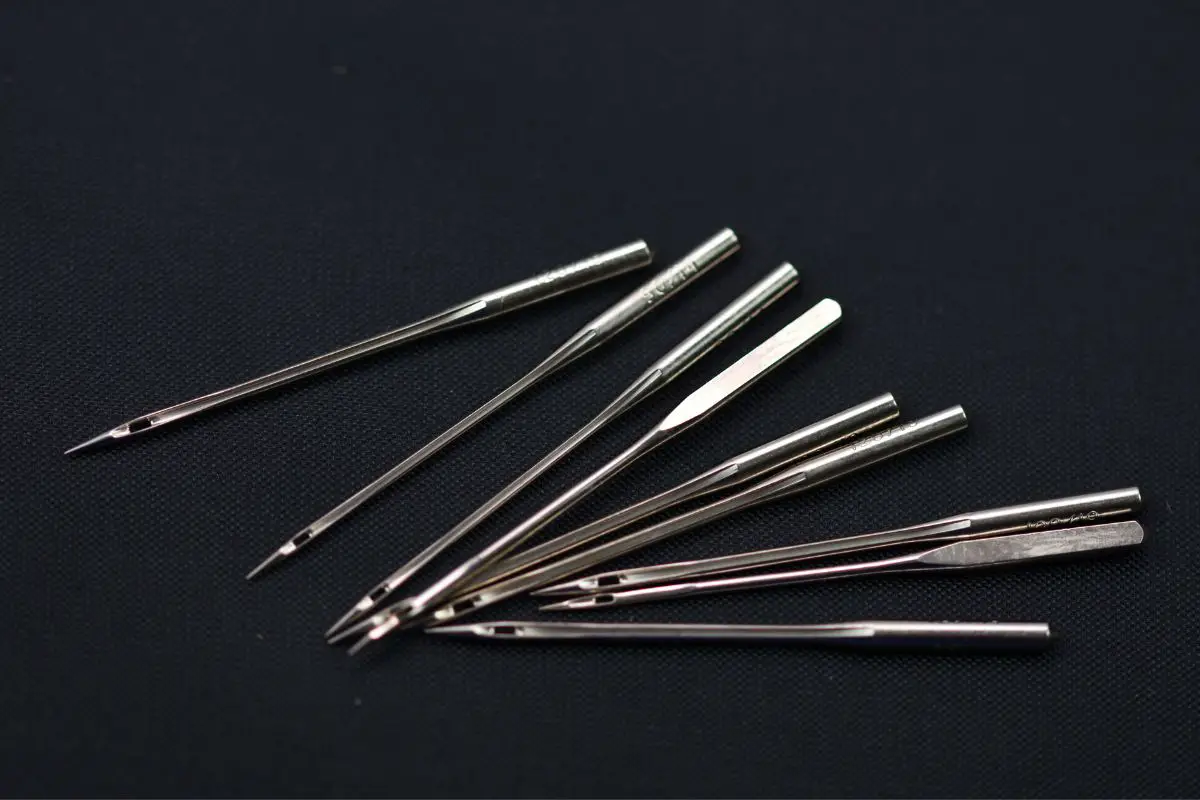
4. Needle And Needle Clamp
The needles on sewing machines can be removed and are available in various sizes (see also “Ultimate Guide To Sewing Machine Needle Sizes & Types“). The needle clamp does exactly what its name suggests -holds the needle in place.
5. Throat Plate
This metal plate, also known as a needle plate, is located underneath the presser foot and needle. The bobbin thread can be removed from the plate and the needle can move through it to create stitches.
For sewing straight lines and seam allowances, most throat plates feature tiny lines notch to the right of the presser foot.
6. Feed Dogs
The fabric is pulled between the presser foot and throat plate by these tiny metal or rubber teeth. The feed dogs also control how much fabric passes through at once, so regulating the stitch length.
Always let the feed dogs move the fabric as you direct it. Pushing or dragging the needle by hand could break or bend it.
7. Tension Regulator
The tension on the top thread is managed by this dial. The top thread and bobbin thread will join together in neat stitches with the right amount of tension.
The stitch will pucker and break if the tension is set too tightly; if it is set too loosely, the stitches will not hold.
Turn the manual dial counterclockwise to reduce tension and clockwise to raise tension on machines.
Press the control to a higher setting to raise tension and a lower setting to decrease it for machines that have computerized tension displays.
8. Take-Up Lever
This metal lever, which travels up and down with the needle, is where the top thread is threaded through.
The take-up lever may be visible from the front or concealed inside the plastic case, depending on the machine.
Raise the lever all the way before putting the fabric under the presser foot to prevent the needle from catching the fabric.
9. Bobbin Winder Tension Disk
The tension disk aids in guiding the thread between the spool and the winder on machines with external bobbin winders.
10. Bobbin Winder
On this winder, a bare bobbin is positioned to be filled with thread from the spool. Always begin with an empty bobbin to make sure the thread winds evenly.
11. Thread Guides
These metal loops receive thread from the spool pin and help control the tension of the thread.
12. Spool Pin
The thread is held by this small dowel. Some machines come with multiple spool pins for twin-needle or decorative sewing, as well as for different kinds of thread spools.
13. Flywheel
The take-up lever is raised and lowered by this knob, sometimes known as a handwheel.
14. Stitch Selector
The dial on older machines lets you select from a variety of machine stitches. Stitch selection buttons are available on more recent machines.
15. Stitch Length Selector
On manual and certain electronic machines, you can adjust the stitch length using this dial or lever.
Depending on the machine, stitches are measured differently.
Use medium-length stitches for ordinary stitching; shorter stitches for fine fabrics; and long stitches for heavy fabrics, basting, or gathering.
16. Stitch Width Selector
This dial or lever controls the width of decorative stitches on manual machines and certain computerized machines.
17. Menu Screen
On more recent electronic and computerized machines, the stitch, stitch-width, and stitch-length selector dials are occasionally replaced by the menu screen, which allows you to change functions and stitches.
18. Reverse Stitch Buttons
You can tie off the thread at the start and end of a seam by pressing this button, which will reverse the direction of the stitches.
19. Foot Controller
By depressing this pedal, you can partially regulate the stitching speed.
Preparing Your Sewing Machine
1. Raise The Needle
The needle should be in a raised position when threading your machine. Press the needle up button on a computerized machine.
To shift the needle to the up position on manual machines, use the handwheel to the right of the machine or lightly press the foot pedal.
The only way an automatic needle threader will function is if the needle is in a raised position.
2. Turn The Machine Off
Turn off your sewing machine once you’ve raised the needle if you’re a beginner before attempting to thread the needle.
This does turn off the workspace light, but, having a child, pet, or yourself touch start the machine while you’re tinkering with the needle can only lead to injury!
If you need more visibility, add an auxiliary light to replace the workstation light. Just make sure to position it so that no shadows are cast.
You can choose whether you like to thread with the machine on or off once you’ve mastered needle threading.
3. Remove Presser Foot
Give yourself the maximum room to work by removing the presser foot if you have larger fingers or frequently have trouble getting your fingers to the needle’s eye.
Pressing a lever or simply snapping the foot off are two common ways to remove the presser foot from the sewing machine.
If you’re having trouble understanding how your device operates, consult the user manual.
Preparing Your Thread
1. Cut Frayed Ends
You can imagine how challenging it is to fit a frayed or fuzzy thread through a needle’s tiny eye. Start by trimming any frayed ends with a pair of sharp sewing scissors.
Avoid using blunt household scissors because they could make the situation worse. Additionally, cutting at a slight angle is recommended.
2. Strengthen The Thread
To avoid fibers catching as they pass through the needle’s eye, the thread must be as smooth, sturdy, and consistent as possible. This will ensure successful needle threading.
One way you can do this is by simply licking the end of the thread! This will help bind the fibers together so you can get it through the eye of the needle more easily.
You can also use thread conditioner if you don’t like the idea of licking your thread.
It can help make the ends of your thread less frayed, and strengthen the thread so it can pass through the needle easier.
3. Position In The Right Direction
The thread always travels from the front of the needle to the back. As you thread the needle, try to avoid turning or twisting the thread.
For beginners, the needle’s eye is the small opening located close to its point.
Now that you’ve prepared your sewing machine and thread, it’s time to start threading! Follow these steps to thread your needle correctly through the sewing machine.
Step 1
Place the cotton on the machine’s top spool. Depending on the manufacturer of your machine, this can be an upright or a lying-down peg.
To keep the spool in place and prevent it from flying off the top once you begin sewing, your machine may include a plastic disk that you can place on top of it.
Step 2
Pull the thread through the top thread guide. The guide will usually be a little knob or button.
Step 3
Pull the thread down and towards yourself, then loop it around the tension disks below.
Step 4
Pull the thread up again and into the second thread guide. This is called the take-up lever which is a lever with an eyelet. Once you’ve done this, your thread should look like a “U”.
Step 5
Bring the thread down towards the needle, following the hooks to hold the thread.
Step 6
Thread the needle from front to back.
Step 7
Load your wound bobbin according to your bobbin type and the sewing machine manual instructions. Turn the flywheel towards you so that the needle hooks the top thread with the bottom thread.
Step 8
There should be a loop of bobbin thread that’s caught. Using tweezers, pull it to the top.
Step 9
Gently pull the threads back. Both threads should run freely as you pull them.
Step 10
Now that your sewing machine is threaded, take an off-cut of fabric and test your stitches and tension. Hold the threads at the back as you start to sew to stop them from tangling.
Lower the foot to steady the fabric and connect the feeder.
How To Use A Needle Threading Tool
If you’re struggling to thread your sewing machine needle by hand, then you can get a handy needle threading tool from your local craft store.
These are small tools that can be either diamond-shaped or hook-shaped, and they can really help you get that pesky piece of thread through the needle’s eye.
Type 1 – Diamond
Slide the wire diamond through the eye of the needle, allowing the needle to hang.
Insert around 8 inches of the thread tail through the wire diamond. Hold onto the thread to make sure it doesn’t come out of the diamond.
Pull the wire diamond out of the eye of the needle, making sure that the thread comes through with it.
Type 2 – Hook
Place the thread tail over the hook and hold it in place with some tension.
Pull the eye of the needle over the hook, continuing to pull the thread through.
How To Use An Automatic Needle Threader
You might have a sewing machine that’s a little more advanced and features an automatic needle threader.
This is a great addition to a sewing machine and makes the threading process much easier. Here’s how to thread your sewing machine needle with an automatic needle threader:
As previously mentioned, you need to raise your needle fully for the automatic needle threader to work.
Wrap your thread around the elbow-shaped bracket on your sewing machine.
Thread it into the cage where the catch hook is located.
Release the lever.
Pull the thread loop through the eye of the needle.
Final Tips For Threading Your Sewing Machine Needle
Be sure to trim the ends of your thread with sharp sewing scissors rather than household scissors.
Moist thread is easier to thread through your machine, so be sure to lick it, wet it, or use thread conditioner.
A pair of magnifying glasses might help you thread the needle.
Shine some extra light or put your sewing machine in front of a white background to help you see the eye of the needle better.
Final Thoughts
Threading a sewing machine needle can be a frustrating task, but with our top tips and help from specialized tools on the market, you’ll be able to master the art of needle threading.