Guide To Easily Threading A Singer Sewing Machine With Video
Singer is the industry leader in sewing machines. If you want a sewing machine that will survive the test of time and give you stunning results for all of your sewing projects, a Singer-brand sewing machine is a must.
Not only are these machines super high quality, but they also come with a lengthy history of expertise and incredible products.
If you have purchased a Singer sewing machine, or are having to use one in a sewing class, you will need to know how to thread it.
If you have bought a brand-new sewing machine, it will come with a manual filled with instructions.
However, if you have a secondhand machine or are using someone else’s, it can be difficult to work out how to thread it correctly.
In this article, we will look at how to thread a Singer sewing machine in depth. There is also a useful video tutorial to help you visualize what to do.
How To Thread A Singer Sewing Machine Step By Step
Below we will go through the process of threading a Singer sewing machine step by step. This guide is designed to suit all Singer sewing machine models.
Step One: Turn The Machine Off
The first step when you are threading your Singer sewing machine, or any sewing machine, is to make sure that it is fully turned off. Turning the machine off at the plug or even unplugging it entirely.
This will help to prevent any injuries that can be caused by the needle accidentally being activated during the threading process. Once the power supply has been dealt with, you can begin the threading process.
Step Two: Ensure The Presser Foot Is Raised
To prepare the machine for the threading process, it is important to make sure that you raise the presser foot. To do this on a Singer sewing machine, you will need to locate the small lever near the base of the machine.
Push the lever upwards to raise the presser foot on the machine. Raising the presser foot makes it easier to thread the machine because the foot will be out of the way of the eye of the needle.
Step Three: Position The Needle
To increase the accessibility of the needle further, it is important to make sure that it is in the optimal position for threading. The best position is to have the needle raised to its highest point.
This makes the eye of the needle much easier to thread, even with the thinnest thread. To do this, all you have to do is turn the manual hand wheel on the side of the machine.
This will make the needle move through its cycle of lowest and highest points. Stop when the needle is at its most raised position.
Step Four: Wind The Bobbin & Add Spool
When threading your Singer sewing machine, you need to start at the top of the machine and work your way down. The first step in adding thread to your machine involves ensuring that the bobbin is wound.
If you do not have a pre-wound bobbin, now is the time to wind the bobbin before completing the rest of the threading process.
To wind the bobbin, you will need to add a spool of thread onto the spool pin. Then move the bobbin winder pin to the far left. Take the end of the thread and thread it through the small gap in the bobbin rim.
Place the bobbin onto the winder pin, push it back to the right, and push the pedal gently to wind the bobbin. You will need to reconnect the power supply to do this.
Remember to turn the power supply back off to continue threading the machine.
Once the bobbin has been wound, you will need to add a spool of thread to the machine. Place a full spool of the thread that you want to use onto the spool pin.
Make sure that you push the spool until you hear a clicking sound. This sound lets you know that the spool is connected properly. If your spool pin is horizontal, you need to ensure that you attach the cap properly.
Step Five: Wrap Thread Around Thread Guides
Now that you have your bobbin and thread spool attached properly, you can begin to pull the thread through the thread guides.
Singer sewing machines have two thread initial thread guides that the thread needs to pass through in order for threading to be completed properly (see also “Ultimate Guide To Sewing Machine Needle Sizes & Types“).
The first thread guide is located on the top of the sewing machine, just above the needle apparatus. If you have the manual, it will tell you exactly where the guide is located on your model.
However, if you don’t have the manual, you are looking for a small, flat, rectangular piece of plastic that has a small hole through it to guide the thread. Bring the thread through the slot.
Continue pulling the thread until you get to the second thread guide. On the majority of Singer sewing machines, the second thread guide is located next to the first one (see also “Best Tips For Sewing Knits With Serger And Sewing Machine“).
If you are unable to locate the guide, consult the instruction manual for your machine. Pull the end of the thread through the second guide, making sure that it is securely through the guide.
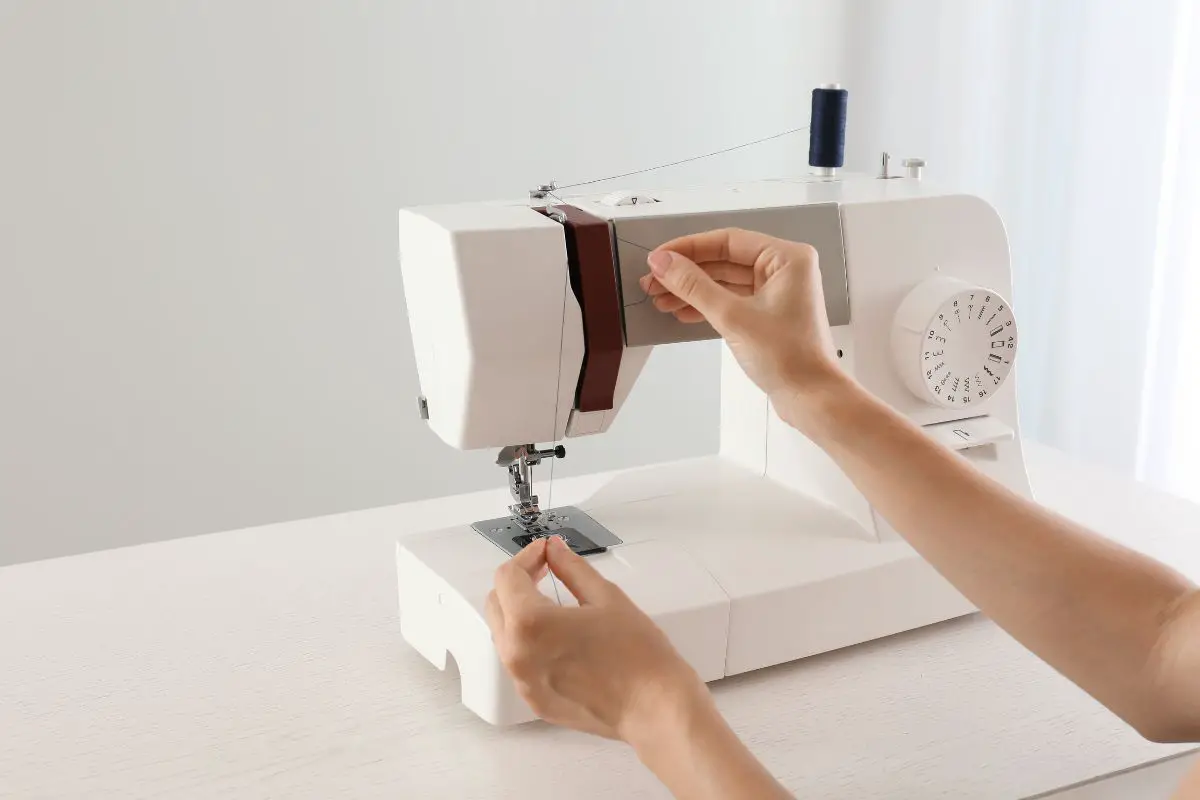
Step Six: Insert Thread Through Canal
Once the thread has been put through the guides, you will need to bring it down through the canal and the tension device.
The thread needs to be pulled and wrapped around the tension mechanism which can be found at the bottom of the threading canal.
Make sure that the thread is inside the groove of the threading canal before you thread it through the tension mechanism.
Once through the tension mechanism, the thread needs to be pulled up the other side of the canal.
When you reach the top of the canal, you will need to make sure that the thread is hooked over the top of the take-up lever at the top of the canal.
Step Seven: Bring Thread Down The Guide To The Needle
Once you have ensured that the thread has been hooked over the top of the take-up lever, you will need to bring the end of the thread back down through the canal to the final thread guide.
This guide is located just above the needle. Finally, pull the thread through the eye of the needle to finish threading the spool.
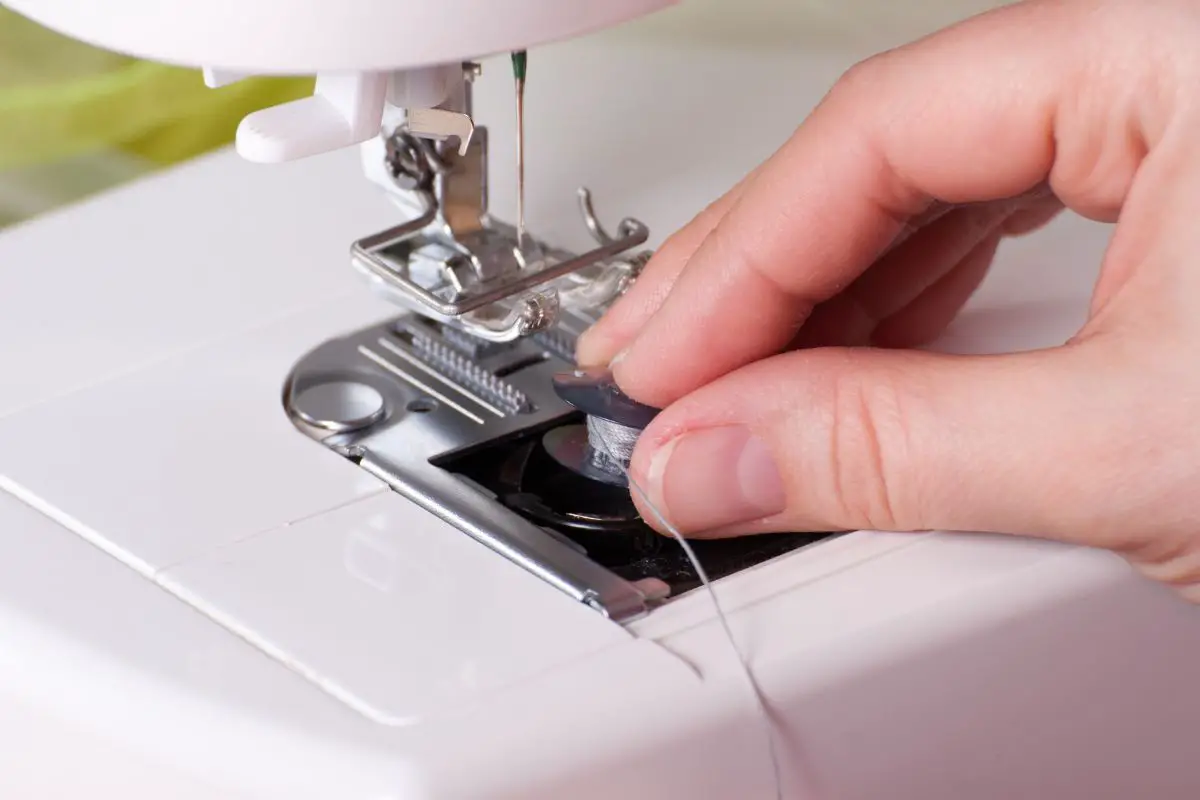
Step Eight: Load The Bobbin
Before you begin to use your Singer sewing machine, you will need to load the bobbin into the machine.
To do this, you will need to open the bobbin case which is located at the bottom of the sewing machine, directly below the needle.
The bobbin case should be empty if it is new. If there is an empty bobbin in the case, remove it.
Place your wound bobbin into the bobbin case. When you do this, make sure that you pay attention to the arrows on the case. These arrows tell you which way the thread should come out of the casing.
When the bobbin is in place in the base of the machine, pull the bobbin thread out through the bobbin slot near the presser foot. You should pull at least 6 inches of thread through the slot.
This slack is what allows the thread to catch to make stitches.
Once you have pulled enough slack through, you can close the bobbin case on the machine. Make sure you push the cover until it clicks firmly into place.
Use the manual wheel clockwise to move the needle up and down a few times. This will connect the top and bottom threads to allow stitches to be made.
You can move these threads to the back of the machine when you begin stitching. Now, simply turn the power back on and your machine is ready to begin sewing.
What Happens If You Don’t Thread A Singer Properly?
There are a few things that can happen if you fail to thread your Singer sewing machine properly.
Thankfully, nothing catastrophic is going to happen if you don’t thread the machine properly, however, it can be incredibly inconvenient.
The most common thing that happens when your machine isn’t threaded properly is that stitches aren’t formed when you press the foot pedal. This can be inconvenient and can also affect the finished look of your project.
If your machine isn’t creating stitches and instead is simply making holes in your fabric, the most common reason is that the bobbin and main thread haven’t been connected properly.
To rectify this, you will need to remove your fabric and use the hand wheel to allow the threads to connect. Remember to pull out enough bobbin thread to facilitate this.
Another common issue that occurs when a sewing machine isn’t threaded properly is that the thread comes loose from the needle.
When this happens, the thread comes out of the eye of the needle and can get caught up in the thread guides or the canal on the machine.
This is unlikely to cause damage to your machine if you turn it off straight away, but again, it can be annoying.
If your thread comes loose from the needle, the most likely reason is that it hasn’t been threaded through the guides properly.
Not only do the guides help direct the thread to the right places on the machine, but they also help to keep the thread taut and in place while the machine is in use.
It is important to check that the thread has been threaded through the guides and tension mechanism properly before commencing sewing.
Frequently Asked Questions
What Types Of Thread Can Be Used With A Singer Machine?
Singer sewing machines are some of the most high-quality and advanced sewing machines on the market. Because of this, they can handle almost anything that your sewing creativity can throw at them.
A standard Singer sewing machine can handle different thicknesses of thread as well as different types of thread.
However, it is important to note that you will need to adjust the type of needle that you are using depending on the type of thread that you are using.
The thicker the thread, the bigger the eye of the needle will need to be. You can find information on what sort of needle is suitable for different types of thread online.
How Long Does It Take To Thread A Singer Sewing Machine?
The length of time that it takes to thread a Singer sewing machine will depend on how much practice you have had. If you are a beginner, it will take you a bit longer to make sure that you have done all the steps correctly.
Even so, it shouldn’t take more than a few minutes to thread the machine.
If you have had sewing machines before or once you have gotten used to threading your Singer sewing machine, it should only take you a minute or so to thread the machine.
It should be noted that it is worth taking the time to ensure that the machine is threaded properly and in good working order before you start sewing with it.
This can help with the maintenance of the machine and avoid any damage being caused to it.
Final Thoughts
Singer sewing machines are super high-quality and are made with usability in mind. Because of this, it is relatively easy to thread a Singer sewing machine.
Follow this guide to help you learn how to properly thread the machine and you will be able to thread up your machine in no time.