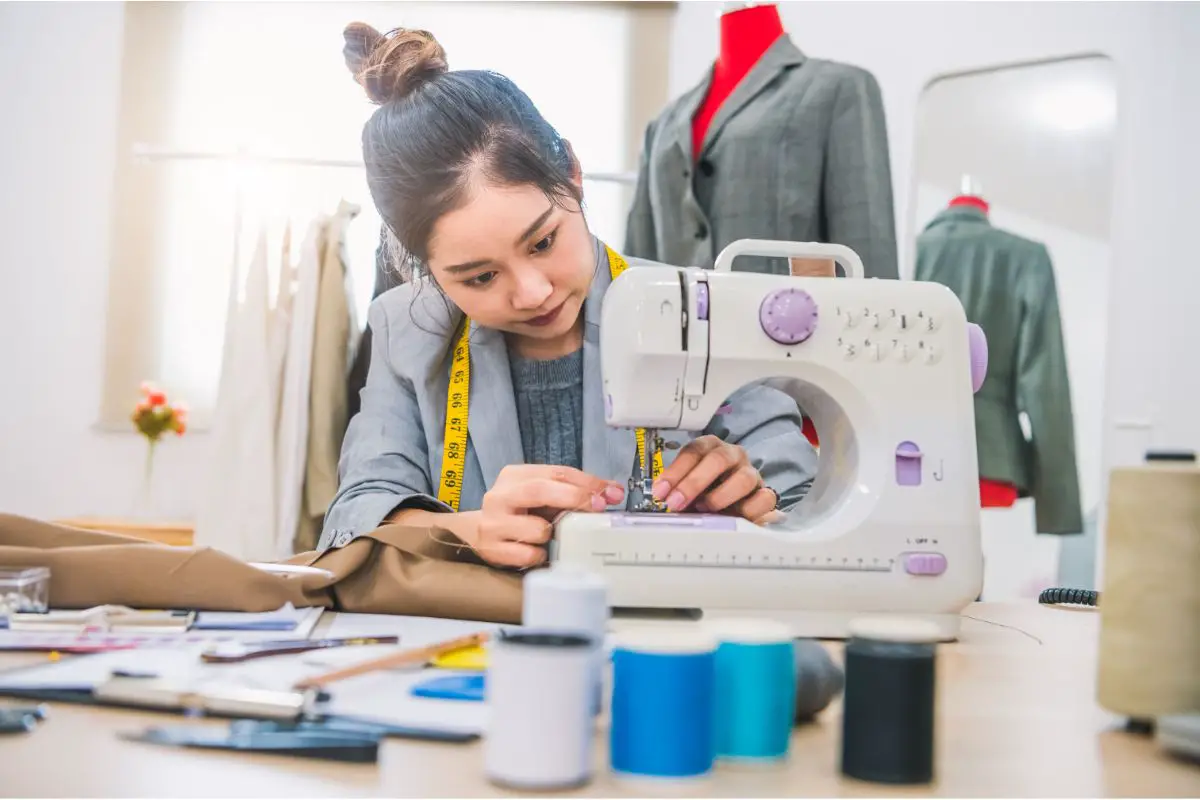
Are you looking for an easy yet stylish way to upcycle some fabric and create your own unique clothing? Sewing a sheer plaid top could be your answer.
Sewing is a great way to make one-of-a-kind clothing pieces, as well as customize existing items.
It is also a convenient hobby for those who are looking for ways to upcycle fabrics.
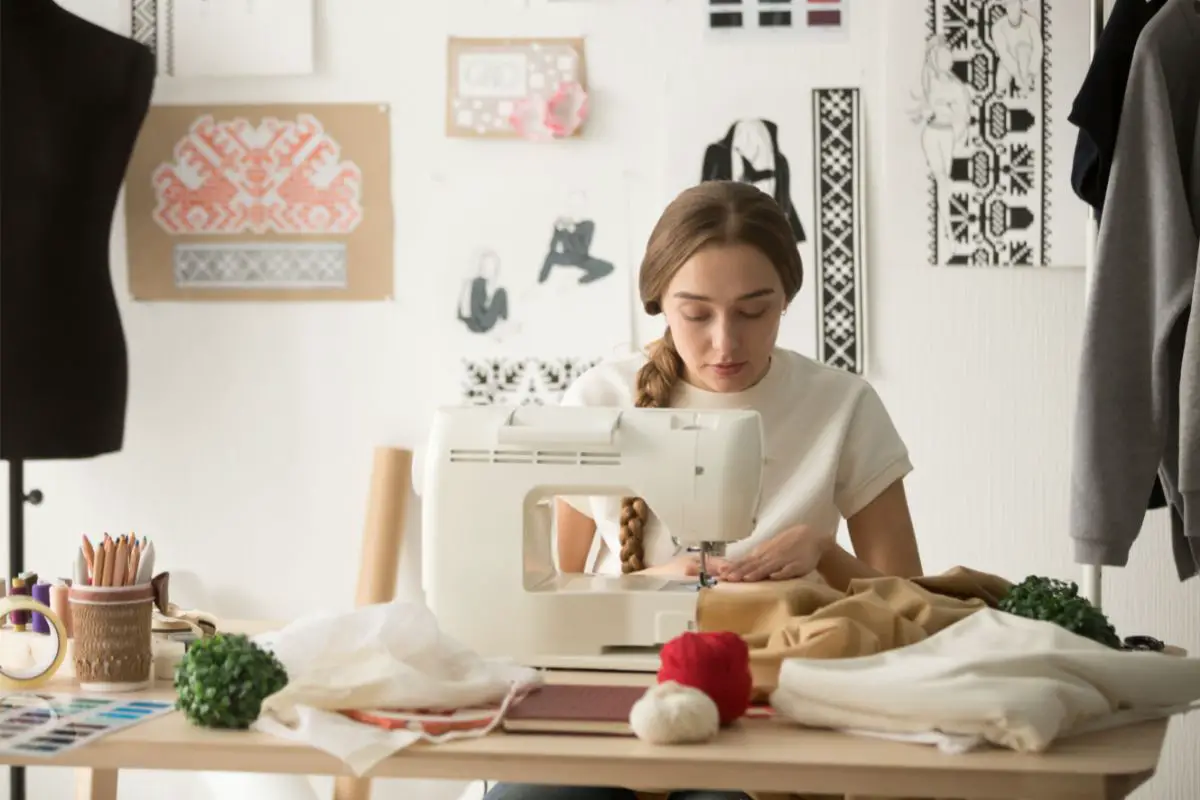
With the right tools and practice, anyone can create their own unique garments from the comfort of their home.
Creating sheer plaid tops is an engaging project that can easily be done by even the most inexperienced sewers.
This step-by-step guide will provide everything you need to know to design an eye-catching top using upcycled materials – no prior experience is necessary.
What Exactly Is Sheer Fabric Used For?
Embellished sheer is a great way to add a touch of glamour and sophistication to any outfit.
Whether it’s an evening dress or a blouse for the office, adding embroidery and embellishments to sheer fabric can make all the difference.
Sheer is perfect for creating elegant evening wear, with intricate designs that will draw attention and admiration.
For more subtle looks, embellished sheer can be used to create beautiful blouses with delicate details that will make you stand out in the boardroom.
What Is Sheer Plaid?
Patterned sheer is the latest trend to hit the fashion world. From plaid to polka dots, designers are using this fabric to create unique and eye-catching looks.
Whether you’re alternating between sheer and opaque fabrics or creating an entire line of sheer styles, patterned sheers are sure to make a statement.
Sheer fabrics can be used in many different ways, from skirts and dresses to blouses and jackets.
Sheer plaid is a plaid-patterned see-through or opaque fabric. It’s commonly used for delicate tops or underskirts.
Easy Guide To Sewing A Sheer Plaid Top
1. You’re going to need to cut your sheer plaid pieces out for whatever shaped top you’ve gone for.
To make sure that you get a pattern match when cutting your plaid out, make sure to place your pattern pieces on the grain line of your fabric.
2. For an easier sewing experience, we’re going to be over-locking the seams using either an over-locking machine or your zigzag stitch on your sewing machine.
Make sure to do this for all your pieces before sewing.
3. To sew your sheer pieces (see also “How To Sew Sheer Lace“), always make sure that the right sides of the fabric (The front side you cut out onto) are pinned together for your seams .
You’ll want to begin with your back and side front seams.
4. When you have your side seams and back seams pinned together, always try to use a 1 cm seam allowance as you go, ironing and pressing out your seams along the way, between moving onto the next seam.
5. Get your cut-out sleeve pieces ready, and sew them up until you get a full sleeve (see also “Mod Dress Sewing For Beginners“). Don’t worry about the hem for now.
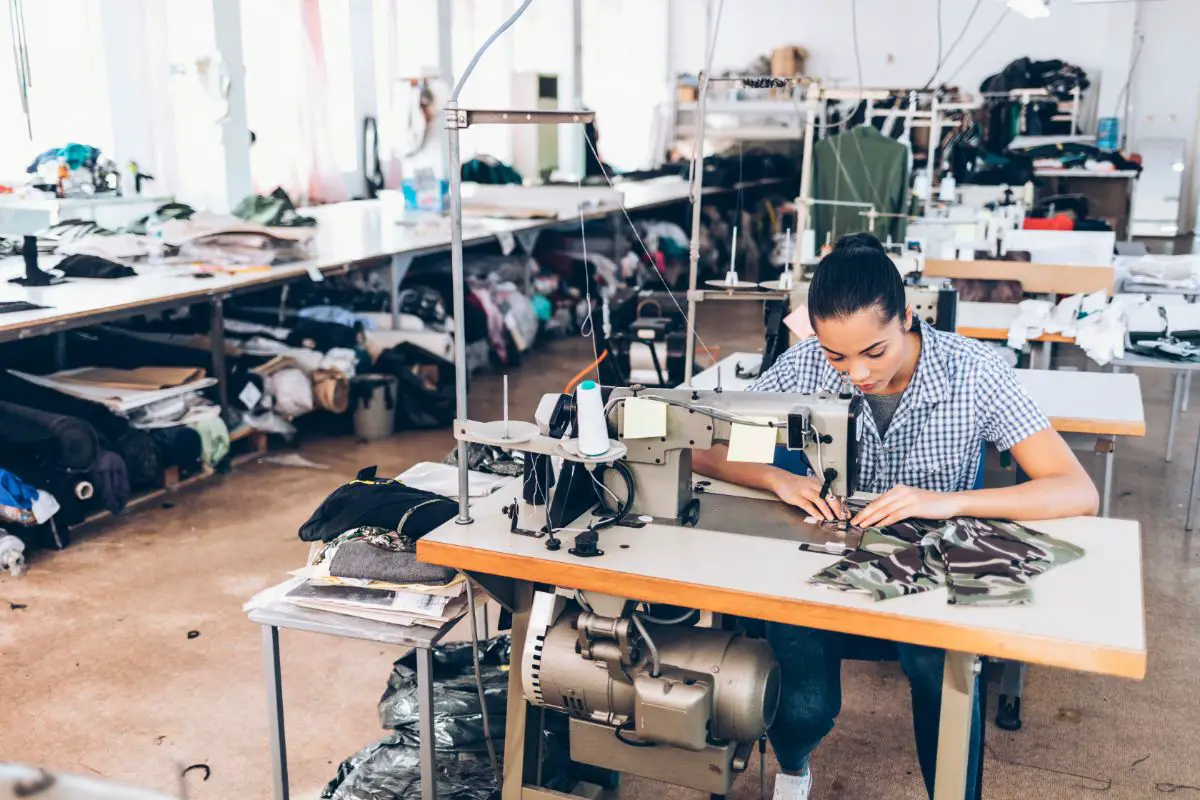
6. Now that you have your front and back pieces together, you’ll want the sleeves to be your next move.
If you’re using a standard pattern piece for a shirt, for instance, you’ll want to turn your front and back sewn pieces inside out and then put the sewing sleeve the right way through and pin the head of the sleeve to the armhole.
7. Sew this slowly, as it can be fiddly, especially with sheer fabrics.
8. When you turn the garment the correct way round, so it’s not inside out, your sleeve should be sewn in. All you have to do now is the other sleeve.
9. The next job is to sew your hemlines for the main hem, and the sleeves.
Make sure to iron up half a centimeter, and then half again to get a guideline for sewing the hem. You can add a few pins to keep it in place while you sew.
10. The neckline will either require another hem style situation, a collar, or bindings. So, be sure to decide which one you’d like.
We recommend binding, as you just need to sew the binding onto the outside of the neckline, and then fold it over itself to sew it onto the inside, essentially encasing the neckline entirely.
What Are Some Important Tips To Follow?
Straight Pattern Pieces When Cutting
It’s important to take the time to ensure that each pattern piece is laid out correctly on the fabric before cutting.
The pattern is straight when the selvage of your fabric meets up to be parallel to the grain line.
Therefore, it’s essential to take your time when laying out and cutting your fabric so that all of your pattern pieces are perfectly aligned with the grain line of your fabric.
This will ensure a beautiful finished product that looks great and fits comfortably!
Make Sure Your Seams Are Finished
When it comes to sewing, leaving your seams unfinished and unraveling can be a major problem.
It may seem like no big deal if the inside of your garment looks messy, but it can cause serious issues down the line.
Unfinished seams can easily become frayed and unraveled, leading to strings that need to be cut every time you wear the garment.
Worse yet, if the unraveling gets too close to your stitching line, you could end up with a hole in your garment.
Not only is this unsightly, but it also cuts into the wearing ease of your garment and requires extra work to fix.
It’s important to take care when finishing off seams so that they don’t come undone or fray over time.
Correctly Press Your Seam Allowances
Pressing seam allowances helps to ensure that the seams lay flat and look neat when the garment is finished.
Without pressing, the fabric can bunch up or pucker, making it difficult to get a professional-looking finish. Additionally, pressing helps to set the stitches so that they don’t come undone over time.
Final Thoughts
Sewing a plaid top can be a fun and rewarding project. With the right tools and techniques, you can create a garment that looks great and fits comfortably.
By taking the time to make sure your pattern pieces are straight, finishing off your seams properly, and pressing as you go, you’ll be able to achieve professional-looking results every time.
- How To Sew Fabrics Together - June 5, 2023
- How Many Stitches Per Inch? - June 5, 2023
- How Long Does It Take To Sew A Dress? - June 5, 2023
