Embroidery is an art form that has been around for centuries and can be used to transform a simple item of clothing or fabric into a work of art.
It has been long thought that embroidery was only achievable with the use of hand stitching, but in recent years, people have wondered if it’s possible to achieve the same results through the use of a sewing machine.

In short, the answer is yes – and we have put together all you need to know to create stunning embroidery.
What Are Embroidery Machines?
The main option for achieving embroidery with a sewing machine is to purchase an embroidery-specific machine.
These machines are specialized and come with the appropriate attachments, allowing you to create intricate patterns with ease.
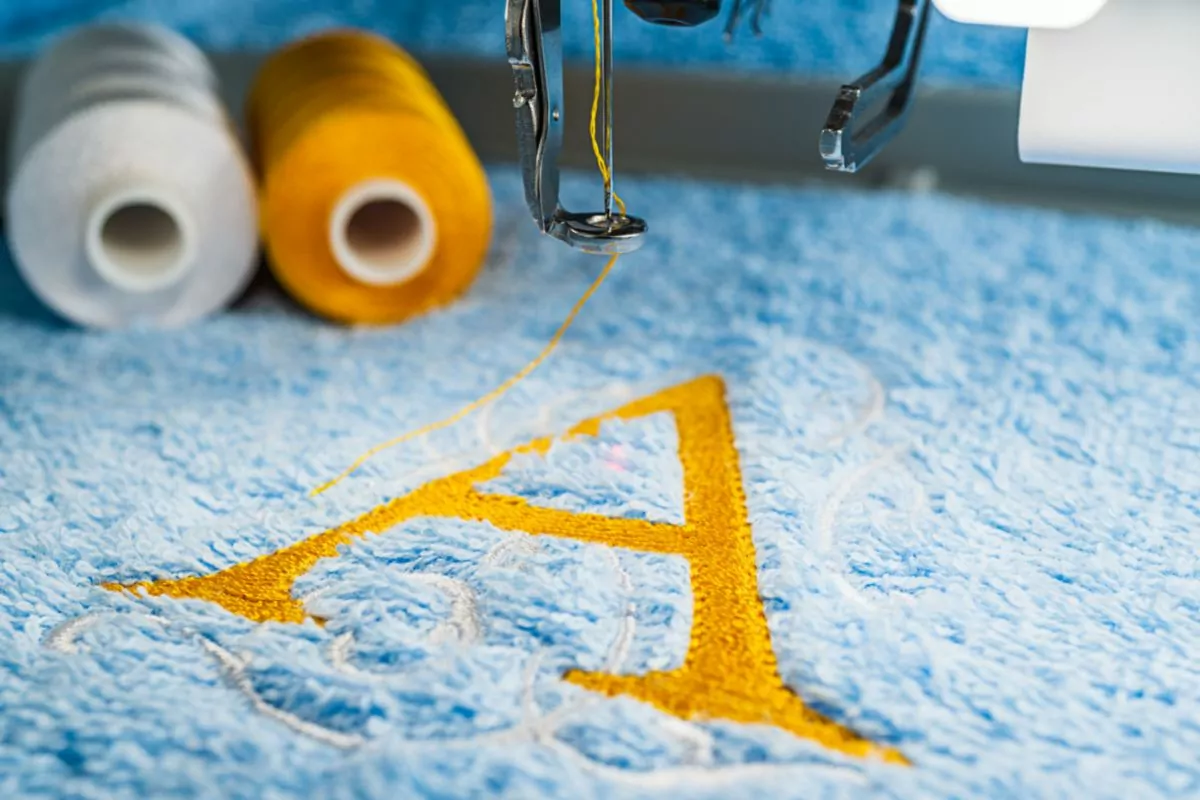
Machine embroidery involves the use of specialized sewing machines equipped with an embroidery unit.
The embroidery unit consists of an embroidery hoop, which holds the fabric in place, and a mechanism that moves the hoop in different directions while the needle stitches the design onto the fabric.
The process is controlled by built-in software that interprets digital designs, dictating the movement and stitching patterns.
What About Regular Sewing Machines?
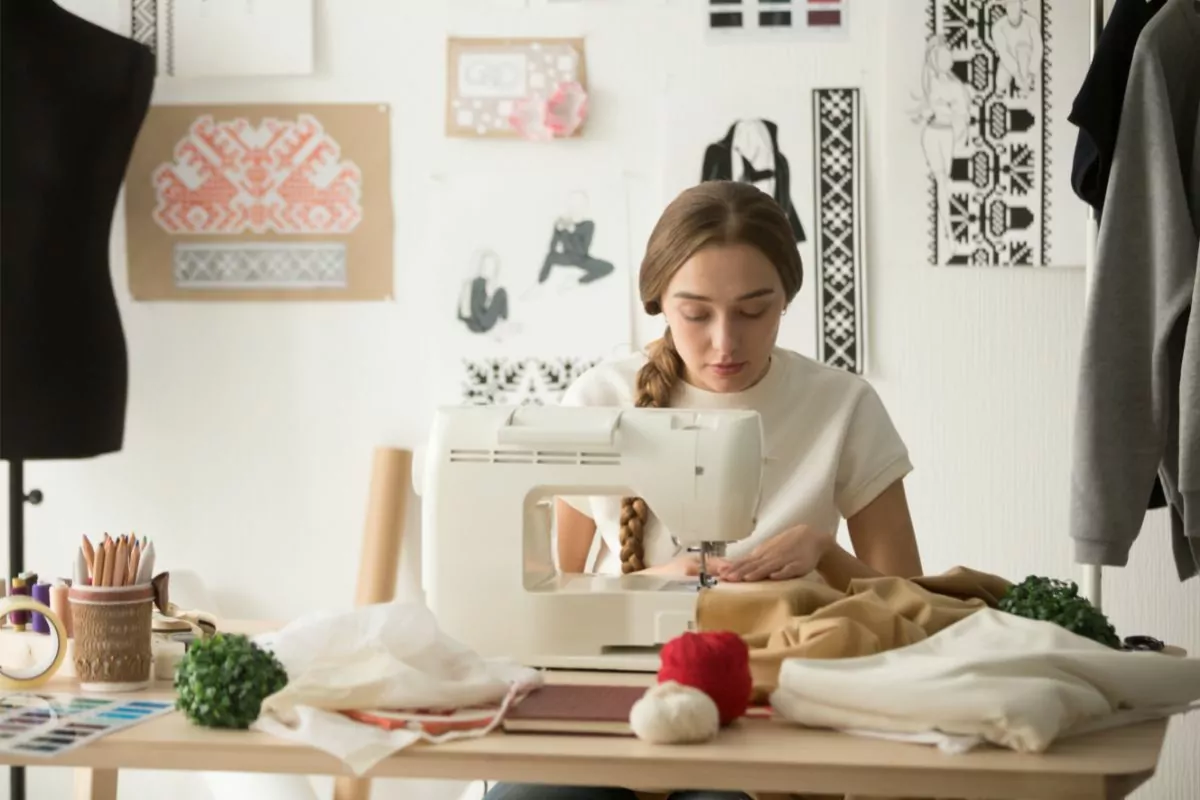
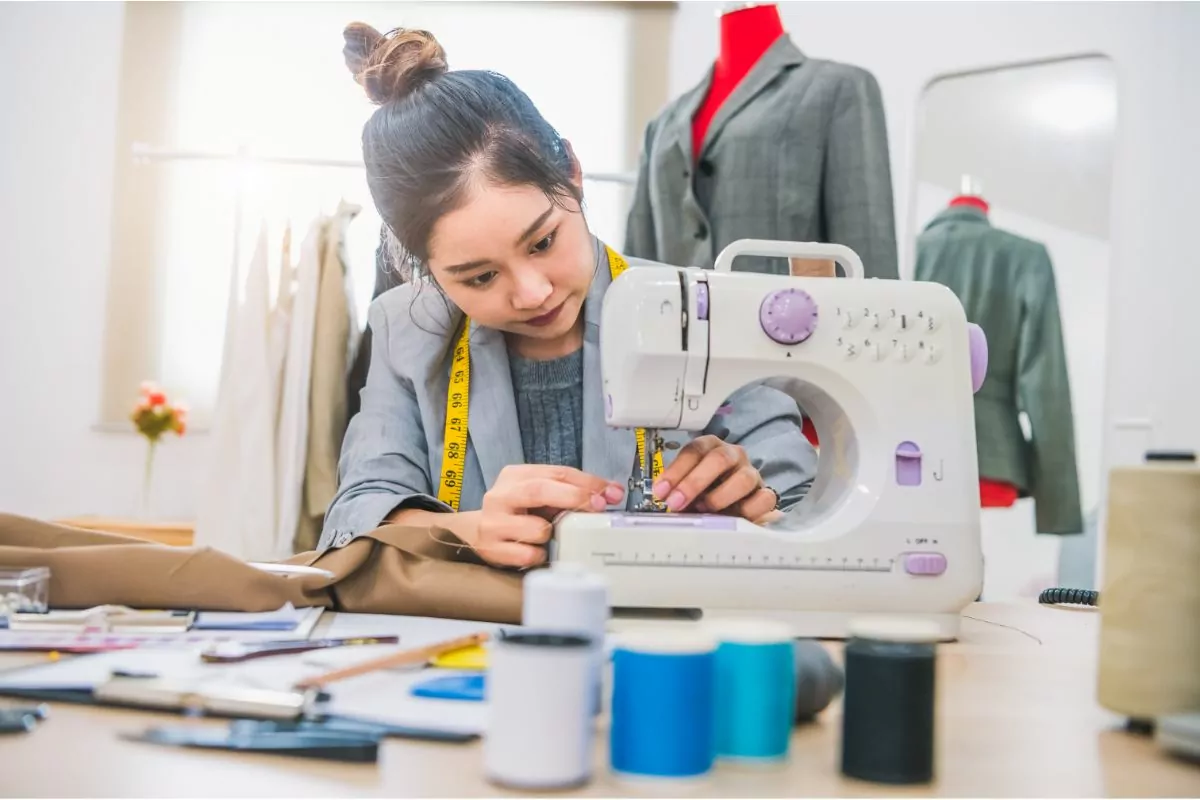
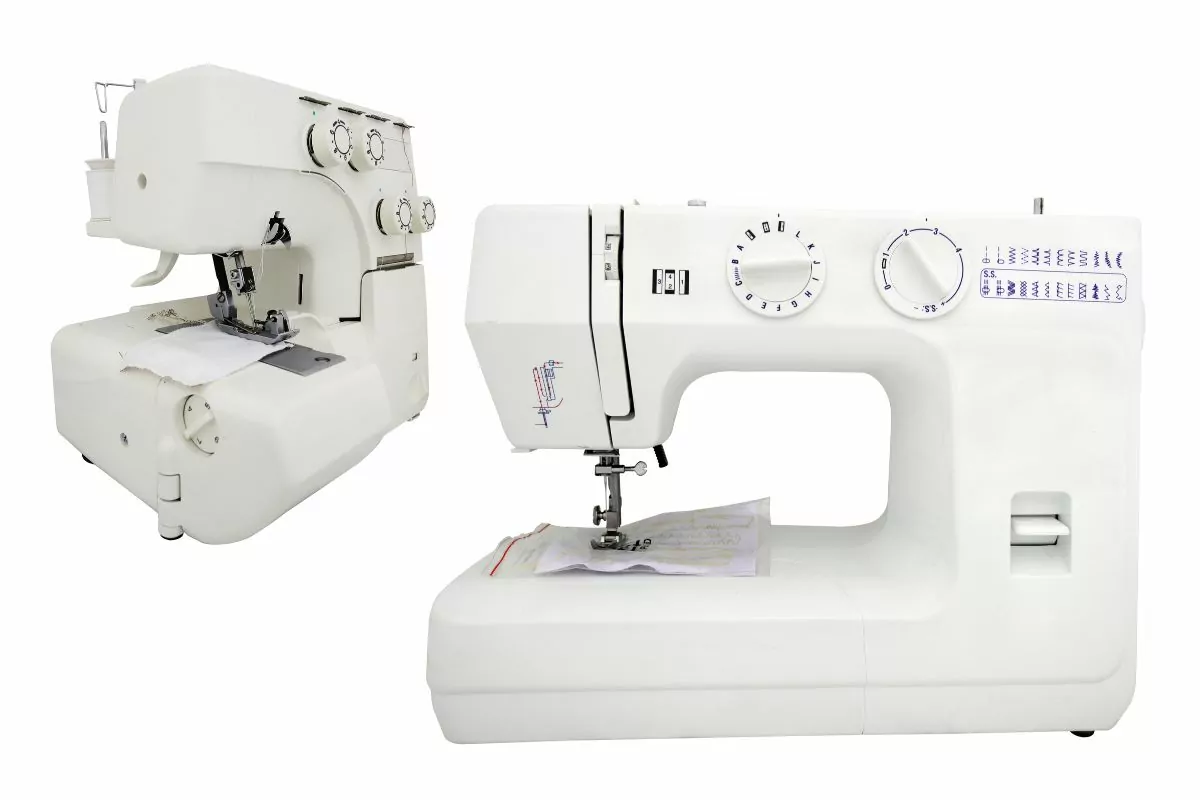
Although not as advanced as embroidery machines, regular sewing machines can be used for basic embroidery work like attaching patches or creating monograms.
To do this, you will need an embroidery foot attachment for the machine, as well as a position sensor to help guide the fabric in the desired pattern.
If you are looking to create something more intricate than a basic patchwork design, it is recommended that you opt for an embroidery-specific machine, as they are easier to use and come with more options.
What Do You Need To Embroider With A Machine?
Now that we have discussed the two main types of machines that can be used for embroidery, let’s look at what else you need to get started:
Embroidery Thread
The first thing you need is a thread specifically designed for embroidery.
This type of thread is thinner than regular all-purpose sewing thread and comes in a wide range of colors, making it perfect for achieving intricate designs.
Hoops
To hold the fabric in place as you sew, you will need an embroidery hoop. These come in a variety of sizes and materials, so make sure to select the right size for your project.
Fabric
The type of fabric you use will depend on the project, but in general, you should aim for a lightweight and tightly woven material that won’t fray easily.
Needles
For embroidery, you need to use a specific type of needle designed for the task.
This type of needle is shorter and has a larger eye than regular sewing needles, making it easier to thread the thicker embroidery thread.
Digital Designs And Embroidery Files
To create machine embroidery, you need digital designs known as embroidery files. These files come in various formats, such as .dst, .pes, .exp, .jef, and more.
Embroidery files contain instructions for the machine, including stitch types, colors, and design placement.
You can either purchase pre-made embroidery files or create your own using specialized software or online embroidery design libraries.
Getting Started With Machine Embroidery
If you’re new to machine embroidery, here are a few essential steps to get you started:
Choose The Right Machine
One of the most important steps is choosing the right machine for your project.
If you need to create intricate designs, it is recommended that you opt for an embroidery-specific machine, as they are easier to use and come with more options.
Gather Your Supplies
Before you begin, make sure you have all the necessary supplies, including embroidery thread, fabric, needles, hoops, and digital designs.
Prepare Your Fabric
Once you have gathered your supplies, it’s time to prepare your fabric for embroidery.
Start by washing and ironing the fabric to remove any wrinkles or creases. Then, place the fabric in the hoop and secure it in place with the tension screw.
Load Your Design
Next, upload your digital design into the machine. Refer to the user manual for instructions on how to do this, as it varies from model to model.
Start Sewing
Finally, you can start embroidering! Refer to the user manual for instructions on how to use the machine and begin creating your design.
Don’t be afraid to experiment and try different stitch types to achieve the desired effect.
Top Tips For Using An Embroidery Machine
Once you have found the perfect embroidery machine, it is important to know how to use it – and we have some top tips.
Read The User Manual
This may seem like a no-brainer, but it’s important to read the user manual before using your machine to ensure you understand all of its features and capabilities.
Use Quality Supplies
Always use quality supplies such as thread, fabric, and needles when embroidering as this will impact the final result.
Practice Before Starting A Project
It’s always a good idea to practice first before starting a project. This will help you get accustomed to how the machine works and the different stitch types available.
Work Slowly And Neatly
Take your time while embroidering, as rushing can lead to mistakes or poor-quality stitching. Also, make sure to keep your stitches neat and even for a professional finish.
Don’t Be Afraid To Be Creative
While it is important to follow the instructions provided in the user manual, don’t be afraid to tweak them and be creative.
This will help you create unique designs and get the most out of your machine.
Final Thoughts
The good news is that with the right skills and tools, you can embroider beautifully using a sewing machine.
However, it is important to use the right type of needle and fabric, as well as quality supplies and digital designs.
It’s also essential that you read the user manual before beginning and practice first before starting a project.
With these tips in mind, you’ll be able to create beautiful embroidery pieces with your sewing machine in no time.
- How To Sew Fabrics Together - June 5, 2023
- How Many Stitches Per Inch? - June 5, 2023
- How Long Does It Take To Sew A Dress? - June 5, 2023
