As they get older they may start to want to go to Disney World, which is not always feasible depending on where you live, and your purse strings.
However, we can often bring Disney to our children so they don’t have to miss out. Part of this can be getting involved in arts and crafts with them.
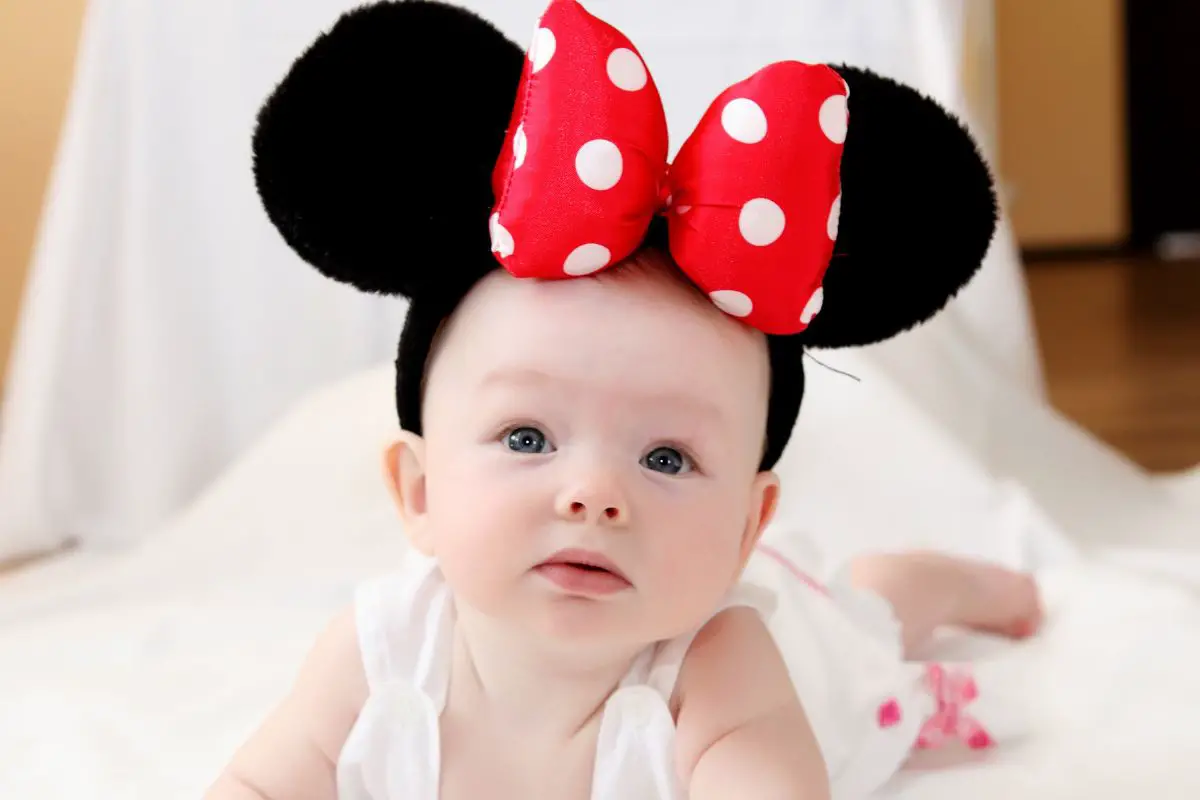
With a little resourcefulness and crafting acumen you can create these fun Disney mouse ears for them, you can decorate them as Mickey or Minnie, and they will feel as special as they would at Disney World.
If you are looking to fill a rainy day and get your kids into something useful like crafts, these ears are fun to make and can create memories they will cherish.
How To Make Disney Ears
This is a basic outline of the methodology that you can get as creative with as you want. Adding your own craft twist to the ears, unique to your child, will be what really makes these special.
What You’ll Need
Glue Gun
A Headband
Sewing Needle
Thread
Stuffing (Paper or Cotton)
Fabric
Circular Template
Methodology
First off we need some sort of circular template you can use to trace a perfect circle. Maybe something the size of a coaster, or the bottom of a large mug. You don’t want it to be too big or they could flop.
Choose your fabric depending on whether you want to be Minnie or Mickey, or just whatever fabric is most appropriate.
Trace this circle onto your fabric, measure around ½ an inch from the bottom point of the circle and then use it to radially draw a line. This will be the fabric to attach to the headband.
Repeat this four times, for two backs and two fronts of the ears.
Cut around the whole diameter of the circles you have just traced, on the chosen fabric for the ears. Remember to do it on the back if there is a pattern on the front.
Pair the front and back pieces and then sew the front and back of the ear together, leaving the ½ inch gap at the bottom open. Repeat for the other ear.
Stuff the ears with whatever you are using for stuffing, small bits of paper could work, or ideally cotton stuffing is best – we want them to be reasonably rigid.
Time to heat up your glue gun. While it is heating up try to align your ears on your headband where you want them to be. They should both be off center from the center of the headband, while trying to keep them as symmetrical as possible.
When you know where to place them, cut the excess fabric off the bottom of the ears so you can glue them smoothly on.
Align the ears with where you want them to be, put a thin line of glue on the headband and attach the ears as you want. Let them set and then fill in any gaps where they might detach with a little more glue but be careful not to make the glue so thick it is visible.
Now you should have two ears sturdily attached to the headband that aren;t going to droop or fall off anytime soon. Now you can make them your own!
Adding Your Own Designs
Once the ears are attached and feel sturdy, you can start to make these ears as unique as you want. Here’s a few ideas of how you can make them your own.
You could use PVA glue on the front of the ears and then add glitter to them.
Rhinestones or other sticky gemstones can be a good idea
Simply adding detail like a smaller circle of felt to imitate real ears (see also “How To Felt Wool“)
You could glue a bow onto the headband or ears so they are more like Minnie
It can be fun to add flowers into the headband too to make them more girly.
Depending on the material you could use fabric pens or a sharpie to draw your own design onto the ears or headband.
Final Thoughts
As you can see, it’s not that hard to make these Disney ears, Minnie or Mickey in design, so long as you have a few tools like a glue gun, some other adhesive, fabric, as well as a needle and thread and headband.
Disneyland is great but with this method you can really make these ears feel like your own, and can help your kids feel really special and unique, or you can design them specifically for a themed party or fancy dress party which can be a really cool way to help your kid stand out amongst the crowd.