Getting the hang of pressing seams is essential for any type of sewing.
It not only improves the aesthetics of the project but also gives it extra strength so that it lasts longer.
This article will guide you through the basics of pressing seams and provide tips on how to do so effectively with minimal effort.
Why Is It Important To Press Seams As You Sew?
Pressing seams as we sew is an important step in the garment-making process.
It helps ensure that our garments look professional and well-made, and it also helps make sure that our seams are strong and durable.
By pressing each seam as it is sewn, we can ensure that all the pieces fit together correctly and that the fabric lays flat.
This will help to prevent any puckering or bulging when the garment is worn.
Pressing seams as we sew also helps to keep our stitches even and secure.
When a seam is pressed after it has been sewn, it helps to flatten out any uneven stitches or fabric distortions caused by sewing.
This makes for a much stronger seam that will last longer than one that hasn’t been pressed properly.
What Are The Best Methods For Pressing Seams?
Pressing Cloths
Using a press cloth is an essential part of the ironing process. It helps to protect delicate fabrics from heat damage, and can also prevent shiny marks from appearing on certain materials.
It’s important to make sure that your press cloth is always clean before using it, otherwise, dirt and debris could be transferred onto the garment while pressing.
When pressing wool or suiting fabrics, a press-style cloth should always be used, as these materials are prone to developing a particular shine when exposed to high temperatures.
Pressing Ham
A pressing ham is an essential tool for any sewer or quilter. It is usually made of two layers, one side of cotton and the other of wool, which provides a cushion when pressing.
This enables you to press curved seams, darts, princess seams, and sleeve caps on a multitude of garments.
The pressing ham is an invaluable tool that will help you achieve professional results with ease.
With its versatility and convenience, it’s no wonder why this tool has become so popular among sewers and quilters alike.
How To Press Seams – A Guide
Start Off With A Good Old Ironing
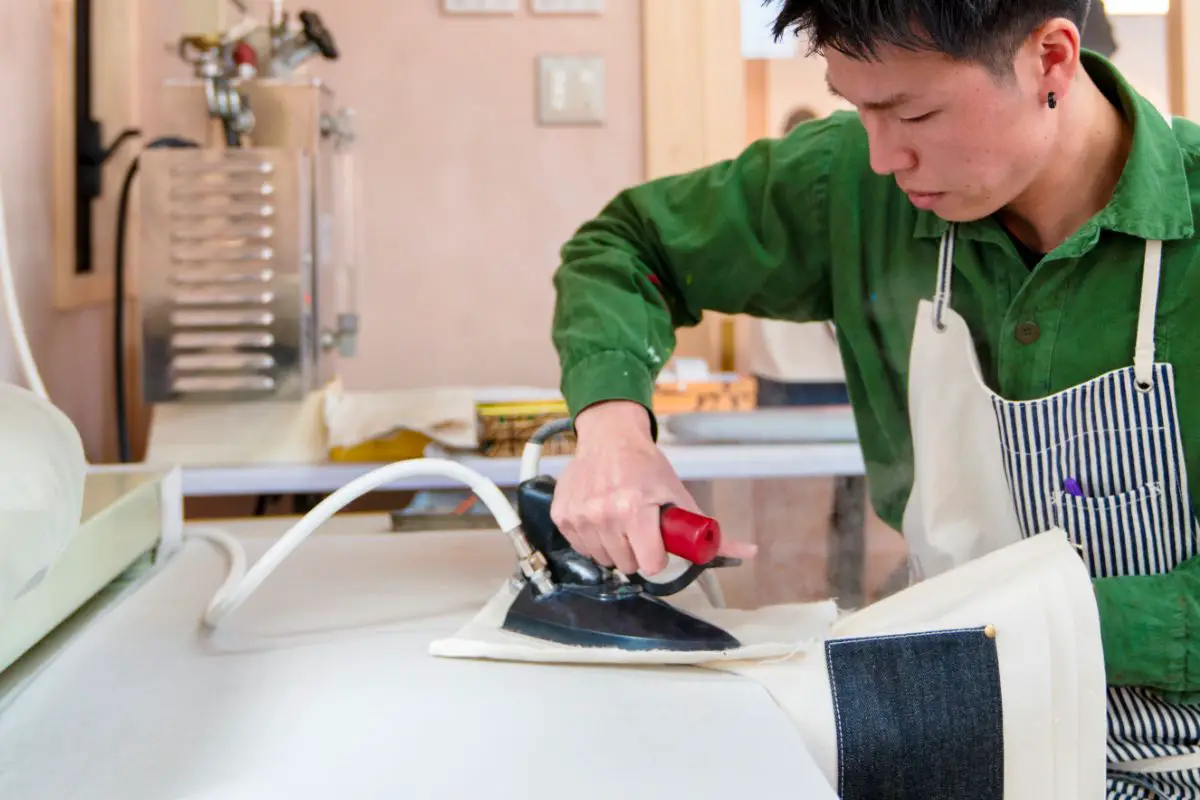
Ironing is a necessary evil for many of us, but it doesn’t have to be a chore. With the right iron, you can make quick work of even the most stubborn wrinkles.
The trend in irons today is towards more powerful and efficient models that can get the job done quickly and easily.
We have owned a range of irons over the years, from a very cheap second-hand one to the nicest iron on the market.
No matter what kind of iron you choose, make sure you invest in one that will last you for years to come.
Get Your Ironing Surface Prepped
Ironing surfaces are an essential tool for any sewer or quilter. Whether you’re pressing seams, creating a crisp hemline, or just giving your fabric a quick press before cutting, having the right surface is key.
The most common ironing surface is a regular ironing board, but if you’re looking for something more portable and versatile, then a transportable ironing surface may be the way to go.
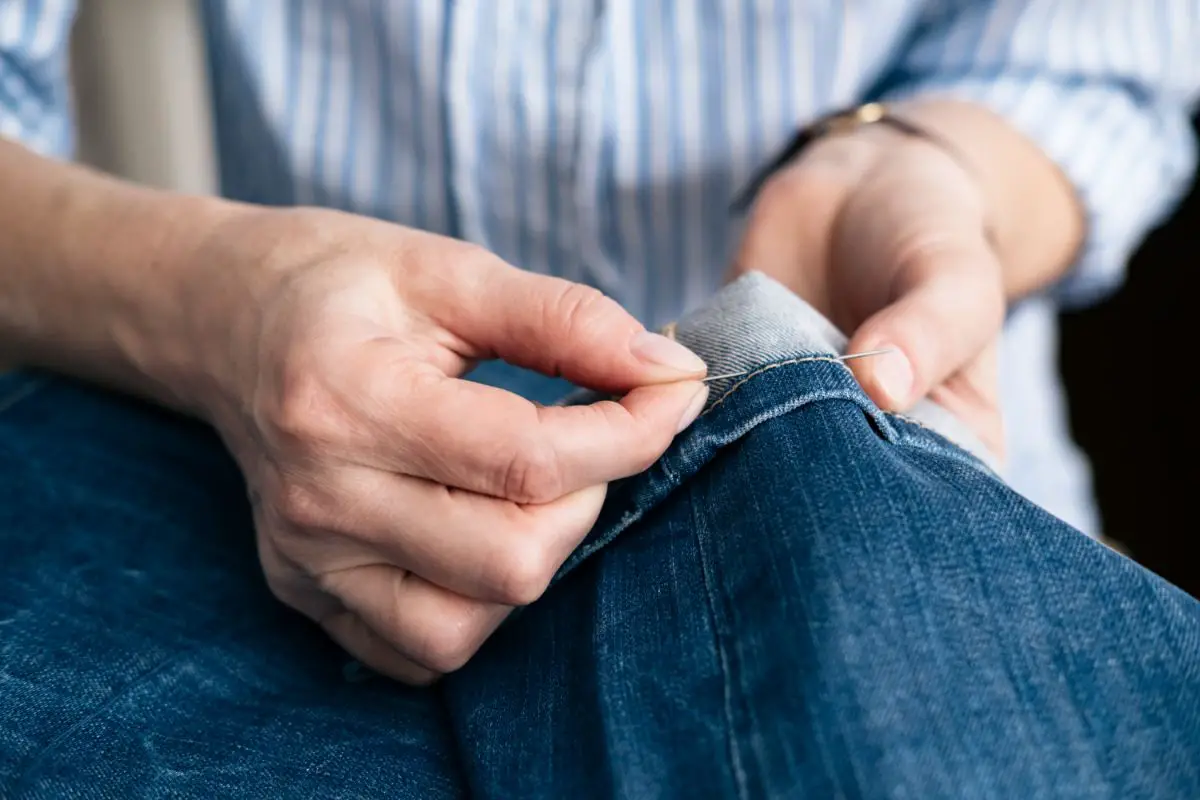
Press The Seam Open With Your Fingers
Finger-pressing seams open is a great way to get a neat and professional finish on your sewing projects. It’s an easy technique that requires no special tools or equipment, just your fingers.
To finger-press a seam open, start by laying the fabric flat with the wrong side facing up. Place your index finger on one side of the seam and your thumb on the other side.
Gently press down and slide your fingers along the length of the seam until it is creased in the middle.
If you don’t have to layer the pressing cloth on for your fabric first, then go ahead and press the iron on the seam as you are opening it. But be mindful of your fingers.
Once you have pressed the seam open, use a pressing cloth to protect the fabric from heat damage as you press it with an iron.
Start at one end of the seam and slowly move along its length, pressing firmly but not too hard so that you don’t stretch out or distort the fabric.
When finished, check that all sides of the seam are lying flat against each other and that there are no bumps or puckers on either side of the fabric.
Lots Of Steam
Steam is a powerful tool that can be used in many different ways. It has the ability to transform and shape things.
With a spray bottle, steam can be used to freshen up clothing or furniture, while the steam function on iron can help smooth out wrinkles and creases in the fabric.
The first step in setting a seam open with a hot iron is to use the iron to further crease what your fingers just did.
This will help ensure that the seam stays flat and crisp. To do this, start by placing the iron on top of the seam and pressing it down firmly for several seconds.
Make sure that you are using an appropriate heat setting for the fabric you are working with, as too much heat can damage delicate fabrics.
Once you have pressed down firmly with your iron, it is time to set the seam open with your steam function.
Final Thoughts
Pressing seams open is an essential skill for any seamstress or quilter.
It helps to create a neat and professional finish on your projects, and can be done quickly and easily with just your fingers or a few simple tools.
With practice, you’ll be able to press seams open like a pro in no time.