If there is one stitch that everyone should know about, it is the blind hem stitch. Although, these can sometimes be intimidating, especially to beginners.
So, whether you’re feeling intimidated by using a sewing machine or struggling to achieve a genuinely invisible stitch, well, you’re in the right place to solve your issues.
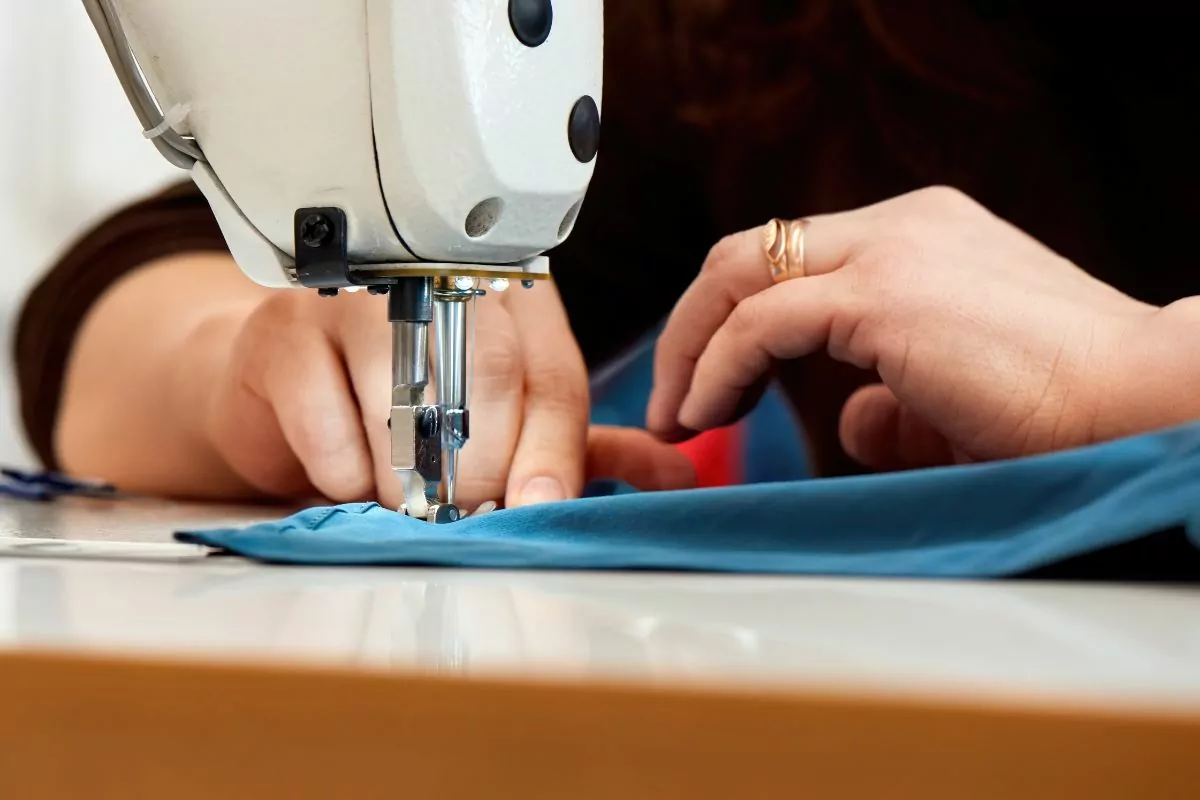
With the help of this guide, you’ll become a blind hem stitch professional in no time.
One of the best things about the blind hem stitch is that it can be used for practically all garments and fabrics, this even includes knit fabrics, too!
In fact, you can use this stitch for practically all types of fabrics, except for thin ones. All you need is the right technique and settings to help you achieve the stitch.
With this in mind, this article will explore everything you need to know about achieving a successful blind hem stitch.
What Is A Blind Hem Stitch?
If you’re unfamiliar with the blind hem stitch, essentially, it is a stitch that combines a narrow zigzag stitch or a straight stitch with a wide zigzag stitch that is disrupted in even intervals.
Here, the zigzag stitch is used to catch the fabric on the inside – in this case, ideally, just the thread – which helps to secure the seam while being invisible on the outside.
Blind Hem Presser Foot
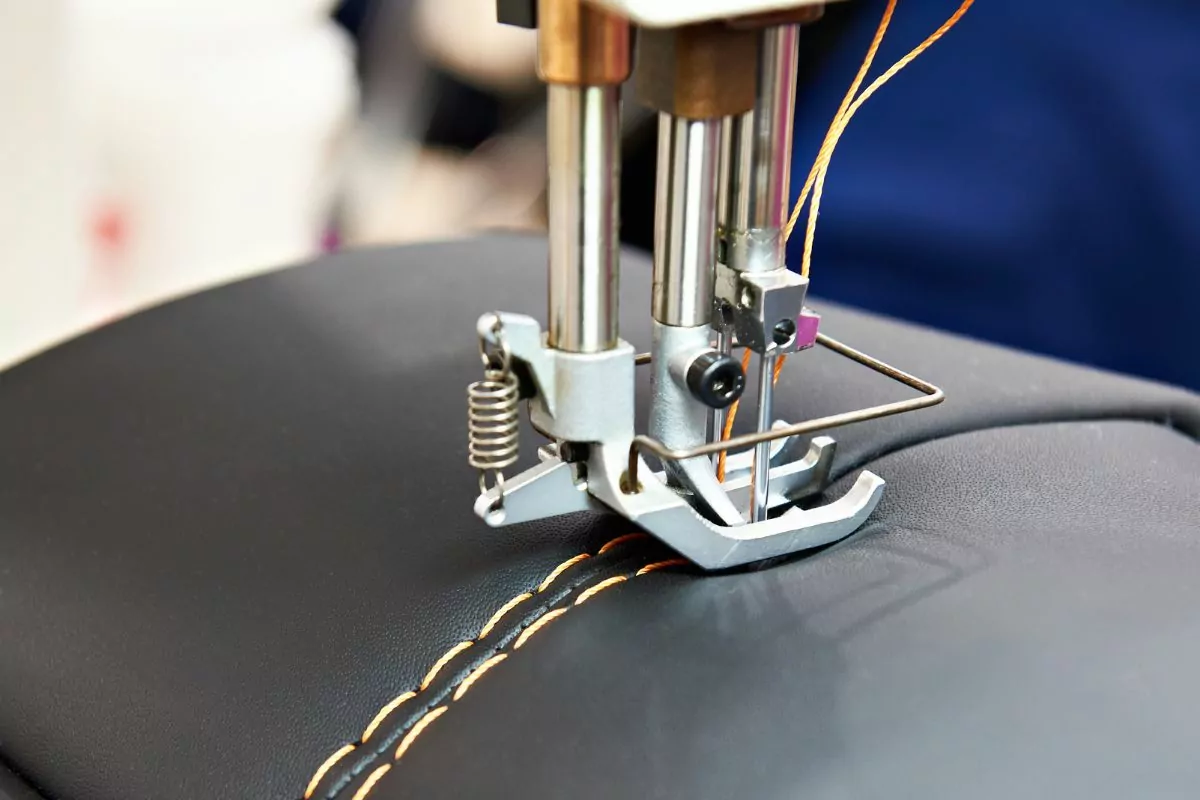
To ensure you’re producing the perfect stitch, it is recommended to invest in a blind hem presser foot.
Typically, this already comes with most – if not all – sewing machines, and can be found in the small toolbox included.
While these attachments can look slightly different depending on the brand of the sewing machine, the principle for each remains the same: you’re aligning the folded fabric with the edge of the built-in guide to make sure enough fabric is caught on each side of the stitch.
The Best Fabrics For A Blind Hem Stitch
When it comes to the best fabrics to use this type of stitch, it is better suited for heavier fabrics, as opposed to thin ones, this includes:
- Suiting
- Twill
- Double-faced fabric
- Denim
- Rib-Knit
- Coat fabric
- Double knits
- Sweater knits
- Sweatshirts fabrics
Not Suitable For
- Silk fabrics
- Thin jersey knits
- Blouse fabrics
- Silk velvet
- Chiffon
- Shirting
Uses
- Pants
- Tailored jackets
- Dresses
- Skirts
- Sweaters
- Curtains
- Cardigans
Advantages And Disadvantages Of The Blind Hem Stitch
Advantages
- Quick
- Durable
- You can use on knits
- If done properly, completely invisible
Disadvantages
- Can’t use it on thin fabrics
- With certain fabrics, it is hard to achieve 100% invisibility
- It requires practice to full master
Why Do You Need A Presser Foot?
A presser foot allows you to make the most invisible hems. Here, essentially, all you’re doing is creating tiny stitches that are barely visible covering the front of the item using only a few threads.
While invisible hems can be achieved by hand, one of the quickest and most effective ways is by using a sewing machine.
To help you do this, you need a special foot that allows you to create an invisible hem on practically any fabric.
Moreover, here, you can even decide to use an invisible thread as the upper thread to create a hem that is even more difficult to notice.
This type of hem is most suitable for straight hems, as well as flared hems if they’re only slightly curved.
Before jumping straight into your invisible blind hem project, first, start off with a test sample on a small piece of fabric. Once you’re more confident in your skills, you can start your project.
What You’ll Need
- Marker (Chalk or Pencil)
- Blind stitch presser foot
- Thread
- Ruler
- Iron
- Pins
For this specific project, we have chosen a woven medium-weight fabric to hem, although you can use the same technique of whatever fabric you have (this include dresses, skirts, and pants), as well as medium-weight knits.
Once done, we’ll go over everything you need to know about hemming a heavyweight fabric, like a coat, too.
Unfortunately, as previously mentioned, the invisible blind hem isn’t ideal when it comes to very lightweight fabric (such as silk chiffon).
That said, there are other techniques for this fabric, including narrow hems. Although, you should avoid stretchy fabric.
When it comes to the quality of your blind stitch, this is mostly dependent on the type of material you’re using. For instance, the thicker the material, the easier it will be to blind stitch.
In addition to this, you’ll want to use high-quality threads, as well. Otherwise, you run the risk of your hem coming loose and potentially breaking.
Step 1 – Mark Your Fabric For Hemming
Before you touch your sewing machine, the first thing you need to do is mark the area you’re going to hem. To mark the fabric, you’ll want to use chalk.
Likewise, you can also use a disappearing ink pen. However, you’ll want to avoid ironing over this area as it can cause the ink to set in the fabric permanently.
When marking the fabric, you’ll want to make sure you have folded the fabric properly for stitching.
This can seem like a puzzle from the beginning, however, you should be able to easily achieve this with the help of this guide.
Firstly, measure 1.5 cm (⅝ in) from the edge of your fabric and create a line with the chalk (or pen).
Then, create two more lines: one 6 mm (¼ in) away from the first line, and the other 3 cm (1 ¼ in) above the first. Here, the last line is where your hem is going to be.
Step 2 – Fold the Fabric To Prepare For Blind Stitching
Once you have determined where your hem is going to lie, you can then fold the fabric over the first line and press it with an iron so it’s flat.
Then fold the using the upper line and pin it into place, however, make sure not to press it with an iron yet.
Step 3 – Baste The Hem
Next, baste your fabric according to the middle line and fold it along this basting (this helps to work as a guideline) therefore the wrong side should be facing upwards.
Step 4 – Attach The Blind Hem Foot And Create The Stitch
After you have finished the preparations, you’ll want to insert the blind stitch foot and start creating your blind hem stitch.
When it comes to blind hem stitches, there are only two types: one is the straight stitch (this is ideal for woven fabrics) and the zigzag stitch (ideal for stable knits).
When it comes to the invisible blind stitch itself, you’ll notice that it is a combination of the small/straight zigzag stitch which can be seen alternating between a wide zigzag stitch every 4 stitches.
Here, all you have to do is place the edge of the prepared folded hem against the guide and lower the foot of the sewing machine.
The fabric should be perfectly lined up with the vertical guide of the foot. If necessary, make the correct adjustments.
Likewise, you may need to modify the stitch width, too, to ensure the needle is positioned left – to catch the fold of the fabric.
Once done, begin sewing… slowly – making sure the fold remains even against the guide of the presser foot.
When creating the stitch, it is important that it is running straight along the edge of the hem.
Since the needle is positioned to the left, it will help to grab one thread of the folded fabric at a time – this creates a neat look.
Step 5 – Finish The Blind Hem
Once you have finished stitching, all you have to do is remove the basting stitches and press the hem.
The result should be a completely invisible stitching line on the front of the fabric – the same result is achieved even when using contrasting colors!
The finished product should be something that is extremely durable and, if you’re using high-quality threads, it is unlikely to come undone, either.
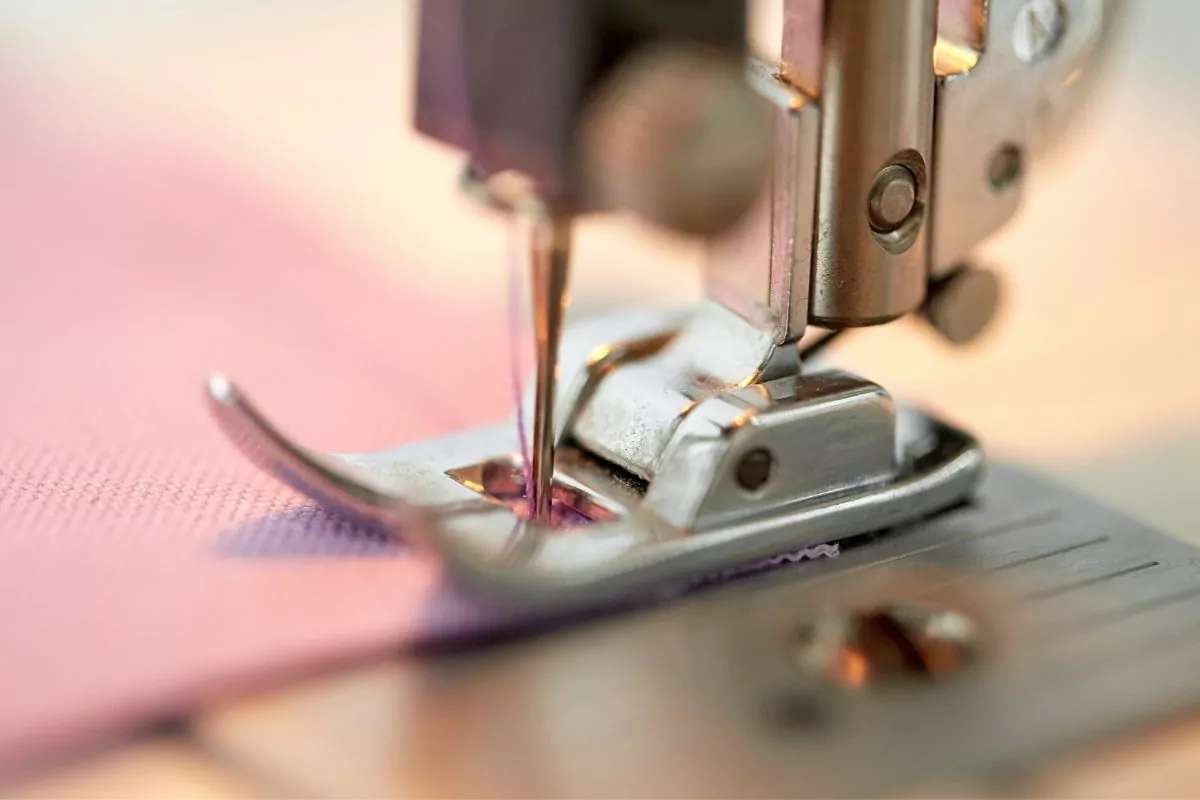
Blind Hem Foot Troubleshooting
Before moving on to your main project, you can practice on a piece of scrap fabric. That said, make sure it is the same fabric as the one you’re creating an invisible hem for.
After stitching, if you can see the stitches, this means that the needle didn’t catch a single thread of the fabric, but much more. This is the result of the needle being positioned too far left.
To solve this problem, simply reposition the fabric or decrease the stitch width to ensure it doesn’t move too far to the left.
If your hem isn’t fixed after doing this, then the needle in the left position didn’t move through the material at all.
Here, you can hold the fabric fold by the presser foot guide, or even increase the stitch width to position the needle to the left.
To ensure that the stitching thread remains invisible, you’ll want to sew the stitches so that they are matching the color of the fabric.
Blind Hemming Thick Fabric
When it comes to blind hemming thick fabric, the process is pretty much the same. Although, for this method, we’re going to use a slightly different blind stitch foot.
Step 1 – Finish The Raw Edges Of The Hem
Using a serger, you can finish the raw edge of the hem. Likewise, you can accomplish this using a presser foot and special stitches on a regular machine.
Step 2 – Mark The Area Of The Hem
Like before, you’re going to want to use chalk to mark the area you’re hemming. Simply measure 6 mm (¼ in) from the edge of the fabric and create a line.
Then draw another line 3 cm ( 1 ¼ in) above. This line is where you’re going to be hemming.
Step 3 – Fold And Pin The Fabric
Next, you’ll want to fold the fabric along the second line, however, you don’t want to press it with an iron just yet.
Instead, you’ll want to baste the fabric along the second line (the line 6mm away from the edge). Here, you want to fold the fabric to ensure the basting is on the wrong side facing up.
Step 5 – Attach The Blind Stitch Foot And Create A Blind Hem Stitch
Position the needle towards the left and then lower the needle so that the fold of the fabric is slightly caught.
Then, modify the presser foot guide screw to ensure it matches along the fold.
Then, all you have to do is place the edge of your prepared fold against the foot guide and then lower the foot. The guide and the fabric should be perpendicular.
Along the edge of the hem, the stitches should run straight. Plus, when the needle is positioned to the left, it only has to catch one thread at a time to create a neat and pleasant hem.
Step 6 – Sew Slowly
When sewing along the edge of the hem the stitch should be straight. Moreover, the needle should be positioned to the left for the desired finish.
Step 7 – Remove The Basting Stitches And Press The Hem
Once you have finished stitching, all you have to do is remove the basting stitches and press the hem using an iron. The result should be something that is clean and neat with no visible stitches!
Final Thoughts
When it comes to sewing, one of the most intimidating stitches is the invisible blind hem. This is chiefly due to the fact that it needs to remain invisible – which can be hard to achieve.
However, with the help of this guide, you’ll be able to create invisible blind hems with no problem.
Hopefully, this guide has informed you on everything you need to know to create your own invisible blind hem.
- How To Sew Fabrics Together - June 5, 2023
- How Many Stitches Per Inch? - June 5, 2023
- How Long Does It Take To Sew A Dress? - June 5, 2023
