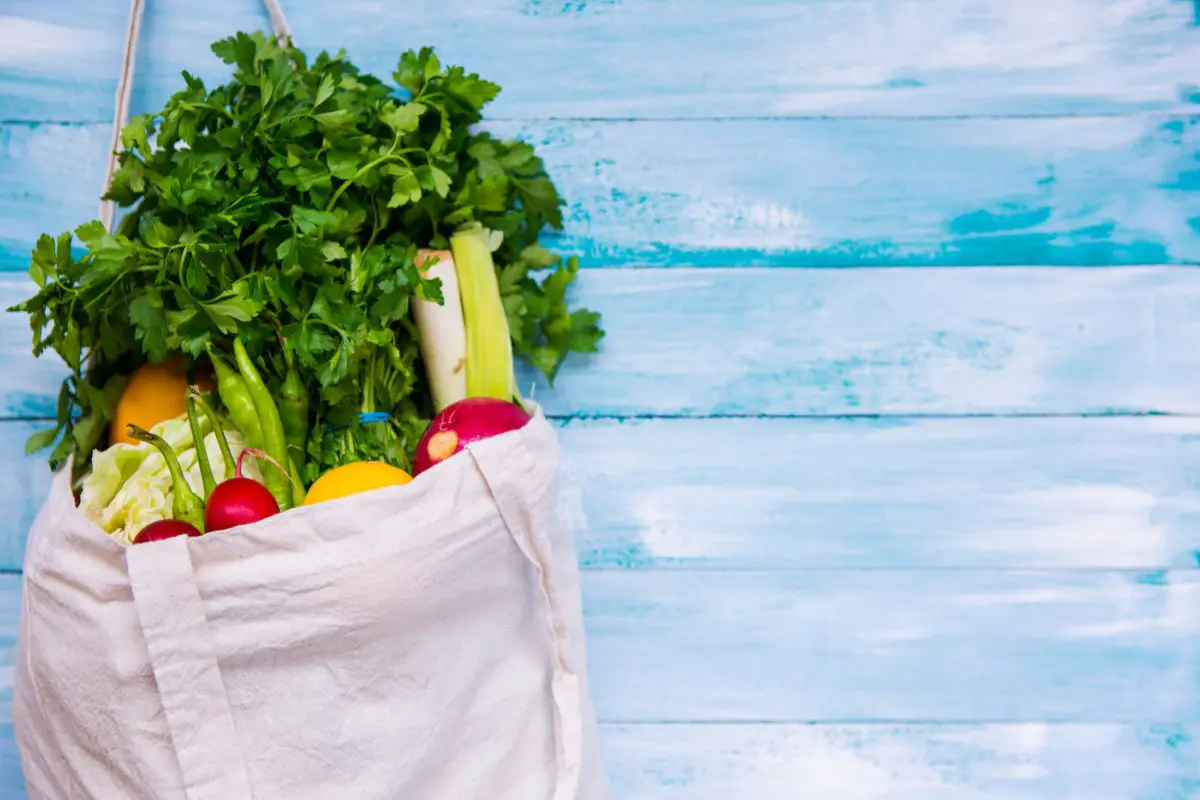
It can be frustrating heading to the grocery store, only to realize that you’ve forgotten to bring a bag. Once again you’ll have to take home another plastic bag that will just end up in a landfill.
However, with your own foldable market bag tucked away in your purse, you won’t have to worry ever again!
In this guide, we’ll show you how to sew a foldable market bag that you can use time and time again for your groceries. Read on to find out how to make this essential item that will change the way you shop for groceries!
Why You Should Make Your Own Foldable Market Bag
Plastic bags are banned in some parts of the country, they are expensive in other parts, and some stores give you discounts if you bring your own bags. All of these are valid reasons for maintaining a supply of foldable market bags in your car.
Additionally, the grocery store bags are really weak, and the handles snap easily. You won’t have to deal with those annoying plastic bags when using this strong, long-lasting market bag, and you can carry your shopping without worrying about breakage.
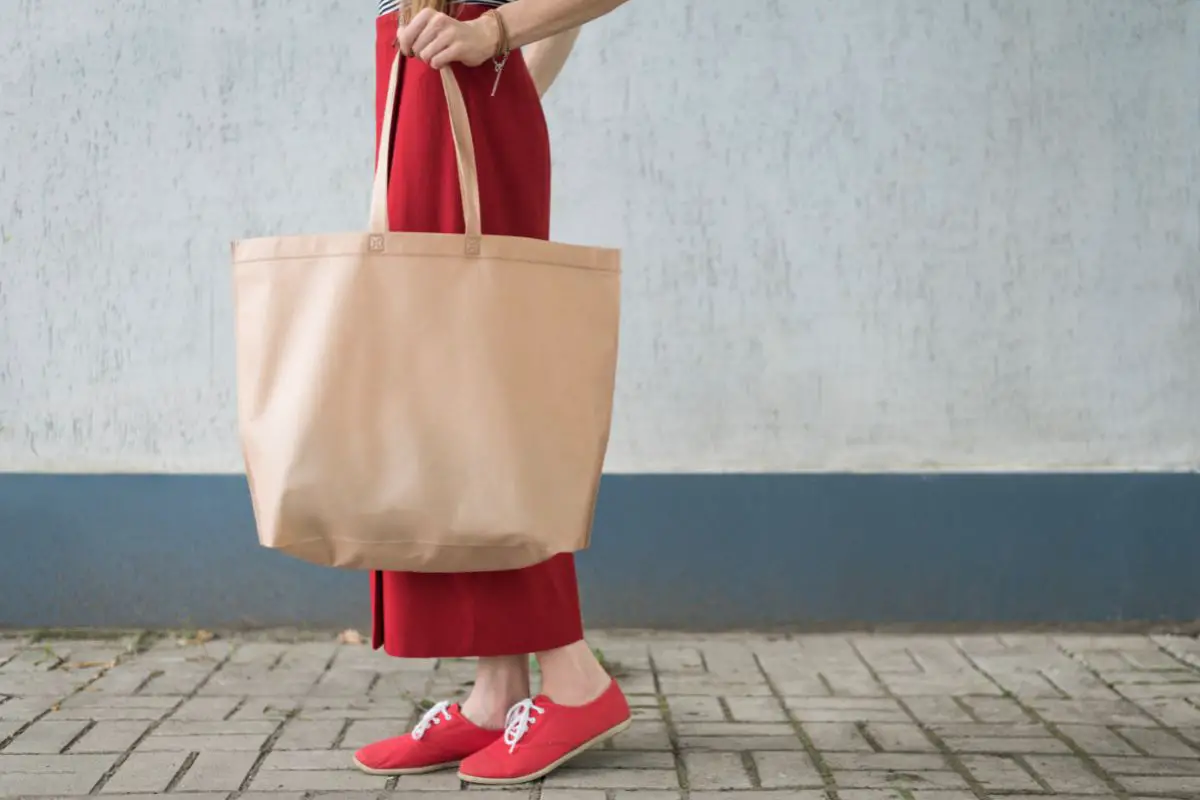
This pattern for a foldable market bag is big enough to hold a lot of items and has soft handles that are long enough to throw over your shoulder, freeing up your hands for shopping (see also “Easy Asymmetrical Bag Pattern Tutorial“).
Finally, by making your own market bag, you’ll be doing your bit to help protect the environment. These bags are environmentally friendly, and just one of the ways you can take steps towards a greener way of life.
What You’ll Need
1/2 yard of fabric – you can use two different ones if you wish
Matching sewing thread
Snap fastener
Pieces of interfacing
How To Make A Foldable Market Bag
Once you’ve gathered all of your materials, you can start making your foldable market bag! Just follow the steps below.
Step 1
By cutting two rectangles measuring 15 x 12 inches from your main fabric and two rectangles measuring 15 x 5 inches from your second fabric, you can make the bag in two different colors.
Simply cut all four rectangles from the same fabric if you want a single-colored bag; the measurements won’t change. For building a sturdy market bag, a strong utility fabric such as denim, duck cloth, or canvas works well.
Step 2
First, make the handles. One fabric piece should be folded in half lengthwise, right sides together, and the long side should be closed with a 1/4-inch seam allowance.
The handle should be turned inside out, ironed, and topstitched along the long edges. With the second handle, repeat the process.
Step 3
Fold the tab with the right sides together so that it is 5 x 1 inches after adding reinforcement with a piece of interfacing fabric.
Turn the fastening tab inside out and sew the long side and one short side together with a seam allowance of a 1/4 inch. Shorten the seam at the corners. The tab should then be ironed, and the edge topstitched.
Step 4
The bag’s two sides can now be sewn together. Simply sew the top and bottom (right sides together) of the back together using a 1/4-inch seam allowance.
To begin attaching the tab to the center of the bottom piece for the front, sew over it many times to ensure a strong seam.
Then, just as with the back, sew the top and bottom sections together. The seams connecting the top and bottom sections can be topstitched.
Step 5
Remember to leave the top open and stitch the two sides together (right sides together) with a seam allowance of 1/3 inch.
To ensure that the seam will hold when the shopping bag is full, you can sew it twice. At the corners, trim the seam allowance. A zigzag or overlock stitch can be used to complete the hem.
Step 6
The fabric should then be folded by 1/2 inch and ironed before the top edge is sewn. Once again fold it by 1/2 inch onto the backside, iron it, and the raw edge will be covered. Closely topstitch the edge of the hem.
Step 7
After that, stitch the handles 4 inches from the side seams. 4 to 5 inches of the fabric should be folded over and secured with clips or pins. Making sure that the handles are not twisted, attach the handles by sewing a diagonal cross.
Step 8
The snap fastener should now be attached. At the bottom, the center of the tab gets one half, and at the top, the same side between the handles gets the other half.
To strengthen this section properly, use a different piece of interfacing fabric. The tab should be folded up with the two parts that fit together facing up.
Step 9
All that’s left to do is iron the bag after turning it right side out. It can be folded by first folding it three times lengthwise, then once widthwise. The bag will be easier to fold the next time if you iron it while it is still folded.
Final Thoughts
Once you have completed your foldable market bag, you’re free to add more to the design and make it suit your style! Add patches, stencils, pins, iron transfers, or anything else you like!
Making your own foldable market bag is easier with some sewing expertise and the right equipment.
You can even make a collection of these bags, so no matter how many groceries you buy, you’ll always have something to carry them home in. All you need to do now is fire up your sewing machine and get to work!