Briefs are a classic style of underwear for both men and women. Women’s briefs come in a great variety of shapes and sizes.
If you are a big girl, then you know how difficult it is to find the right size of clothing, including comfy underwear.
In this easy guide, we walk through the steps on how to make your own briefs.
How To Sew Underwear For Big Women
There are so many different brief styles that large women can choose from. We picked a simple pattern that’s comfortable but stylish.
It has elastic bands around the waist and the leg holes, so there is plenty of stretch to fit everything in.
Here is the step-by-step tutorial for sewing your own underwear.
Step 1: Choose Your Fabric And Elastic
First, you will need to get some fabric together. Depending on the size of your undies, you can use fabric scraps.
Just make sure they are big enough for your individual fabric pieces. Your brief fabric should also have at least 20% stretch.
This allows plenty of space for movement and it also makes the garments feel more comfortable.
This being said, it can be a good idea to make a test pair first with inexpensive fabric. You can then get a feel for the individual steps before you start cutting your favorite material.
One big advantage of making the briefs yourself is that you can choose any color and design of fabric and elastic that you like.
Make sure that your chosen elastic fabric is wide enough. A standard width of 6mm should cover the edges best.
Step 2: Cut Your Fabric Pieces
The best way to get the right size pieces for your new undergarments is to take apart an old pair of briefs.
Most underwear is made of just a few pieces, including one for the front, one for the back and two gussets (one internal and one external gusset).
You will also need three pieces of elastic. The larger piece is for the waistline and the other two elastic pieces are for the leg openings.
Step 3: Sew Front, Back And External Gusset Together
Next, it’s time to construct your new undergarments. First, you will need to put the external gusset right side together on the front fabric piece.
The crotch and gusset pieces should be aligned properly. Then big the short edge together and start sewing a 6mm edge with a serger. You can also do a small zig-zag stitch.
Once you have sewn the short edge together, just open the gusset and lay the fabric flat.
Now, put the back fabric of your briefs on the gusset. They should be right sides together. Make sure that the seams are aligned.
Next, sew 6mm from the short edge with a serger or overlocker. You can also use a zig-zag stitch to create a neat line.
Then, gently roll up the back and front of your fabric briefs and pin them. This keeps them out of the way while working with the internal gusset.
Step 4: Add Internal Gusset
Now, you will need to place the internal gusset piece with the right side on top of the rolled-up front and back.
Make sure that the seams align with the external gusset. Then, you will need to sew both sides of the crotch seams. Allow 6mm from the edge.
Next, simply pull the back and front pieces through the gusset. Gently press the seams flat.
This turns your garment right side out and you can already get a feel for what it’s going to look like.

Step 5: Attach The Elastic Pieces
When it comes to elastic bands on your underwear, there are a couple of different options that you can choose from, including regular elastic and decorative picot elastic.
Sew On Regular Elastic
If you want to use standard elastic for your underwear, then it’s best to choose 6mm wide elastic.
With the different elastic qualities, it’s important to choose a good quality item that can withstand some wear.
Sewing elastic is relatively easy. You simply overlap your elastic over the edge of your fabric by around 6mm.
Then, pin the elastic band to the leg openings and the waistband. They should be on the wrong side of the fabric. This will give you a more professional finish.
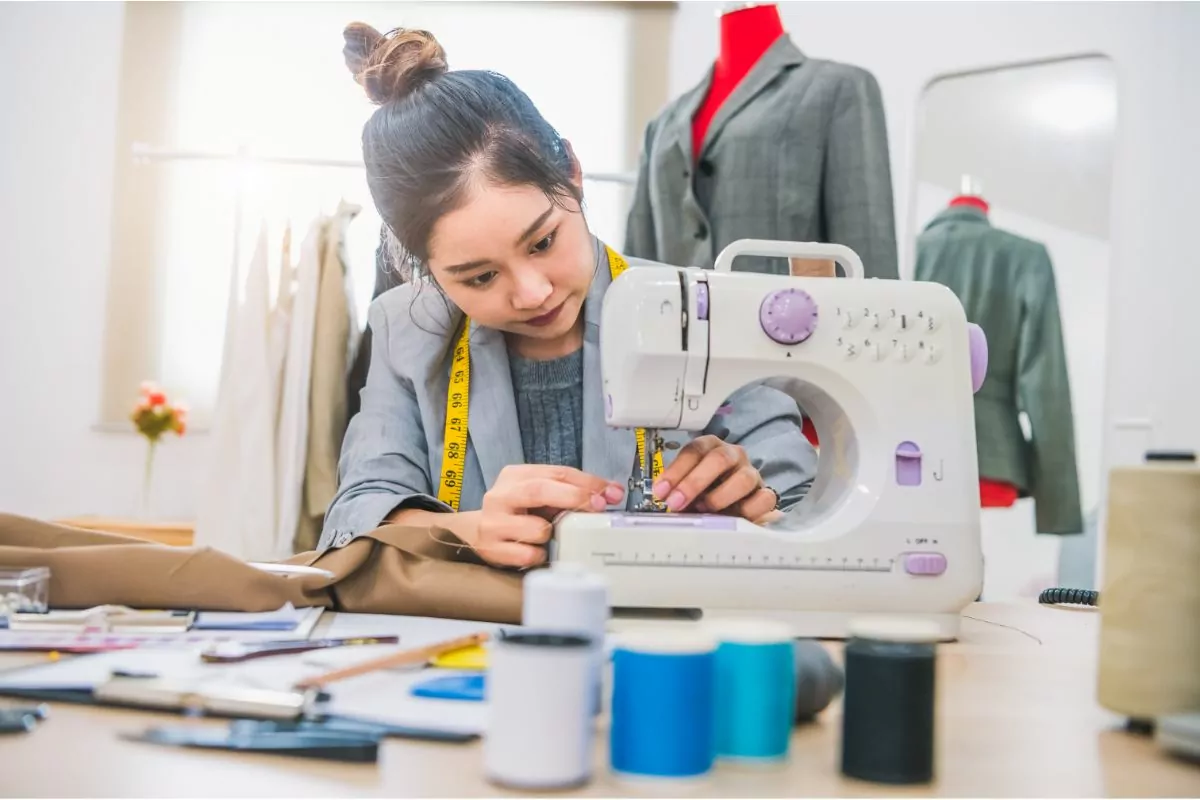
Next, sew the elastic to the leg openings and waist. You can either use a sewing machine or do this by hand.
We recommend sewing through the center of the elastic. This gives the piece more stability.
Keep in mind that you will need to stretch your elastic as you continue to sew. At the end of the elastic piece, just use a zig-zag stitch to enclose the elastic.
Sew On Picot Elastic
Picot elastic is the most popular elastic used for underwear and lingerie. It has a beautifully decorative edge which makes it ideal for briefs.
When sewing your picot elastic onto the waist and leg opening, you will need to keep in mind that picot elastic has a wrong and right side.
You should always sew the right sides of the garment together. Just follow the same steps as with the regular elastic.
Step 6: Finish Your Briefs
Once you have sewn the elastic, your briefs are finished. We recommend washing your new briefs on a gentle wash cycle before you wear them for the first time.
You can make as many briefs as you like. The more experience you have with sewing these simply projects, the faster you can make your underwear yourself.
How Long Does It Take To Sew A Large Woman’s Briefs?
It takes only a few minutes to sew women’s briefs. However, this depends on the type of fabric, your sewing skills and the size of the briefs.
Final Thoughts
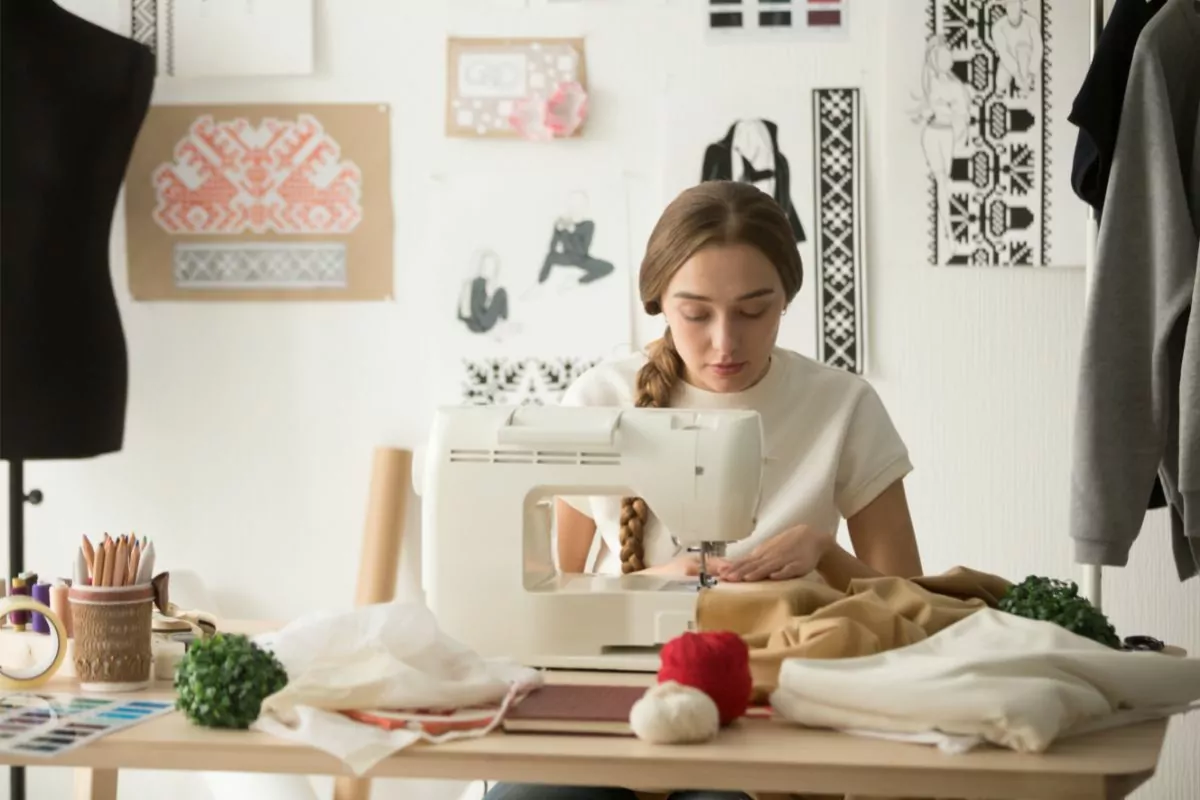
Briefs are an ideal sewing project for beginners. Making big girl briefs isn’t very difficult and you can pick up the few steps in a short time.
- How To Sew Fabrics Together - June 5, 2023
- How Many Stitches Per Inch? - June 5, 2023
- How Long Does It Take To Sew A Dress? - June 5, 2023


