Sewing curtains is like sketching a landscape—it requires precision, attention to detail and an eye for composition.
It’s intimidating at first, but with the right tools and guidance, anyone can master this art.

Making your own curtains is a great way to customize the look of your home and add a unique design that fits your style.
Even if you’ve never used a sewing machine before, there are some basic steps that you can follow to make stunning curtains for your windows.
This guide will help you understand the basics of how to sew curtains, no matter what level of experience you have.
We’ll also suggest the best types of curtains you can make when you’re just starting out on your sewing journey.
Should I Use A Sewing Machine?
As a beginner, you may choose to use a sewing machine for making curtains, however it is important to note that there are some risks involved.
Sewing machines can be challenging to learn and operate properly, so you may find yourself making mistakes or having difficulty performing certain tasks.
Therefore, it is recommended that if you have limited experience with a sewing machine, it would be better to start with smaller projects such as making pillow covers or purses before tackling the more complicated task of making curtains.
Additionally, depending on the type of curtain materials you are working with (such as sheer fabric), hand-sewing may be more appropriate than using a sewing machine.
Ultimately, it depends on your skill level and the specific project.
What Needle Should I Use For Sewing?
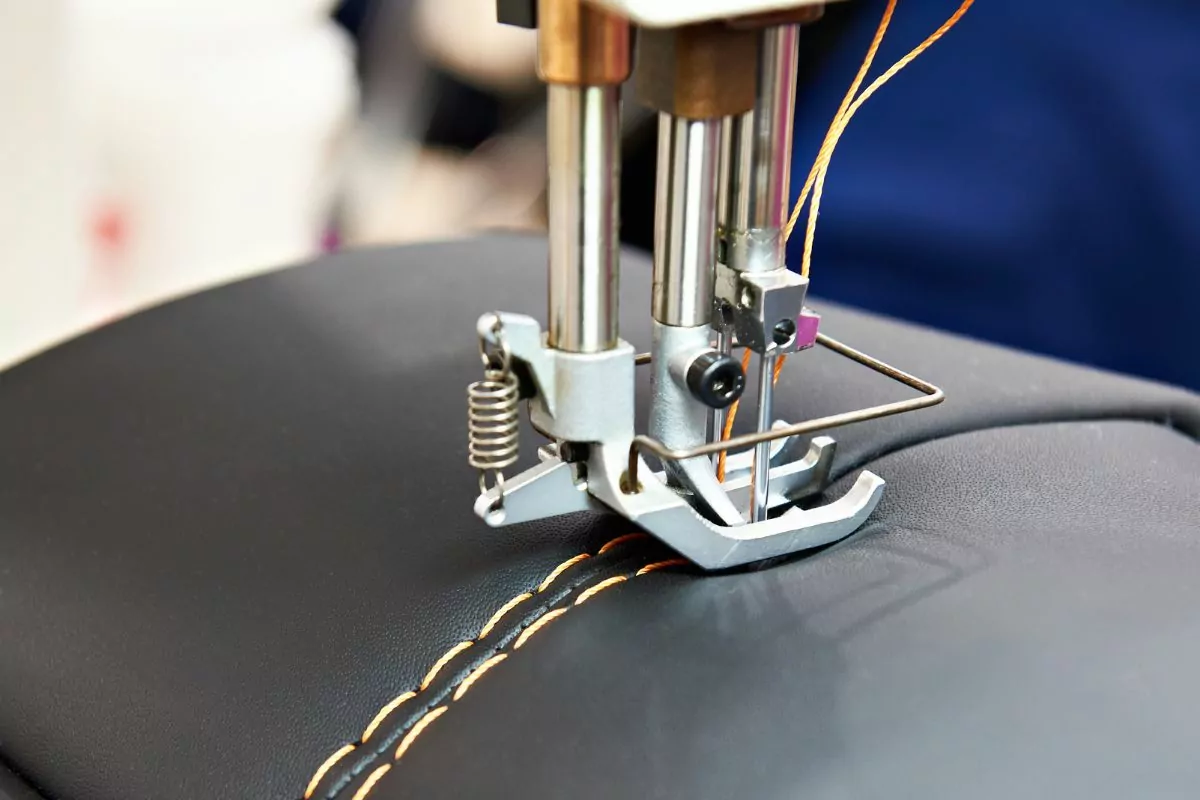
One thing that often trips people up when it comes to sewing projects is picking out the correct needle size. Generally speaking, using a medium-sized, sharp needle works best for most fabrics.
However, if you’re working on heavier material such as canvas or denim (see also “Sewing Denim Like A Pro: Our Best Tips And Tricks“), then opt for a larger sized needle with a strong point, so it can penetrate tough fibers without causing too much snagging or slipping.
Choosing the best style and color will depend largely on personal preference, but by understanding your options beforehand, you’ll save yourself some time trying to find just the right fit for your home.
Gather Your Materials
Before you start learning how to sew curtains, it is essential to gather all the necessary materials. Beyond fabric, lining and interfacing, this includes measuring tape, straight pins, scissors, and tailor’s chalk.
You’ll also need a safety or dressmaking pin or two; needlework scissors; bias tape (if making corner edgings); and thread in whatever color matches your fabric choice.

Best Stitch For Beginners
A good stitch for a beginner making curtains is the whip stitch. This stitch is both fairly simple to learn and easy to adapt, even for complex patterns.
To start a whip stitch, select two pieces of fabric that you want to join together.
Fold over the edges of the fabric, so they overlap slightly and will be hidden when the stitches are complete.
Thread a needle with the same color or contrasting-colored thread as your fabric, then begin sewing along the folded edges of your fabrics using small stitches that loop around each other at regular intervals.
This will form a secure and lasting seam without much fuss.
Measure Your Windows
Measuring your windows accurately is key when learning how to sew curtains because it determines the size of the final piece.
Start by measuring both side-to-side and top-to-bottom distances; use these measurements when cutting out individual pieces of fabric.
Measure twice so that there’s less chance of error when cutting out the fabric.
It’s important to factor in an extra 2–3 inches for hem allowance on both sides, so get measuring tape and jot down the width (side to side) and height (top to bottom) measurements for each window.
Cutting Out Your Fabric Pieces
Once you have taken accurate measurements of your window configuration, it’s time to begin cutting out individual pieces for each curtain panel.
To ensure accuracy when cutting out longer lengths for wider windows, use two different tapes: one for each direction (lengthwise and widthwise).
This minimizes errors from differing tapes stretched across a large space at an angle.
Stitch Panels Together
After all fabric pieces are cut out, it’s time to make them into panels by using the whip stitch and stitching them together along their edges.
Begin with one side seam per curtain panel at its longest length until all panels for one window valance are complete.
To give the edges of the panels a professional finish after they have been cut out, use an iron with fusible interfacing along all sides before folding them over twice and pressing with an iron if that is necessary, depending on the type of material being used.
This will strengthen them and make sure that they hang properly once hung up.
Hem Sleeves & Finishing Touches
When it comes to hemming and finishing touches on curtains, accuracy and neatness are key. Hemming a curtain requires the right tools and patience in order to get professional-looking results.
There are several methods of hemming, which involve using different types of fabrics and thread (see also “Best Serger Thread?“). The most common method is machine hemming, but hand stitching can be used as well.
To begin, measure the length of your curtains, so you know how much fabric needs to be gathered to form the bottom hemline.
To create a neat finish, use an ironing board or flat surface to press the curtain’s top edge inwards by half an inch before stitching it down with a sewing machine or needle and thread for hand stitching.
To keep the pleats in line when hemming multiple panels, use spaced pins along one side of the fabric before pressing or stitching them down.
For heavier fabrics like suede or velvet, it is best to opt for hand stitching over machine sewing, as it ensures that the fabric does not bunch up at the edges when pressed or stitched down.
When using heavier fabrics, first use tailor’s chalk or a pencil to draw out a line that serves as a guide while hemming and then use heavy-duty upholstery thread when hand stitching.
Once you have finished sewing/hemming your curtains, give them some extra special touches by adding weights into their hems like small lead pieces (again, this is best done with hand stitches) or even decorating details such as ties or buttons.
This will ensure that your curtains hang correctly after they have been installed onto the rod in your window frame and provide that professional touch!

Tips And Tricks For Sewing Curtains
Sewing curtains is an excellent way to customize your home and add a personal touch!
In fact, according to the American Sewing Guild, more than fifty percent of Americans enjoy sewing as a hobby. With that in mind, here are some tips and tricks for creating beautiful curtains with ease.
The first step when it comes to sewing curtains is to measure accurately. As mentioned earlier, make sure you account for both the length and width so that they fit perfectly.
When cutting fabric or pre-made curtain panels, be sure to use sharp scissors or shears in order to get neat edges.
Additionally, before starting any project make sure you have all necessary materials like thread, pins, and needles at hand.
When working with heavy fabrics such as velvet or suede, try employing interfacing on the backside—this will help maintain the shape of your curtains while also providing extra durability.
Furthermore, you may want to consider adding lining if you’re using lightweight material; this increases privacy from outside viewers but can also lend an extra layer of warmth during cooler months.
Finally, don’t forget about embellishments! Adding beads or other decorative pieces can totally transform plain curtains into something truly unique and special.
Sewing projects always come with their own set of challenges, but there’s no need to worry – just remember these helpful tips which should give you the confidence needed for successful results!
Best Curtains To Make For Beginners
If you are a beginner who is just starting to sew, curtains are the perfect project to learn on!
Curtains can add color and texture to any room, making them an easy way to spruce up a living space without spending a lot of money.
There are many types of curtains that can be made depending on the level of difficulty. Here are some of the most popular types for beginners:
Tab-Top Curtains
These curtains feature tabs along the top, making it easy for you to insert curtain rods into the fabric.
They look great when made from lightweight fabrics such as cotton and linen, and you can use contrasting fabric for the loops if desired.
Tie-Back Panels
Tie-backs are ideal for those limited in time and experience, as they don’t require too much fabric or embroidery, so even post-beginner sewers can whip these up quickly.
They have ties at either end that loop around curtain rings above or behind them, allowing you to tie them back against a wall if needed.
Panel Curtains
The easiest type of curtains to make, panel prints, simply require sewing two pieces of fabric together along their edges with a lining included in between.
These panels should be long enough to cover your window(s) and come down over the sides, depending on how much light coverage you’re looking for.
Café Style Curtains
If you want an extra alternative look throughout your entire home, then café style is perfect!
Start off by cutting two equal rectangles out of your favorite material and following measurements according to your window size.
Then hem all four edges leaving about three inches worth of showing material at the top and bottom edges before attaching small matching leather tassels along each corner edge with thread or faux leather cord strings tucked underneath them!
Once done, hang up on your window rod with clips or rings!
Conclusion
Curtain sewing is a great way to personalize your home and create stunning results. With the right tools and knowledge, anyone can master this craft.
Whether you are looking for café curtains, tab top curtains, pencil pleat curtains or grommet or eyelet curtains, there are several options that fit any budget or skill level.
Sewing curtains doesn’t have to be intimidating—even if you don’t consider yourself particularly crafty.
With the right needle size and fabric choice, as well as following some helpful tips and tricks, you too can create custom window treatments that will transform your space in no time.
So go ahead—give it a shot!
- How To Sew Fabrics Together - June 5, 2023
- How Many Stitches Per Inch? - June 5, 2023
- How Long Does It Take To Sew A Dress? - June 5, 2023


