A nice set of matching placemats will make your dining table look stunning and they can be used to match your decor in several other places around the house as well.
That’s why we’ve created this quick and easy placemat tutorial for beginners. Follow our instructions and you should have no problem making these placemats for your home.
Let’s get started!
How To Make A Quick And Easy Placemat For Beginners
Here’s our step-by-step tutorial for making your own placemats. We’ll begin by describing the materials you will need.
Materials And Equipment Needed
Quilting cotton fabric of your choice for the front
Quilting cotton fabric of your choice for the back
Cotton quilt batting
Cotton thread
Scissors
Ruler
Sewing machine
Iron
Pins/wonderclips
Step One – Measure And Cut
Your first step is to cut your fabric to size.
You can adjust these sizes to suit your own placemat needs but we recommend sticking with rectangles of 13 inches by 19 inches as these are very standard placemat sizes.
You should cut your front fabric, backing fabric, and cotton quilt batting.
Don’t be afraid to take your time when it comes to measuring and cutting your fabric and try to make the 13 inches by 19 inches rectangles as neat as possible.
Step Two – Layer
With your fabrics cut, it’s now time to start constructing and layering your placemats.
First, place your rectangle of batting on your work surface. On top of this, place your backing fabric with the right side (the patterned side) facing up.
Finally, place your front fabric on top with the right side facing down. This means that the two right sides are facing each other.
When you have the three layers arranged and in place, pin them together with wonder clips or pins so they won’t move around.
In the center of one of the longer, 19-inch sides, leave a gap in your stitches that is around two to three inches wide. This will give you space for turning the mat later.
Step Four – Clip The Corners
One of the hardest parts of making a neat placemat is getting the corners right. You can make this easier by clipping the corners so that you don’t have excess material.
The best way to do this is by trimming three times. In the first step, cut each corner at a 45-degree angle as close as you can to your stitches without cutting the stitches themselves.
You can then cut a little bit more on the left side of the corner and then on the right.
Step Five – Turning
From the opening in the stitches that you left on one of the longer sides, gently pull the fabric through so that the entire placemat turns inside out.
This should now leave the right sides of your front fabric and backing fabric facing out and the cotton quilt backing in the center.
To make this turning neat, you can use a chopstick to poke out the corners. Do this gently though or you may poke through the corners completely!
Step Six – Sew
Gently iron your placemat so that any creases fall out of the fabric and the edges are neatly lined up. The opening through which you turned the placemat should be neatly lined up as well.
To keep it in place, you can use your pins or wonderclips again.
Sew around the edges of your placemat and as before, leave around a quarter of an inch from the absolute edge.
Choose a nice color of thread that will complement the colors of your patterned fabric.
When you’ve finished sewing, make sure any loose threads are snipped and tidy and iron the placemat once more.
What Is Batting?
When we made our placemat we included a layer of cotton quilt batting in the center.
This layer serves an important purpose as it gives your placemat the padding that will allow it to protect the table it’s placed on. It can also help to absorb some of the heat from your plates.
There are many different materials that you can use for this batting. Fibers such as cotton, wool, or bamboo are usually the best as they can absorb heat and are natural.
If you’re not as concerned about heat protection, you could use a layer of low-loft polyester or a poly-cotton mix.
There are also some other materials that you can use and some of these you may already have around the house!
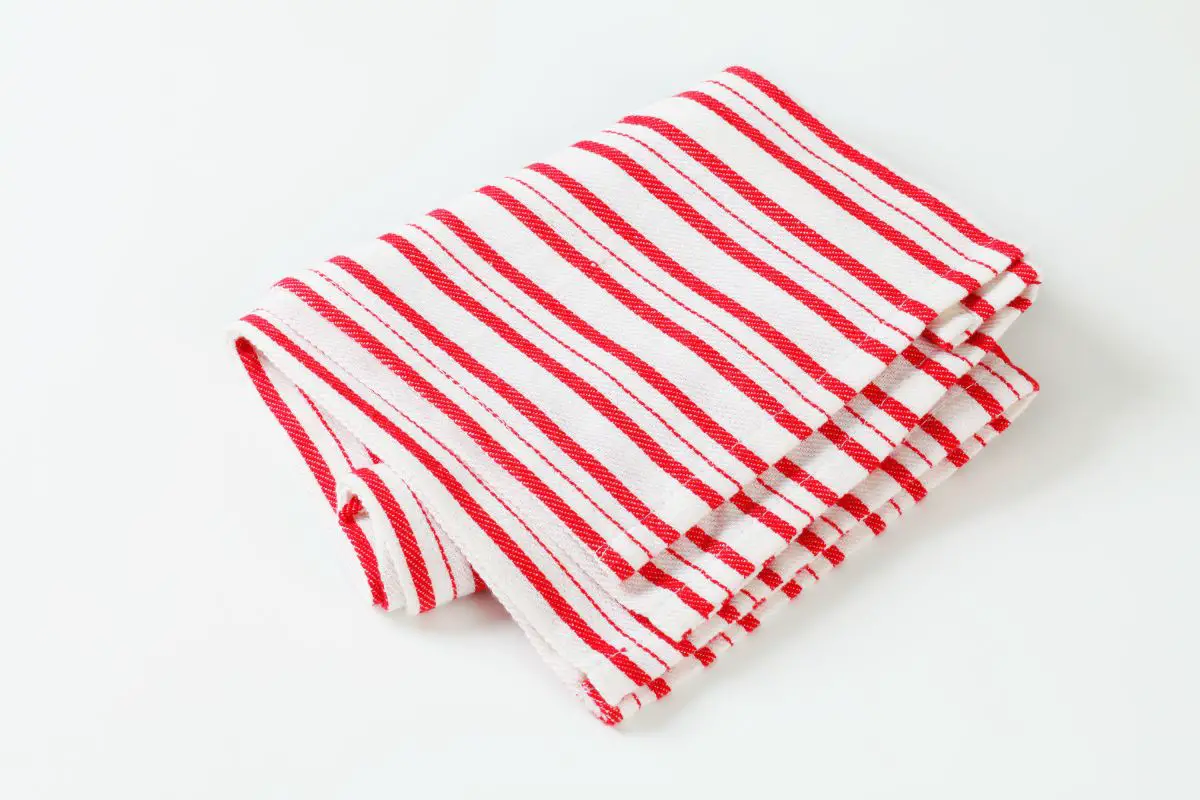
An old tea towel will do a decent job as batting and saves you from throwing them out. You could also use flannel fabric or some fleece, although we don’t recommend the latter with hot plates.
You can also skip the batting altogether but this will make your placemats very thin.
Final Thoughts
In this article, we gave you a step-by-step guide on how to make a quick and easy placemat.
This tutorial didn’t require any complicated equipment or technique and is straightforward enough for beginners to follow.
We hope that you enjoyed our tutorial and were able to make some beautiful placemats!