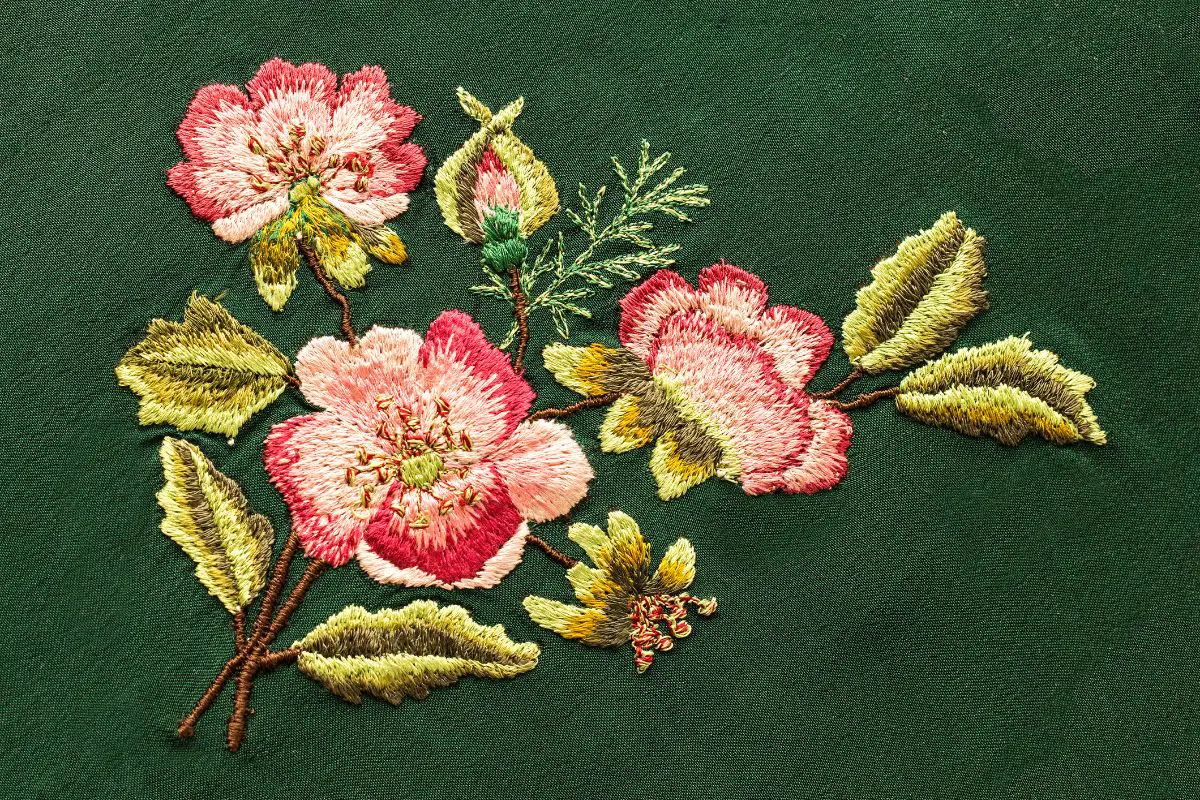
If you’ve ever forgotten to rotate your fabric while working or accidentally embroidered through both sides of your material, you’ll know what a nightmare embroidery mistakes can be.
Sometimes, you might even need to remove embroidery where no mistakes have been made.
For example, you might have items embroidered with your maiden name, which may need changing when you get married.
Or, you might have purchased a shirt with an embroidered logo, but think you’d prefer the garment without it.
Luckily, while it’s not easy to remove embroidery after the fact, it’s possible with enough dedication – and the right tools, of course!
If you have some embroidery that you need to remove from a garment or piece of fabric, you’ve come to the right place.
We’re going to be walking you through the process step by step, from what tools you’ll need to buy to how you can prevent these situations in the future.
Is Removing Embroidery Impossible?
You may have heard people say that it’s practically impossible to remove embroidery once the stitches are in place, but thankfully, that’s not actually the case – at least, for the most part.
While it’s true that removing embroidery is no easy task, if you have the right tools and use the correct technique, you can remove embroidery from most fabrics without damaging the material.
However, it’s also true that in some cases, removing embroidery will be tantamount to destroying the fabric underneath.
This is most common with delicate fabrics like silk or chiffon, but there are other fabrics such as leather and vinyl that will be permanently marked once you stitch into them (see also “How To Stitch A Summer Frock“).
It’s also worth noting that even when embroidery can be removed without ruining the fabric, it takes a lot of time.
If you don’t have the funds to replace your material due to a mistake, then the time spent salvaging it may be worth it.
However, if you are working on inexpensive fabric, you may prefer to simply replace it and begin again rather than spending hours ripping out the stitches.
Removing Embroidery With A Stitch Eraser/Ripper
Our favorite tool for removing embroidery is either a stitch eraser or a stitch ripper. If you don’t already have either of these, we recommend investing in Peggy’s Stitch Eraser.
Peggy’s Stitch Eraser can be purchased in 2 models: the Stitch Eraser 3, or the Stitch Eraser 9. The 3 is corded and full-length, while the 9 is a thinner model designed for smaller, more complicated stitches.
Alternatively, you can buy a stitch ripper, which is a similar tool that can be either corded or cordless depending on your preference.
Bear in mind that while these embroidery removal tools are ideal for removing most embroidery stitches, there are some designs that they might not work for.
This is why we’ve also included instructions on how to remove embroidery using other tools below.
With that being said, if you do have a stitch eraser or a stitch ripper to hand, here’s how to use them to remove embroidery:
1. Work From The Back
You will need to start from the back of your design because this is where all the bobbin stitches will be.
First, if something has gone wrong with the machine, and you have a lot of tangled thread at the back, use scissors to get rid of this first.
Use the bigger blade on your stitch ripper (making sure you’re holding the tool right side up) to essentially shave the stitches at first.
This will hopefully break a lot of the larger stitches, although you might need to use the smaller blade for the smaller stitches.
Try to move the tool in the same direction as the stitches while holding it perpendicular and using a back and forth movement to get as many of the stitches up as possible.
Don’t be tempted to push down really hard, since this might damage your fabric.
Note: if you have any running stitches in your design, use a seam ripper (see below) to get these, as they’re much trickier to remove.
2. Pull Loose Threads From The Front
When you’ve shaved as many bobbin stitches as you can, turn your design over, so the front is facing up. You should have some loose threads that can be pulled out.
You can use your fingers for this, but a seam ripper or a pair of tweezers might be best for finer threads.
3. Trim And Repeat
Take a pair of scissors to trim any loose threads that are still stuck and use either contact paper, duct tape, or a lint brush to pull up as many more as you can before repeating the process a second time.
4. Pull On The Stabilizer
We recommend leaving your backing stabilizer on your design because, towards the end, you can give the stabilizer a gentle tug to make smaller stitches more visible and easier to catch with your embroidery removal tool.
Using A Seam Ripper To Remove Embroidery
As we mentioned, a seam ripper is the better tool for removing running stitches from an embroidery design, and it may also help you with pulling out loose threads.
If you have a lot of tiny, precise stitches or are working with a delicate blank, a seam ripper will be more effective.
1. Start At The Back
Once again, you will want to start at the back of your design and work perpendicularly to remove the bobbin stitches.
Take extra care not to let the sharp point of the seam ripper get into the fabric itself.
2. Count Stitches
Because removing embroidery with a seam ripper can be a very long and frustrating process, we recommend counting your stitches so that you’re removing every third or fourth one.
3. Pull Loose Threads
Turn your design over and pull out any loose threads that can be removed from the front of your design.
4. Repeat
Now you can repeat the whole process over again, counting every third or fourth remaining stitch before pulling from the front until all the stitches have been removed.
What To Use In A Pinch For Removing Embroidery
If you don’t have a stitch eraser, a stitch ripper, or a seam ripper, there are other tools you might have lying around the house that could work for removing embroidery.
For example, you could use a hair trimmer or a razor if you have no other options available to you.
A razor, even a women’s razor, is probably the least effective of the two options, but if you have a hair trimmer, this can work fairly well.
Just make sure that your hair trimmer is good quality and has a sharp blade. We recommend the Wahl Peanut hair trimmer specifically for this task.
Fixing Fabric Damage
Unfortunately, even when you remove your embroidery stitches as carefully as possible, you may still end up with some damage to the fabric underneath.
Don’t panic, though. Depending on the kind of fabric you’ve been working with, you may be able to fix any needle holes or thread damage from the removal process.
First, if you’re working with relatively forgiving material such as cotton, you may be able to make needle holes less visible by using the steam setting on your iron.
Just press the iron onto the fabric with the steam setting turned on, and it should make the fabric pliable enough that the holes close up.
If, after steaming the fabric, the holes are still visible, you may be able to work the fibers back together using your fingers.
Be gentle so as not to cause more damage. Just gently massage the damaged parts of the fabric until the holes shrink.
Sadly, in some cases, you won’t be able to fix fabric damage by steaming or massaging the fabric. In these situations, your best option is to cover the damage with something.
If the fabric is still usable enough to work on, you can try to embroider directly over the damage, although this method won’t be suitable if you have larger holes in the material.
That’s why, sometimes, an appliqué or an embroidery patch (more on these below) will be your best bet.
Ways To Prevent Future Errors
Either of the methods outlined above can help you to fix embroidery mistakes when they happen, but it will be a long process, and depending on the type of fabric you’re using, there may be damage to the material.
For these reasons, it’s best to stop errors from happening in the first place. This will save you a lot of time and money.
But how can you prevent future errors in your embroidery projects? Here are a few ideas:
Use Patches
We’re going to go over ways to embroider designs directly onto fabric while lowering the risk of mistakes in a moment.
However, if you’re really worried about doing something wrong and ending up with a mess to undo, one of the easiest solutions is to just use patches.
You can buy pre-embroidered patches online with so many beautiful designs.
This means that you can simply sew the patch onto the item or garment of your choice without running the risk of having to remove complicated stitches later.
Do A Test Run
There will be times when you’re not confident in your embroidery design prior to starting your project.
While it’s great to try new things and push yourself out of your comfort zone, we always recommend doing a test run first.
You can test-run your embroidery design on a different piece of fabric – ideally, one that doesn’t matter too much to you, in case something goes wrong.
And, if something doesn’t go to plan, this will give you the opportunity to troubleshoot so that it doesn’t happen again.
Check The Settings On Your Machine
It’s easy to get so carried away in the excitement of your new embroidery project that you forget to check the settings on your embroidery machine.
While this is a common mistake, it can be a costly one, so we always recommend that you check and double-check the settings before you get going.
You need to make sure that you know where the design is going to stitch onto the fabric, and you should always make sure that the orientation is correct.
Depending on the type of stitch and the fabric, you’ll need a different needle and stabilizer, and it’s always worth taking a peek at the thread to ensure that it’s the right color and thread type.
Finally, check your fabric. If you have more than one layer in the hoop, you’ll end up stitching through both layers.
Yes, we know that the point of the embroidery machine is to take the actual stitching work off your hands, but that doesn’t mean you should be making a cup of coffee or watching cat videos on YouTube while the machine is running.
While sitting and watching your embroidery machine can feel a little boring, it’s important to keep an eye on the stitching.
This way, if something starts to go wrong, you can stop the machine quickly before the damage is too extensive.
Final Thoughts
Removing embroidery from any kind of fabric is no easy task, especially if the embroidery is made up of running stitches or other tiny stitches that are hard to catch.
However, with the help of a stitch eraser, stitch ripper, and seam ripper, it can be done.
Remember that a seam ripper will work better than a stitch ripper for running stitches, and you might need to use duct tape or another adhesive surface to pull out some of the more elusive loose threads.
In a pinch, you could even use a hair trimmer or razor to remove embroidery stitches.