There is nothing more comfortable and cool than a lovely summer dress come the summertime, but why spend your money on one when you can make one for yourself?
In this article, we are going to look at why you might want to consider making your own summer frock when the weather starts to get warmer, as well as how to stitch it for yourself! Let’s get started.
What Is A Frock?
In this day and age, the term frock simply refers to a girl or woman’s dress, but interestingly enough, in the 17th century and onwards the term referred to a full-length or thigh-length outer garment that was loose and often worn by farmworkers, shepherds, and workmen in Great Britain.
These garments were similar to coats, with flat and broad collars and usually made from heavy linen. It is a bit of an old-fashioned term, but frock is still very much used today to describe dresses!
Why Make Your Own Summer Frock?
There are plenty of reasons that you might want to consider making your own summer dress, including the following:
Customization: There are plenty of ways that you customize a clothing piece when you make it and stitch it yourself, such as switching up types of fabrics and patterns. If custom clothes are your thing, then sewing your own dress is sure to be an appealing thought.
Uniqueness: Sewing a dress also means that you will be wearing something unique, thanks to it being made with your own two hands!
Rewarding: Whilst we are on the subject of making a dress by yourself, there is something incredibly rewarding about doing so, which is sure to give you a wonderfully fulfilled feeling once you have made it.
Price: Making your own dress can be a much cheaper option in the long run, which is always a positive point.
What You Will Need To Stitch A Summer Frock?
Let’s have a look at the basics when it comes to the tools that you will need to stitch your own summer frock:
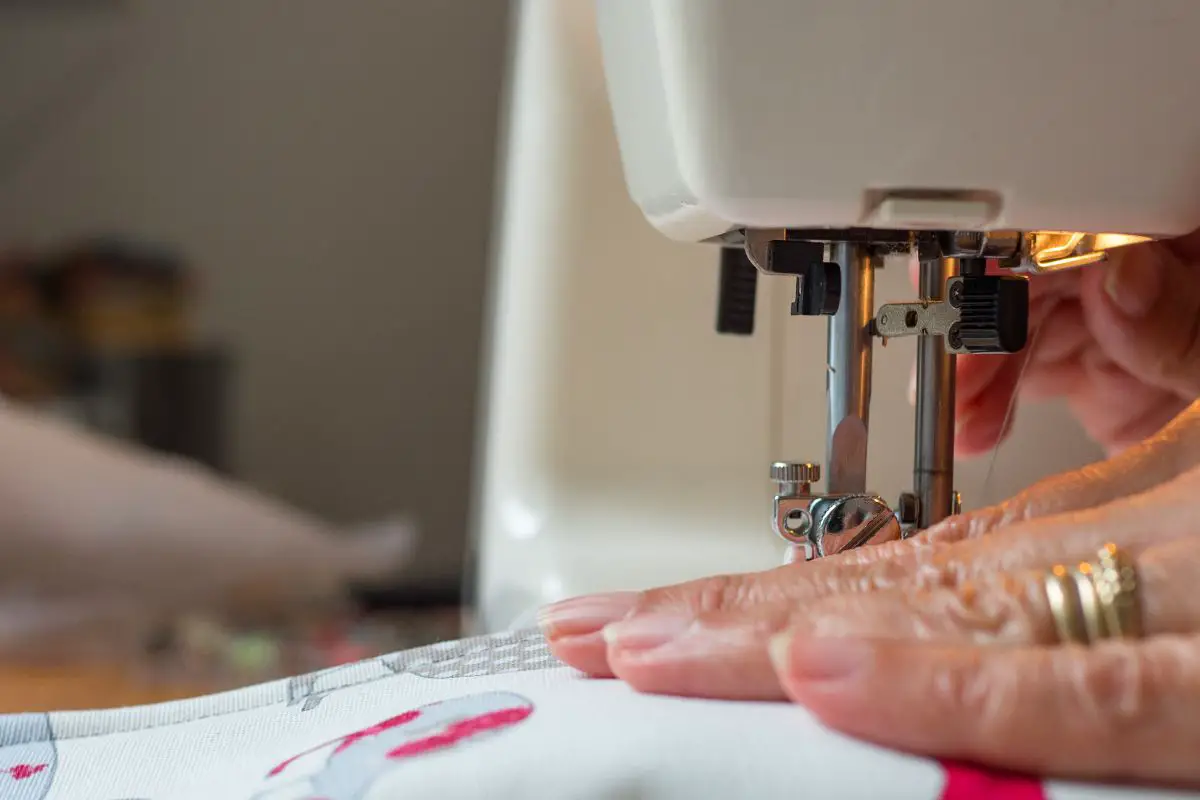
A sewing machine
Sewing clips or pins
A rotary cutter or scissors
Sewing pattern
Fabric measuring tape
Fabric (go for woven rather than knitted for a summer feel)
Extra fine pointed fabric marker or chalk
Needle and thread
Pattern weights
Rule pencil
An iron and ironing board
Serger (optional)
How To Stitch A Summer Frock
We now have some reasons as to why you might want to stitch your own summer dress and a list of tools that you will need to do so. We are now ready to go through the step-by-step process of stitching your own summer frock!
Let’s begin.
Select Your Fabric And Pattern
For fabric, opt for something that is lightweight and breathable, such as natural woven cotton fabric.
When it comes to a pattern, there are all sorts of styles you can go for, but if you are looking to go all out with the summer theme, choose something certain colors and styles, such as fruit prints with bright and bold colors.
Create A Pattern Or Select A Pattern To Work From
Self-drafted patterns can be a cheaper way to create clothing, but if you aren’t comfortable doing that yet, you can always go online and find a pattern to follow to suit your skill level.
Grab Your Tools
Make sure you have the tools that we listed above at the ready and that you have a table with excellent lighting. You will also need it to be big enough for you to cut fabric on.
Cut Out The Fabric
Begin to cut your fabric according to the instructions you have with your pattern. To do so, lay the fabric on a flat surface and smooth out any wrinkles, and then place the pattern pieces on the fabric.
Make sure you align them with the grain line and that there is enough space between each piece for seam allowances.
Next, pin the pattern pieces to the fabric to prevent shifting while cutting. Follow the cutting lines with your fabric scissors to carefully cut the fabric.
Assemble The Pieces
Put everything together by stitching the darts, side seams, and shoulder seams. When we talk about darts in stitching, we are referring to triangular shapes that are stitched into a garment to shape it to the body’s curves.
Darts are created by folding the fabric, then stitching along the folded edge, tapering to a point. The darts are then pressed flat, with the point of the dart pointing towards the center of the garment.
Attach The Sleeves
Attach the sleeves to the bodice of the garment by pinning the sleeve head to the armhole of the bodice, matching the notches and making sure that the fabric is evenly distributed.
Stitch the sleeve head to the armhole using a sewing machine or by hand, and then repeat this process with the other sleeve.
Hem The Neckline And Bottom Of The Dress
Hem the bottom by folding the fabric over at the desired hemline and pressing it with an iron.
Pin the hem in place to secure the fold and then stitch it before repeating the process for the neck as well as any other edges that need to be hemmed.
Some hems may require a double fold or a bias binding (see also “Bias Cut: All You Need To Know“), so be sure to follow the specific instructions for your garment and fabric.
Add Any Extras
Finish the dress by adding any additional desired details, such as pockets, buttons, or trimmings.
Try It On!
Try on the frock to check the fit and then make any necessary adjustments. Voilà! You have your very own homemade summer frock!
Final Thoughts
As well as being a fun and rewarding project, stitching your own summer frock can be a great way to showcase your creativity and to learn new skills (see also “Creative Ways To Repurpose Old Jeans“).
So long as you follow your pattern as best as you can, you are sure to be left with a gorgeous summer frock to show off once summer rolls around!