If you have a keen interest in sewing, then there is a good chance that you may have heard of a bias cut.

While you may not know exactly what this refers to, you likely will have heard the term thrown around, and that is because a Bias cut is a very popular cut amongst those who sew.
When you are new to sewing, it is easy to learn the term “Bias Cut”, but you may not learn exactly what this term refers to.
After all, there are so many different types of cuts and stitches in sewing that you simply don’t need to learn them all in order to sew successfully.
But, if you have ever wondered what a Bias cut is, then you are in the right place.
In this guide, we’re looking at everything you need to know about the Bias cut. So, if you want to find out more about this, keep on reading!
What Is A Bias Cut?
First, let’s dive right in and take a look at what a bias cut is. Well, as you have probably already guessed, a Bias cut is a type of cut that those who make clothes use when cutting fabric.
Specifically, the Bias cut is used when you want the material to sit in a specific position or look a certain way.
The majority of clothes are made using a simple horizontal or vertical cut, but for any clothes that fall away or drape off of the body, a Bias cut will have been used in the manufacturing process.
A Bias cut essentially is a cut that involves cutting diagonally through the fabric, meaning that you cut diagonally through the straight and cross grains, rather than in line with them.
The 45-degree cut of the fabric allows the fabric to naturally drape.
So when the clothing is worn, the material that is cut with a Bias cut will drape rather than have a body-con or straight fit.
How Do You Do A Bias Cut?
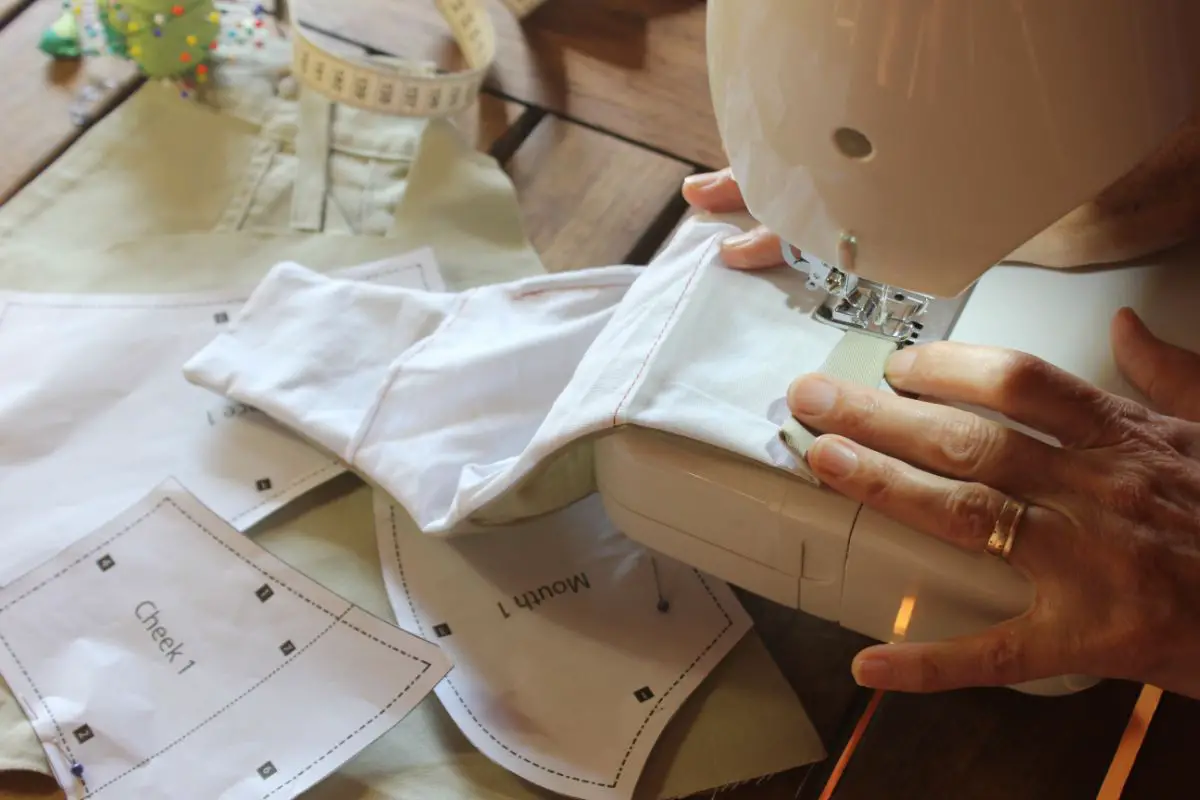
Now that we’ve taken a look at what a Bias cut is, let’s take a look at how to do a Bias Cut.
Completing your first Bias cut can be incredibly daunting, but once you know what you are doing, you will be able to do this cut without any issues.
Step One
To cut a Bias, the first thing that you need to do is find the grain of the fabric.
To do this, fold the material at a right angle so that the straight and cross grains are parallel. This allows you to check that you are about to cut the Bias at a 45-degree angle.
Step Two
Take your time with this next step. Before you pick up your scissors, double-check that you are definitely cutting at a 45-degree angle.
We would recommend checking by using a 45-degree ruler on the fabric. This allows you to know for certain that you have the correct angle.
Step Three
Make sure that you are only cutting through a single layer of fabric at any one time.
It might be tempting to cut corners by cutting two Bias cuts simultaneously, but this is only going to damage your fabric in the long run.
Bias cuts benefit from being cut flat and on a single layer of fabric.
So, when you pick up your scissors to begin cutting through the layers of fabric, ensure that the fabric isn’t at all folded or doubled over.
The fabric must be totally flat and in a single layer for a clean Bias cut to be made.
If the Bias cut is made across multiple layers of fabric simultaneously, there is a good chance that the fabric will not drape as desired in the finished product.
What Happens If You Don’t Cut Fabric On A Bias?
Cutting on a Bias is very important depending on what you are cutting, and more importantly, what you are designing.
But you might be wondering what happens if you don’t cut fabric on a bias, let’s take a look.
If you fail to cut the fabric on the Bias, then the fabric will not fall in the way that you desire when fitted to the body.
Instead of draping away from the body as a true Bias cut should if the fabric isn’t cut on the Bias, the fabric will instead twist around the body.
Bias cuts are made to allow the material to flatteringly fall away from the body.
But, if you fail to cut on the Bias, instead of having this effect, the fabric will grow as you wear it.
So instead of being a flattering drape, the fabric will end up hanging off the body loosely. So, it is very important that you cut on the true bias.
Tips For Completing A Bias Cut
Let’s wrap this up by taking a look at some tips for completing a Bias cut.
These tips will help make cutting at a Bias a lot easier, and increase the chances of you getting the cut right the first time. They include the following:
- Choose a solid fabric or one that has a minimal pattern. Cutting a Bias on a detailed pattern can be very difficult.
- Choose a fabric that you can easily cut through.
- Increase your seam allowance as Bias cuts require more fabric than regular cuts.
- Use a solid surface for your fabric to ensure it doesn’t slip during the cut.
- Take your time and don’t rush the process.
- Always double-check that you have the true bias before you cut.
Summary
In short, a Bias Cut is a popular cut that is used by those who sew.
In short, it is a technique that involves cutting diagonally through the fabric and through both the straight and cross grains, rather than cutting horizontally or vertically through the fabric.
This cut is mostly used when you want the material to fall and drape off of the body, rather than be a tight fit.
Thanks for reading.
- How To Sew Fabrics Together - June 5, 2023
- How Many Stitches Per Inch? - June 5, 2023
- How Long Does It Take To Sew A Dress? - June 5, 2023
