So when you are new to using one, you’ll likely be looking for all sorts of different tips and tricks to help you on your way.
In this guide, we’re talking about 10 top tips that will help you when it comes to using a Serger (see also “Serger Tips For The Rank Beginner“). So for 10 more Serger tips, we couldn’t ignore, keep on reading!
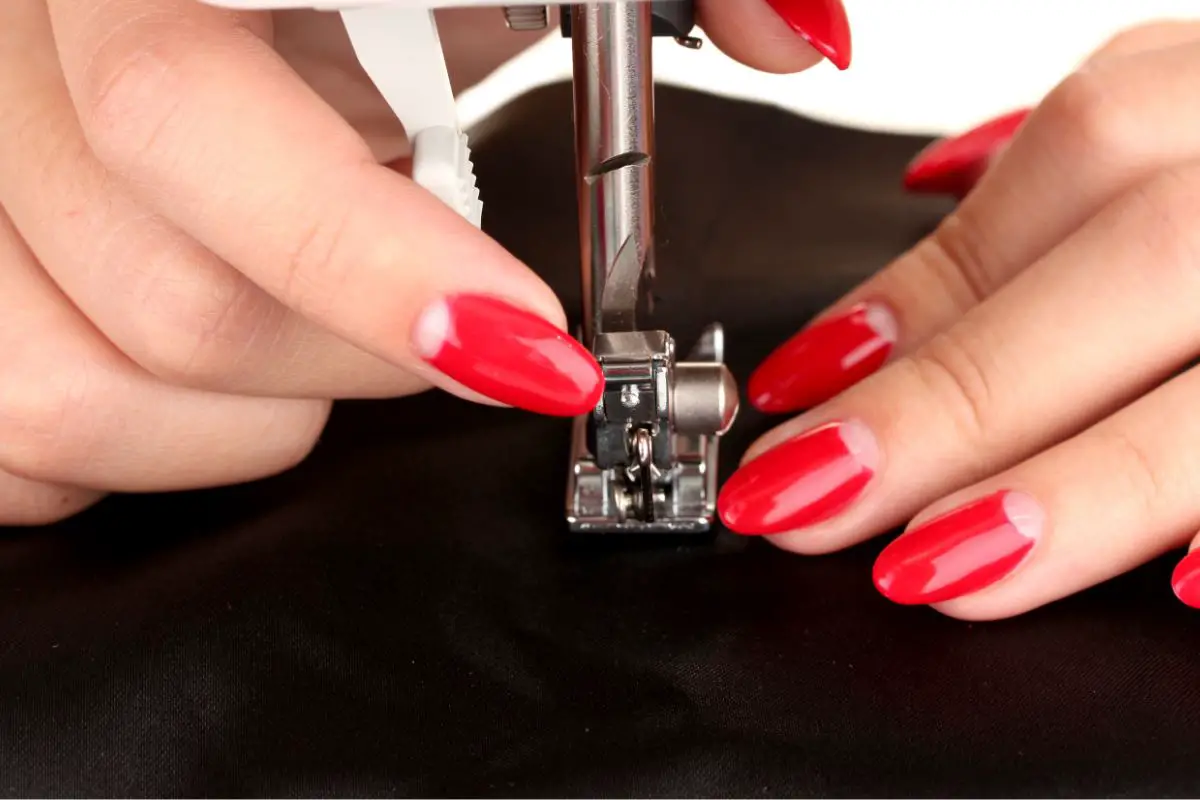
1. Ensure The Thread Feeds Freely
When it comes to using a Serger, the thread must feed freely into the machine at all times.
If there are any obstructions in the way, then this can cause the stitch to become uneven and rough-looking.
You may also experience thread breaks and even needle breaks if your thread meets any obstructions.
So when you are using your Serger, ensure that the thread isn’t at all knotted and that there aren’t any obstructions in the area that could prevent it from feeding freely.
2. Thread The Machine In The Correct Order
Serger overlock machines are very different from regular machines in a lot of ways, but like many sewing machines, they must be threaded in the correct order.
With a Serger, you must start by threading the loopers before moving on to threading the needles.
If you don’t thread the machine in the correct order then your machine will not feed freely, and this can lead to breaks and tears in the thread. So threading in the correct order is critical.
3. Use Tweezers To Thread The Machine
There is no denying that threading a sewing machine is an incredibly fiddly process. When it comes to feeding a Serger, the job is even more fiddly.
To make the job a lot easier, we would recommend using tweezers to thread your Serger.
The tweezers will allow you to pass the thread through the different parts of the machine much more freely, and greatly reduce the risk of any obstructions or tears along the way.
4. Always Use A High-Quality Thread
With some styles of sewing machines, you may be able to get away with using low-quality thread.
But not for a Serger. Serger sewing machines are very powerful, so it is critical that you use high-quality thread to ensure that it does not snap or break in the sewing machine.
A high-quality thread will be able to withstand the pressure of the Serger machine, and you will successfully be able to sew things with this thread.
So avoid trying to cut costs with a low-quality thread for the best results.
5. Ensure Both Needles Are Seated Correctly
As with all sewing machines, the needles of the machine must be seated correctly before you start sewing with your Serger.
During the threading process, it is incredibly easy for the needles to lose their seating and this can disrupt your sewing.
So, before you start the machine, check that the needles are seated correctly for a stress-free sewing experience.
6. Raise The Foot Before You Thread
Following on from our last tip, one of the easiest ways to ensure that the needles are seated correctly is to raise the foot of the Serger before you start threading.
Raising the Presser foot of the Serger will ensure that the threads are seated perfectly beneath the tension disks.
When the presser foot is raised, the thread will easily slot underneath the tension disks, which is why you should raise the foot before you start threading.
7. Fix Distorted Seams Through Differential Feed
Every sewer has experienced its fabric puckering or becoming distorted when they use a sewing machine, but this can be easily fixed on the Serger.
To avoid your fabric becoming distorted, simply switch to your machine’s differential feed.
This will change the way in which the material moves through the sewing machine, and give the sewing machine a stronger grip on the fabric.
This will reduce the risk of distortion and ensure that the finished product is perfect.
8. Don’t Go Too Fast Too Quick
When you first have your Serger, it is really easy to feel like you should use it on a quick setting immediately, but this really isn’t the best idea.
If you use the quick setting on your sewing machine too soon, you are likely to run into all sorts of problems, simply because you are yet to master the sewing machine.
Instead of starting off on a quick speed, you should choose a slower speed, then build up the speed as you sew.
This will reduce the risk of either your fabric or your thread becoming damaged in the process.
9. Oil And Dust Your Serger Frequently
The maintenance of the Serger sewing machine is something that very few people talk about. However, it is very important if you want your Serger to last for a long time.
Some of the most important maintenance for your Serger is to oil and dust it frequently.
After roughly every 15 hours of use, your Serger should be oiled, and it should be dusted even more frequently than this.
That is the only way to ensure that your Serger remains in good working order.
10. Take Your Time
Finally, take your time when using your new Serger machine.
There is no need to rush the process, instead, take your time to learn how to use the machine and become familiar with how it works.
Only then will you build up the skills for using your Serger.