The best thing about leggings is that they are super easy to make! These leggings that can be made for girls 3 and up are a perfect beginner’s project and will look so cute on your daughter, niece, or sister!

In this tutorial, we’ll show you exactly how to make these leggings with step-by-step instructions and a handy sizing template that you can use depending on the age you’re making them for. So, let’s get started.
Gather Your Supplies
Before you start sewing, you’ll need to gather a few supplies:
- 1 1/4 yard of knit fabric
- 1 yard of 1/2“or 3/4“ elastic
- Double needle for your sewing machine if you aren’t using a coverstitch machine (see also “Ultimate Guide For Selecting The Right Coverstitch Machine“).
- This free template for sizing
Prepare Your Template And Fabric
- Measure the 1″ square after printing the PDF pattern to make sure your printer did not enlarge or reduce it. By stacking the sheets and cutting the margins off the top and right sides all at once with your ruler and rotary cutter, you can quickly assemble the pattern piece. Just cut where the lines end; the margins are about 1/2″.
- Apply a strip of glue to the left and bottom edges where the pages meet using your sewing room glue stick.
- Lay the pattern on your fabric, securing it with pins or pattern weights, and trace or cut out the required size. Then, cut the shape from the material.
- Make sure to cut out 2 pieces of fabric that are in opposition to one another. This is easy if your fabric is in a double layer with the wrong sides together. You should take extra care to make sure the legs match if your fabric is directional, striped, or checkered.
Sew The Legs
- If you do have a serger and coverstitch, feel free to hem the leggings’ bottoms right away if you like (see also “Tutorial For Self-Drafted Ruffled Leggings“). This is especially useful for little sizes that are challenging to fit on the uncomfortable free arm of the coverstitch machine.
- You can measure the child’s inseam and compare it to the inseam of the pattern piece to double-check the inseam allowance. Ensure that the length is long enough to accommodate the specified hem size.
- Use a zigzag stitch with a width of 0.5 and a length of 3. Use the stretch stitch if it’s available on your machine because it’s made to accommodate the give that stretchy materials need. The seam will stretch as a result, preventing the thread from popping. Sew both leg pieces this way.
- Put the correct sides of the two leg pieces together by turning one inside out and inserting it inside the other.
- Matching the inseams of the legs, pin and sew the crotch seam.

Add Elastic
- The waistband should be made of elastic that is cut to suit the child’s waist once the leggings have been turned right side out. Measure the top of the leggings and cut a piece that is 1-2″ less if the intended child is not nearby.
- Use the largest zigzag stitch on your sewing machine to sew the elastic ends together.
- Mark the leggings’ top and elastic in quarters. Matching the quarter markings, tack the elastic to the top inside edge of the leggings.
- Sew the elastic to the top edge of the pants while continuing to use your widest zigzag stitch. A serger can also be used for this. Take care not to cut the elastic, though.
- It may be a good idea to design your own tag out of a piece of soft fabric or ribbon since kids find it difficult to distinguish the front from the back of homemade clothing. If your child is bothered by tags, label the material with a waterproof marker inside the elastic’s width but above the stitch line.
- Pin from the right side while flipping the elastic over. If you are placing a tag, pin it in place from the right side.
Sew The Front
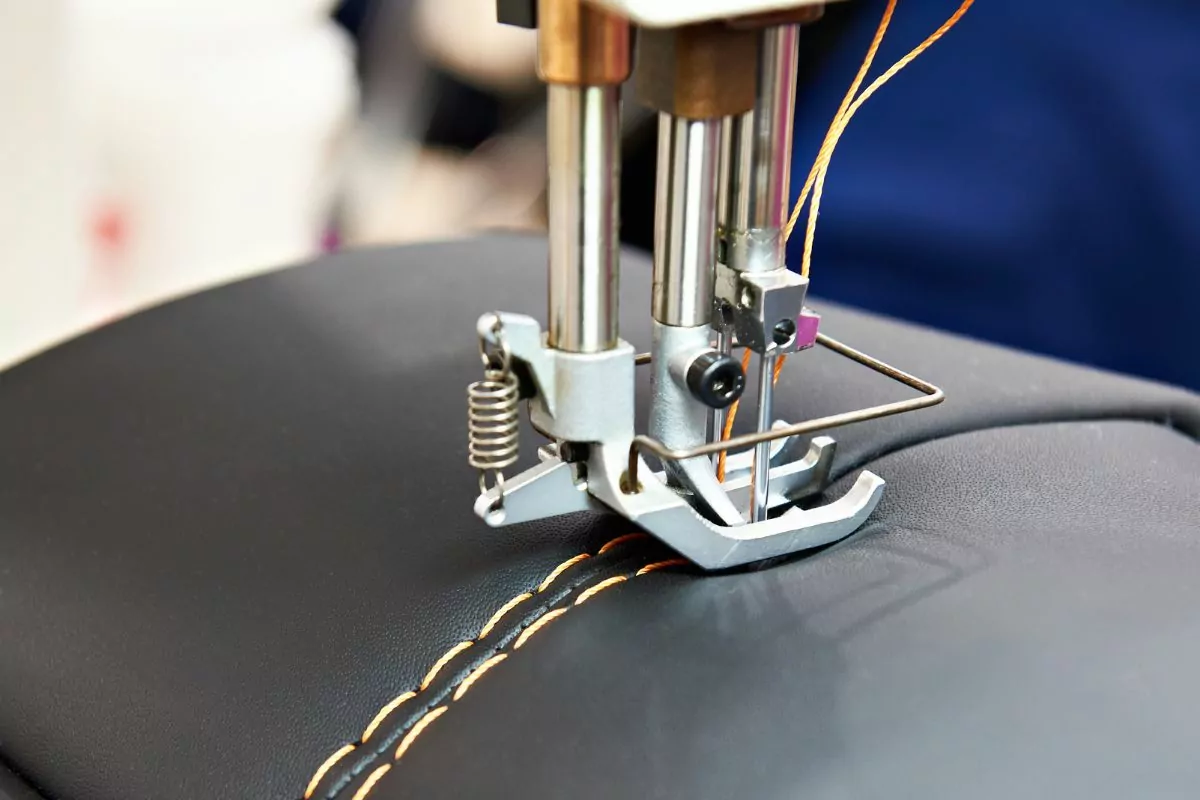
- Install a double needle and thread two spools of the same color thread into your standard sewing machine. The double needle is ideal for knit textiles because it creates parallel rows of stitches.
- Locate the lower edge of the elastic by feeling it with your thumb.
- Sew directly across the bottom edge of the elastic from the right side using the double needle on your sewing or coverstitching machine. To match the elastic, slightly stretch the material.
- Hem the bottoms of the legs right away if you haven’t already.
- The bottom border needs to be folded or pressed up 1/2″, then sewn in place from the right side.
Frequently Asked Questions
What Fabric Is Suitable For Children?
The materials with the best breathability, heightened hypoallergenic characteristics, and the most pleasant sensations include cotton, linen, and wool.
When sewing clothes for your children, consider using these fabrics that are best suited for your child.
When making leggings, you’ll need to choose something that has decent stretch and also fits well.
For this reason, stretch cotton fabrics are the best choice for children’s leggings, particularly jersey fabric with 4% to 6% elastane or lycra.
How Much Fabric Do I Need For Children’s Leggings?
For preemie babies to 6 months old, you’ll only need a 1/2 yard of fabric. You can use 3/4 yards for children aged 6 months to 4 years, and a full yard for ages 4 years to 6 years.
This, of course, depends on the size of your child.
Final Thoughts
With this guide, you’ll be able to sew an amazing pair of comfortable leggings for your little girl. It’s one of the easiest sewing projects you can do and will result in a fantastic addition to your child’s wardrobe.
- How To Sew Fabrics Together - June 5, 2023
- How Many Stitches Per Inch? - June 5, 2023
- How Long Does It Take To Sew A Dress? - June 5, 2023
