If you’re a lover of all things crafts and garment construction, you’ll probably be well aware of just how many different tools, accessories, and gadgets we need to make high-quality pieces.
Whether it be upcycling a garment, constructing a pillow, or simply making repairs to one of your favorite garments, there is a wide range of different things you need. One of those things is a tailor’s ham.
A tailor’s ham is a neat tool we can use to our advantage when pressing seams, sleeves seams, pleats, and much more.
This is a tool you have to own if you do any of the above. It makes your life so much easier. Whilst you can buy a tailor’s ham online or in various craft stores, you can make one yourself too.
Today, that’s what we want to show you how to do. In this post, you’ll find a detailed guide that shows you exactly how to do it.
Let’s begin!
What Is A Tailor’s Ham?
Before we go any further, for those that aren’t sure, let us explain what a tailor’s ham is. To put it simply, a tailor’s ham is a useful tool that can be used to our advantage when pressing seams.
Whether it be a sleeve, bust, or hip seam, we can use this convenient small pillow-like tool to effortlessly press seams. You could also use a tailor’s sausage to press sleeve seams that are harder to access.
In terms of when you would use a tailor’s ham, they are most convenient when you need to press a seam that doesn’t lie flat.
How Do You Use A Tailor’s Ham?
Using a tailor’s ham is pretty easy. The best way to use one is to place it on an ironing board before placing your curved seam that needs pressing over the top.
All you have to do before then pressing the iron on your seam is make sure it is set in place. To achieve the most accurate press, you should set the seam and tailor’s ham up so that the seam follows the shape of the ham.
Aside from creating an accurate press, this will reduce the risk of any ripples or buckling. When you come to press the seam, hold the fabric and the tailor’s ham firmly on one side.
This will prevent the fabric or tailor’s ham from moving during the pressing process. You can then press your seam.
What Do You Need To Make A Tailor’s Ham?
Now you know more about the tailor’s ham, we can start showing you how you can go about making your very own. We’ll start by showing you the materials and tools you need to do so.
We’ve outlined everything you need to make your own tailor’s ham below!
Thick cotton fabric or canvas
Sawdust
Scissors
Upholstery thread
Regular thread
Tracing wheel
Transfer paper
Hand sewing needle
Once you have all of these things, you’re ready to make a tailor’s ham.
How To Make A Tailor’s Ham?
Making a tailor’s ham isn’t actually that hard. In fact, it’s arguably the opposite. Once you know what to do, making a tailor’s ham becomes surprisingly easy.
To help you make your very own tailor’s ham, we’ve provided you with a step-by-step guide you can follow.
Follow the steps below to easily make your own tailor’s ham!
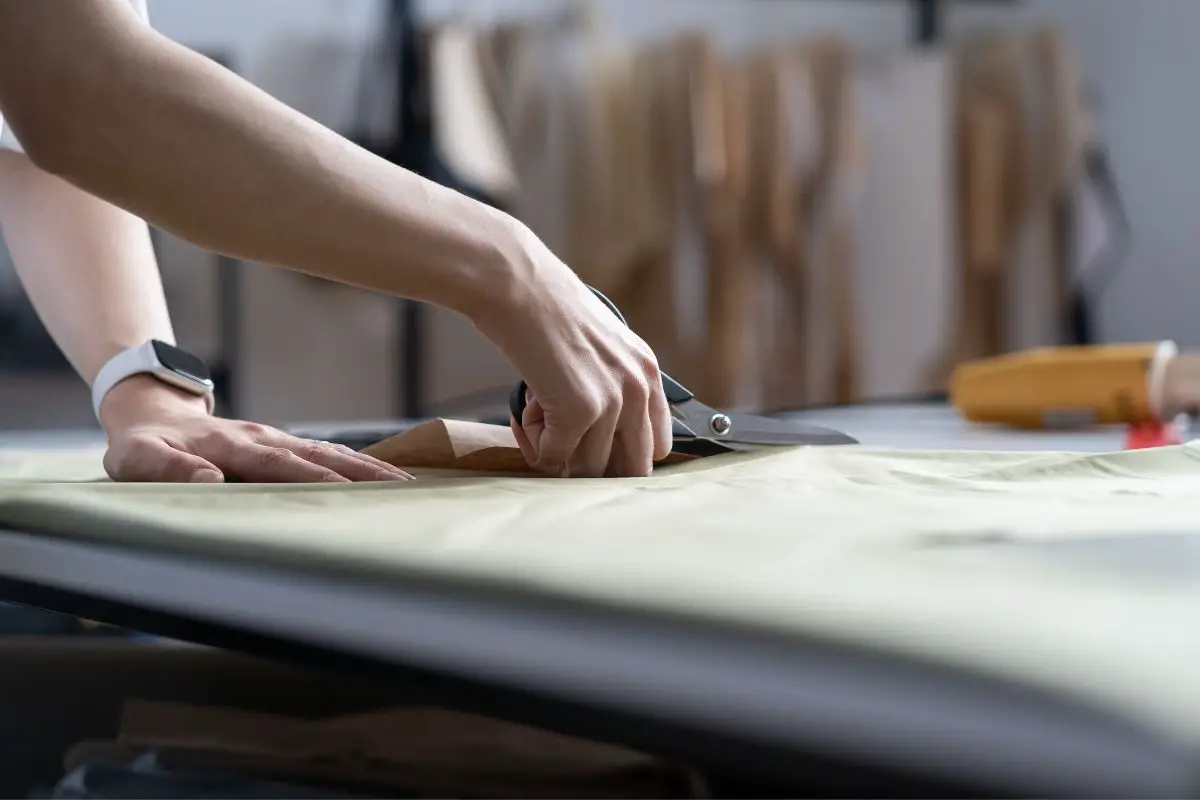
1. The first thing you need to do is cut two oval shapes out of your fabric. This will be the cover for your tailor’s ham. We recommend cutting the ovals to approximately 10 x 8 inches.
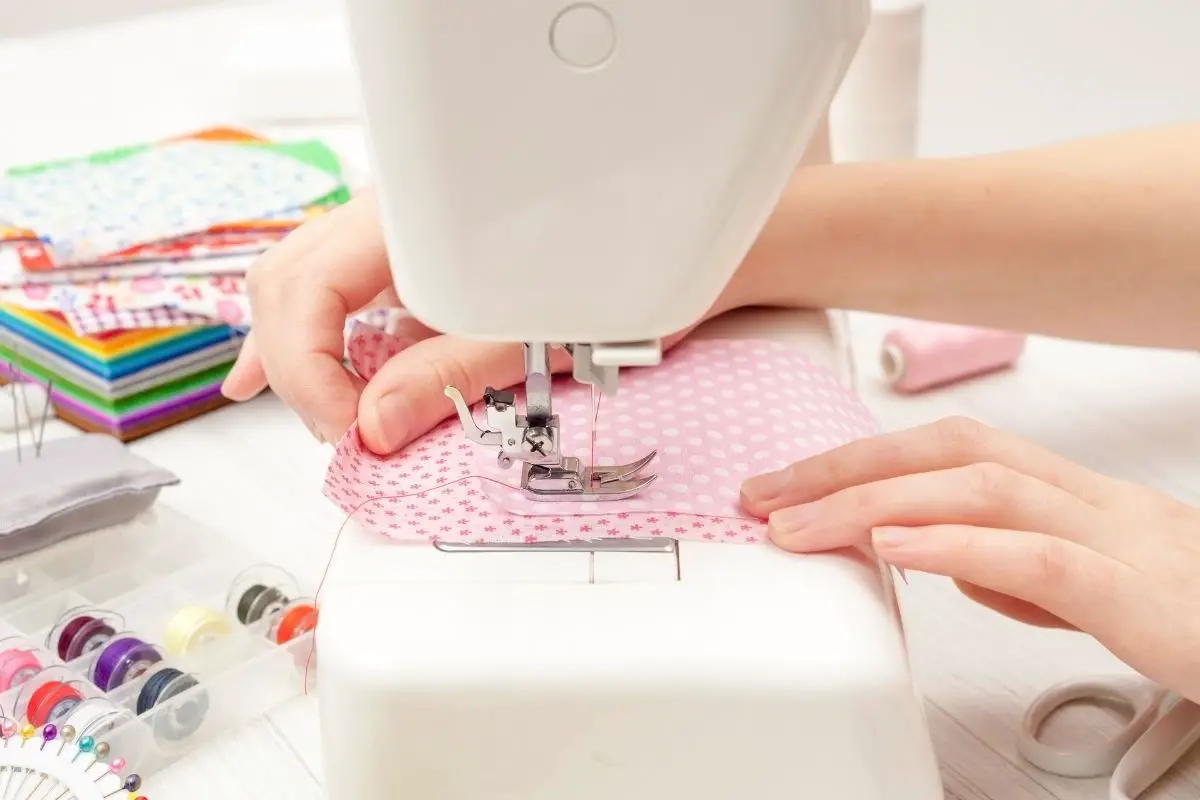
2. When you’ve cut your oval shapes, pin the two together. After that, stitch the two together roughly ⅜ of an inch from the edge. You should use a smaller stitch length so that the sawdust won’t fall through the small holes between each one.
Remember to leave an opening for the stuffing.
3. Once you’ve stitched the two ovals together, turn them right side out. Next, stuff the fabric with sawdust. Be aware that the sawdust might settle. When this happens, you might have to add more sawdust so that you fill the ham.
Most tailor’s hams are stuffed tightly. Whilst this is fine, you can also leave your ham a little loose so you can change its shape depending on the task.
4. Whilst this next step is optional, we do recommend it. If you have time, placing your tailor’s ham in an oven at 200° for approximately 90 minutes will ensure any mold or critters in the sawdust are dead.
5. The final step is to sew your tailor’s ham up. Once that’s done, your tailor’s ham is ready to use.
How To Look After Your Tailor’s Ham?
Now you’ve made your own tailor’s ham, you need to look after it if you want it to last. Luckily for you, this is an easy thing to do. Generally speaking, tailor’s hams are tough items that last for many years.
They don’t typically require that much maintenance. However, if you find that your tailor’s ham has gotten a little dirty, you can clean it.
To clean your tailor’s ham, use a small, slightly damp cloth and some soap. Rinse your ham with the cloth before leaving it to air dry.
Final Thoughts
There you have it, everything you need to know about making a tailor’s ham.
In this guide, we’ve told you what a tailor’s ham is, how to use one, what you need to make one, and finally the steps you have to follow to make one.
A tailor’s ham is a useful tool that we can use to press seams easier. Now you have this guide, you should be able to make your own tailor’s press from scratch. With that in mind, why don’t you buy the materials you need and give it a try?
You’ll find the tailor’s ham you make very beneficial in the future.