Understanding the stitch length needed for a project and what it means on your sewing machine can be a bit confusing, and you may wonder if it really matters. Yes, it does matter!
Proper stitch length is a critical factor in achieving consistent results when creating projects with your sewing machine. Here’s everything you need to know about stitch length:
What Is Stitch Length?
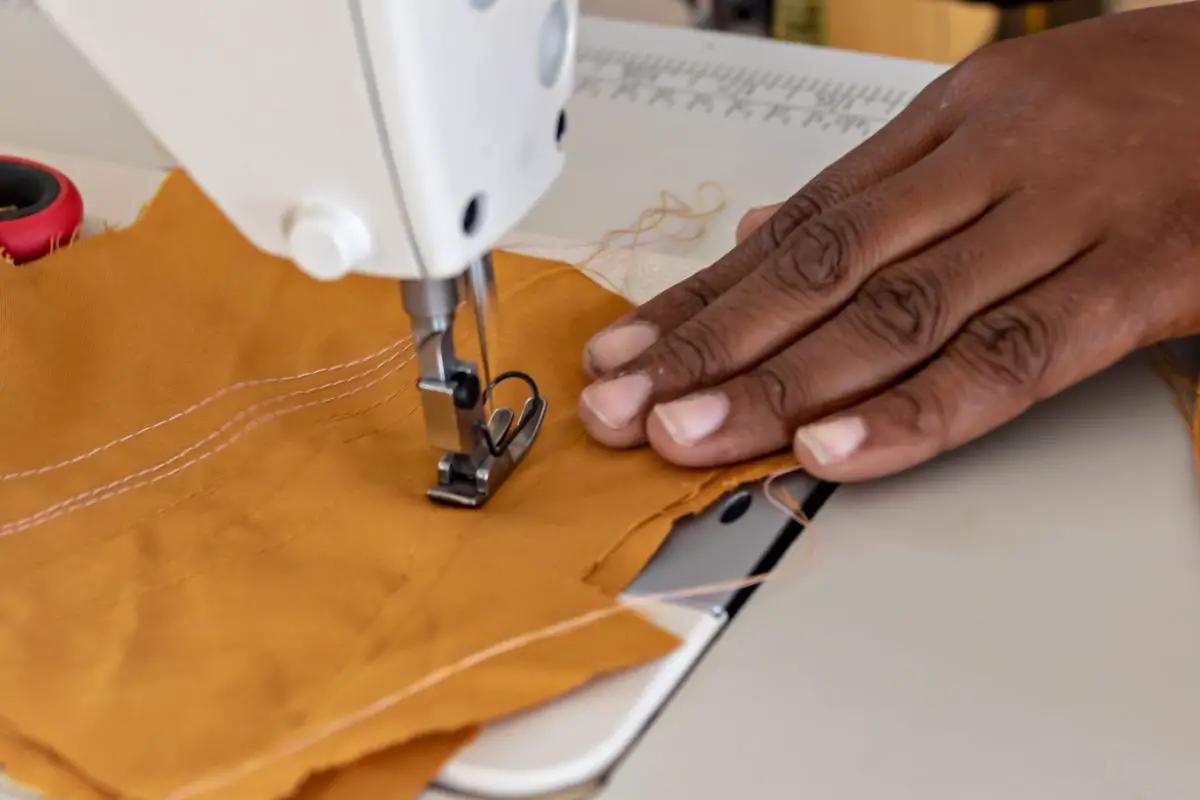
Stitch length is a setting found on most sewing machines that indicates the distance between two stitches. It is measured in millimeters (mm) and different types of fabrics require different stitch lengths.
Regular weaving or quilting fabrics generally require longer stitch lengths, while bulkier fabrics like wool or fleece can be stitched with shorter settings.
Shorter settings allow the heavier fabrics to remain flat and not bunch up when sewn.
Stitch length also affects the strength of a seam, so it’s important to select an appropriate setting depending on what kind of fabric you are sewing with.
Most machines have adjustable settings that allow you to adjust your stitch length according to your project; this is especially helpful if you plan on using multiple types of fabric for one project, such as in patchwork quilts or garments.
What Do The Numbers Indicate?
The numbers on a stitch length control indicate the distance in millimeters between each stitch.
A stitch length of 2-2.5 mm is common for denim and strong fabrics, while lightweight fabrics like silk and chiffon may require a shorter stitch, such as 1.5-2 mm.
Longer stitches such as those from 3-4 mm are usually used for top stitching or attaching heavier fabrics.
Why Change The Length Of Your Stitches?
Stitch length settings can impact the look of your seams; shorter stitches will yield more professional and well finished seams with stronger ties that can withstand heavy usage, while longer stitches create a softer, more decorative seam.
The number on the stitch length control is necessarily not an exact measurement, as certain factors such as thread type, needle size, and fabric weight can all affect the final spacing of stitches when sewn together.
In general, however, a lower number implies shorter distances between stitches which result in smaller, tighter loops along the seam line and vice versa for higher numbers.
How To Adjust Stitch Length
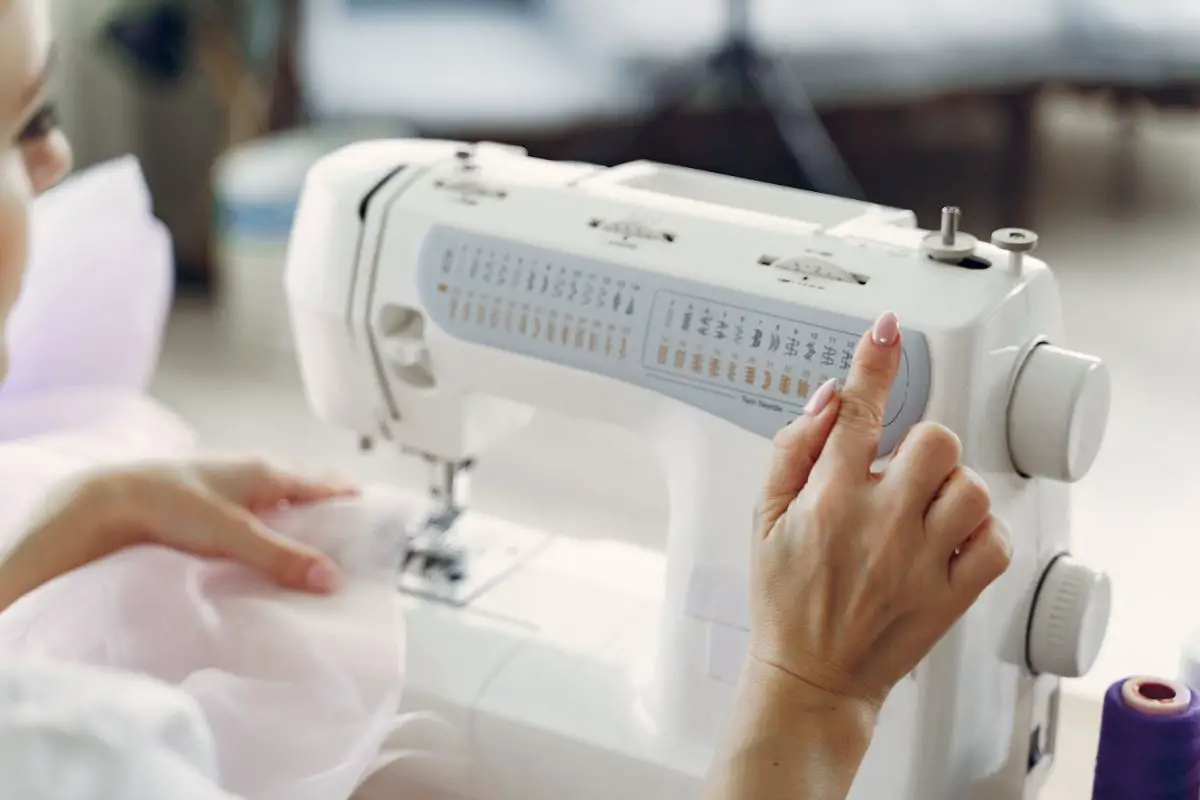
To adjust stitch length, you first need to find the tension dial or lever on your sewing machine (see also “Useful Sewing Tools And Notions Everyone Needs“). This is typically located on the top right of the machine.
Then, decide on a number setting according to your fabric needs (e.g., 2 for lightweight fabrics or 6 for heavier ones).
Once you have set the number, you can use the tension dial or lever to physically adjust the length of each individual stitch by turning it either clockwise or counterclockwise until it reaches your desired setting.
For example, if you want a longer stitch, turn the dial clockwise; if you want a shorter stitch, turn it counterclockwise.
When making adjustments to your stitch length, be sure to test sew a few stitches in scrap fabric before starting work on your main project.
This allows you to make any necessary changes without ruining valuable material due to any incorrect settings.
Additionally, once you’ve figured out which settings suit your fabric best, make sure to note them down for future reference!
To change the stitch length on a computerized sewing machine, choose your desired pattern (usually located on a menu on the machine’s display) and press down on the plus/minus buttons until you reach the desired stitch length.
Many machines also have an LCD screen that will indicate what your current stitch settings are; if not present, refer to the manufacturer’s manual for more specific instructions.
What Stitch Length Should I Use?
As we’ve mentioned, the fabric you are using for your project will mainly determine what stitch length you select, however, there are other factors to consider.
The second factor to consider is the type of seam you’re creating.
For example, some seams require reinforcement stitching, in which case it’s best to use a longer stitch than normal, so the stitches overlap each other more, increasing durability.
If the seam doesn’t need any extra strength, then use what’s called a “normal” or “utility” stitch length, which typically ranges from 2-4 mm in most sewing machines.
Finally, as far as aesthetics goes, longer stitches may be more visible on smoother fabrics like cotton or satin, so these projects often call for shortening the stitch length between 1-2 mm to minimize visibility.
On rougher fabrics like canvas or burlap, however, longer stitches tend to blend in better and add visual texture. Ultimately, it’s just about finding what works best for your fabric and project!
What Causes Uneven Stitches?
Uneven stitches are caused by a number of factors, such as incorrect tension, needle size, thread type (see also “Best Serger Thread?“) and material.
Generally, uneven stitches occur when the same amount of force is not applied during each stitch.
This can happen for many reasons, including incorrect tension in the machine or depending on the fabric you are sewing.
The tension settings on a sewing machine play a key role in creating well-made garments. If the tension is too tight or too loose, it can create an unprofessional look.
When adjusting your tension settings, it’s important to make sure that you are testing on scraps from the same fabric you will be using for your garment.
This helps to ensure that your setting works correctly for the specific fabric thickness and fiber content used.
If you notice that some stitches pull more than others even when using the same tensions and fabrics, then try changing needles to see if this solves the issue.
It’s also possible that your threads may be bunched or twisted while being fed through your sewing machines.
This should also be checked carefully alongside inspecting whether there is any lint or fluff stuck around any threaded areas.
Another common cause of uneven stitches is improper threading technique; make sure you take time to read over instructions about how to properly thread your machine so that the service manual can provide guidance if necessary.
Additionally, choosing an inappropriate style or size of needle in relation to fabric type can lead to excess stretching under excessive pressure as well as ineffective stitching, which affects overall quality as unevenness occurs in each new row.
Conclusion
Stitch length is an important factor to consider when sewing. Depending on the type of seam you are creating, you may need to adjust your stitch length accordingly. Happy stitching!