Blankets are cozy additions to any living space, and they can be made with materials that range from lightweight cotton and thick wool to luxurious velvets.
Whether you’re an experienced sewer or just starting out, there are plenty of blanket sewing patterns out there that can help you create a unique piece for your home. Here are some of the best blanket sewing patterns to try out for yourself.
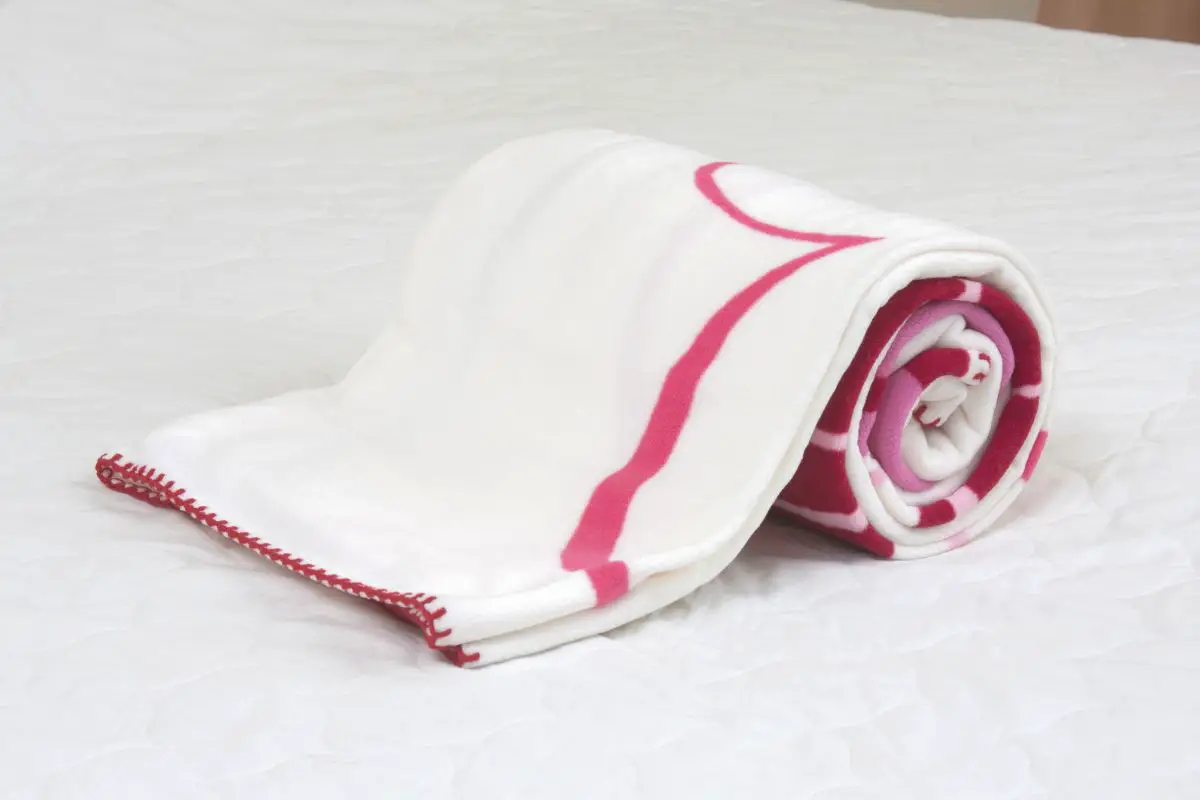
When the temperature drops, and you’re looking for a way to stay warm, a cozy fleece blanket is the perfect solution.
This easy-to-follow sewing pattern uses basic straight stitches and requires minimal fabric, making it a great choice for beginners.
You Will Need
1 to 1.5 yards of fleece (washed and dried)
Thread in your chosen color
Sewing machine
Scissors
Start by laying the fleece out on a flat, even surface, and trim any edges that are uneven or poorly cut. Then, fold the edge of the fleece material around half an inch, and pin this in place.
Use the sewing machine to secure this with a zigzag, and sew over the edge where you have pinned. Remove the pins when done.
Once one side is finished, fold the next side, pin, and sew, repeating all the way around your blanket to complete the design.
And there we have it – this is one of the simplest options to create your own awesome blanket and a great place for newbies to start.
Start by cutting up your t-shirts into 9 12″ x 12″ squares, and then cut the same number of squares into the knit fabric, giving you a total of 9 squares for the t-shirt material, and the knit fabric.
Next, lay your squares out in your preferred order, so that you have three rows of three squares each, and pin the squares in the top row together.
Add the correct needle to your sewing machine along with the walking foot, and set the stitch to zigzag.
You will need longer stitches for this project, so set the stitch length to around 4 or 4 1/2 for best results. Don’t forget to leave a seam allowance of 1/2″.
Stitch the three squares together, and then repeat this for the second and third rows. Once each row is stitched, add the rows together, ensuring that the seams match. Press the completed square well.
The next step is to complete the backing. Start by cutting your backing fabric to 38″ x 38″, and lay the backing on the wrong side up on a smooth surface.
Add the sewn squares to the top, making sure these are right side up, and smooth well, ensuring that both pieces are the same size.
Use a bowl or plate to round off the four corners – this will give you a smooth, neat edge that helps your blanket look more professional and “done”.
Now, take the rib-knit fabric, and cut it into long strips, 2″ in length, to reach the width of your fabric.
Pin the rib knit to the side of the blanket, and stitch, with a 1/2″ seam allowance. Flip the fabric over to the back, and turn under 1/2″. Pin in place, and then stitch the binding.
Press well to even everything out and ensure that your blanket is neat and even all the way around.
As the sunny days start to roll in, why not sew yourself up a picnic blanket? This one is ideal for outdoor adventures and will take no time at all.
You Will Need
3 1/2 yards of fabric
About 2 yards of heavy fabric – denim is a great choice
3 packages of wide single-fold bias tape in a coordinating color
1 package of cotton batting
6 inches of Velcro
Place your heavy fabric right side down, and add a layer of cotton batting to fit across this. Lay your top fabric over the top of the heavier fabric – in this case, the denim – and cut it well to fit.
Then lay it on top, and pun around the edge to secure it in place. Add a zigzag stitch to the outside to secure the two pieces together.
Take the bias tape, and pin it around the blanket, cutting the corners off. Sew the bias tape on, and use a zigzag stitch on the corners – this will keep them together, and also reduce the risk of fraying.
Next, add a seam through the whole blanket, down the center, and then sew across at several points to keep the batting in place – this will help to hold your blanket together when you wash it.
The next step is to make the straps; cut two pieces of fabric that are 4″ x 29″, and fold them in half longways.
Sew up the long side, and sew one of the short sides, leaving the other short side open. Flip the fabric right side out, and then fold in the open end, and show it shut to secure.
Sew on a strip of Velcro to one end, and repeat this on the other strap at the opposite end.
Finally, sew one end of the strap to the bottom of the blanket, roll it up, and secure it in place with the Velcro – and there you have it; your very own homemade picnic blanket.
Like many crafters, you may find yourself with scraps of fabric around the house, and these are often the remnants of other projects that you just couldn’t bear to throw away.
If this is the case, then why not put all your scraps to good use and create your own scrap patchwork blanket?
You Will Need
A selection of fabrics – the scraps from old projects will be perfect for this
Batting to fill the inside with the quilt
Cutting mat
Pins
Scissors
Sewing machine or needle and thread
Start by choosing the fabric you want to include in your quilt, and cutting this into equal squares to create your pattern.
The next stage is to arrange the patches in your desired pattern – there are no real rules here, so feel free to be as creative as possible and create your ideal design.
Join the squares together using pins to create blocks, and then sew these together.
Once you have several blocks, you can sew these together into rows of blocks, and these rows can then be sewn into a larger pattern to create your quilt top. Once all pieces are stitched together, press the quilt to flatten the seams.
The next step is to add the quilt backing – lay out a piece of fabric slightly larger than the top of your quilt, with the face downwards.
Use tape to keep this in place, and then add the quilt batting or wadding to the backing fabric. Follow this with the quilt top, taking care to place the face upwards, and pin the layers together.
Sew the layers together, taking care to use the right colored thread. This can be done by hand, or by machine, depending on your preferences, and the equipment you have available.
Follow this by adding the quilt binding along the edges of the quilt – cut the binding fabric strips to the correct size, and press it to make it smooth.
Fold each fabric strip lengthways, press the fabric to set the crease, and pin around the edge – the raw edge of the quilt should align with the raw edge of the binding.
To avoid a raw edge on your binding, fold the first half of the binding an inch in towards the middle.
Sew the binding strips in place – around a quarter of an inch from the edge should be suitable – and then fold the binding all around the edge, pin into place at the back, and follow this by sewing it securely into place.
You’re now ready to enjoy your new patchwork quilt! With a little bit of effort, you can create something unique and beautiful from scraps of fabric that would otherwise have gone unused – and this is just one of the many blanket sewing patterns that you can try out for yourself.
Final Thoughts
Creating your own unique blanket is a great way to use up fabric scraps, and it can also be a lot of fun.
Whether you’re a complete beginner or a seasoned sewer, there are plenty of patterns out there for you to try out – from patchwork quilts to picnic blankets – so why not give one a go today?