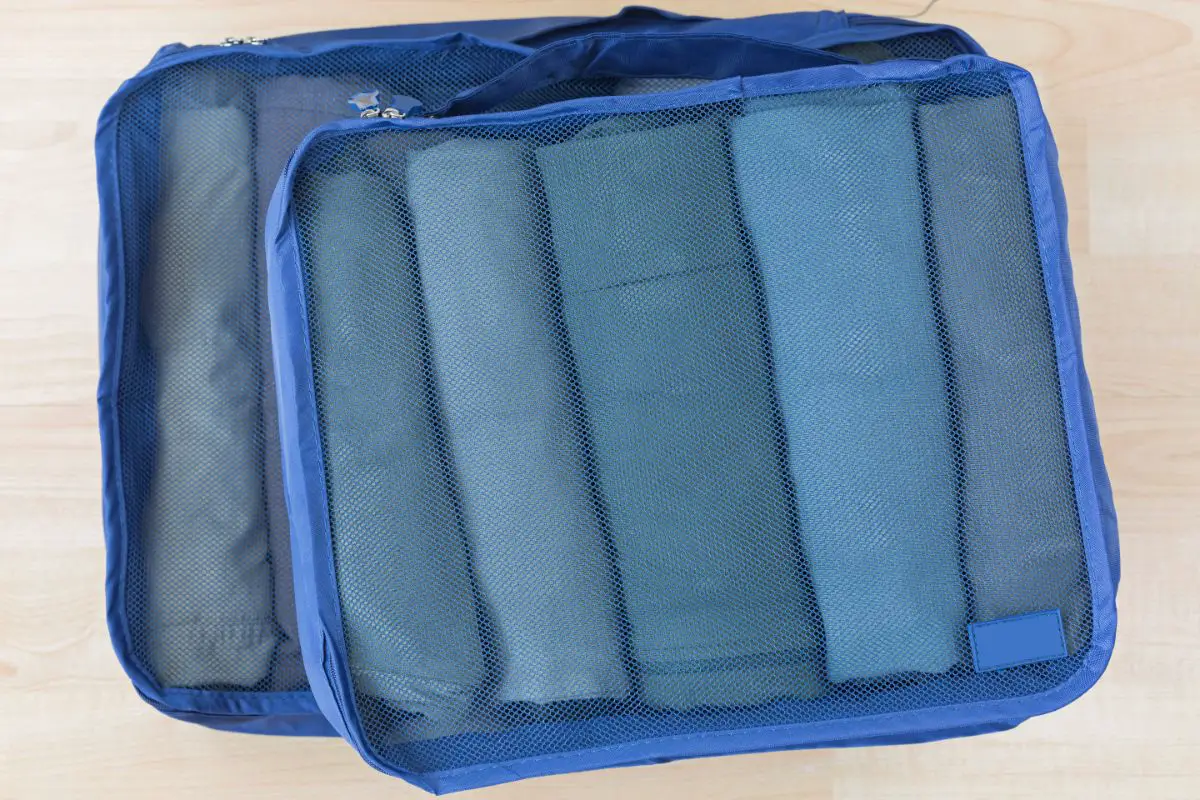
With the right materials and a bit of patience, you can make your own cube set that is tailored to your needs.
Why To Use Packing Cubes
When using DIY packing cubes, all your belongings stay organized inside the suitcase or backpack (see also “The Best Backpack Sewing Patterns“), since every item is separated into dedicated containers according to category and intended use.
Using DIY packing cubes can save you a lot of time when getting ready for a trip.
With the help of these cubes, you won’t have to search through all your clothes, toiletries, and other items as everything has its own designated place.
This also makes it easier to unpack at your destination because all your essential items will be easily accessible in their own bags.
The first step in making packing cubes is gathering the necessary supplies. You will need fabric, zippers, scissors, and an iron long with thread and tape measure if needed.
It’s important to choose a durable fabric such as canvas or cotton that can withstand wear and tear while keeping clothing safely inside the cube.
Measure And Cut Fabric
Once you have all your materials gathered, it’s time to begin measuring and cutting the fabric.
Start by measuring out the size of the cube you want (there are different sizes available depending on what clothing/other items you plan on putting inside).
Then trace an outline of this shape onto the material, leaving enough room around each side so that it can be sewn into a cube shape later down the line.
What You Will Need
To successfully cut your fabric, it’s essential that you use the right tool for the job.
Depending on what type of material you’re working with, scissors, pinking shears and rotary cutters are all great options.
For synthetic fabrics such as polymers or vinyl netting,(for decoration) try using a craft knife instead.
Sharp tools make accurate cuts. Dull blades not only leave behind frayed edges that greatly disrupt your work, but also cause unnecessary pressure on your hands as you try to push them through the material.
Therefore, always keep an eye out for any signs of dulling and sharpen your blades regularly.
How To Cut Fabric
The way in which you layer up a few layers of fabric for cutting can either mean success or failure – depending on whether things move around too much.
This can greatly affect the end product so be sure to do this carefully.
For best results, secure each layer with pins so nothing moves while they are being cut (unless specifically instructed otherwise in any patterns you’re following).
Different fabrics require different techniques when it comes to making clean cuts with perfect straight lines without any fraying or tearing at the edges.
To ensure accuracy in every cut made on a single piece of fabric (including multiple layers), feed it through steadily and press firmly but not too hard against its surface, as this can cause shifting or displacement and thus ruin its shape whilst cutting.
Best Fabrics
Canvas
Canvas is a durable fabric that is ideal for making larger packs that can hold multiple items. It also stands up well against constant wear and tear.
Canvas comes in a variety of colors and is relatively inexpensive at most craft stores.
Organza
Organza is most commonly used to make lightweight net bags, as it’s lightweight yet strong with great breathability due to its open weave design.
This makes it perfect for keeping delicate items safe while being stored separately from heavier items in other compartments of the same bag.
Quilted Cotton
Quilted cotton is thick enough to withstand wear and tear, but lightweight enough to not add too much bulk or weight to your final finished product.
It offers a classic look that makes it great for those who want an elegant look without compromising on strength or durability.
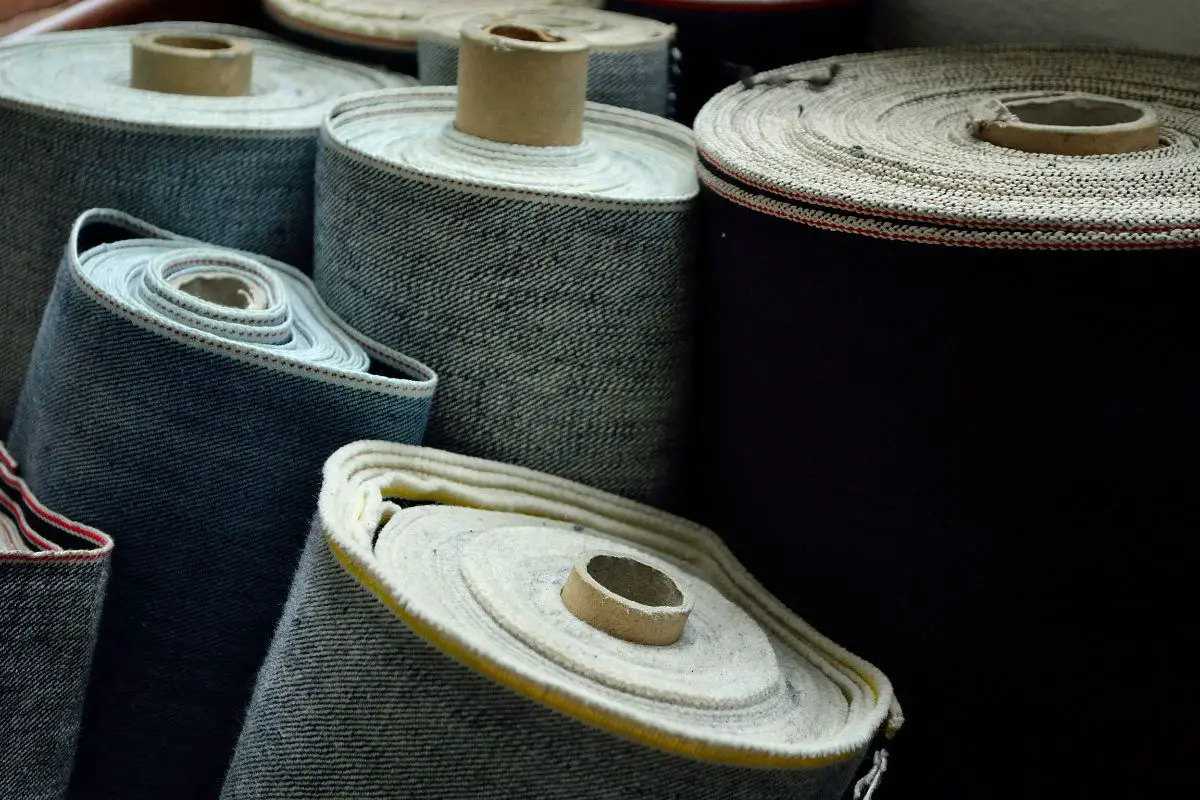
Denim
Denim is another durable fabric which can be found relatively cheaply in most fabric shops or online stores.
The thickness of denim ensures your pack will keep its shape even when stuffed to capacity; perfect for adventurers who over pack everything but the kitchen sink!
Denim typically won’t fray either, so there’s no need to finish off any seams or worry about fraying threads getting stuck inside your luggage, something you don’t need when you want to enjoy your travels.
Denim also comes with a wide range of different color options, so you’re sure to find one that works with your existing color scheme while still managing other necessary qualities like durability and strength as well!
Add Zipper Pullers And Iron Seams
To turn your fabric into a functioning cube, add zipper pullers at one side of the outlined shape – this allows for easy access when unzipping.
Once both sides of your material have been sealed, use an iron to press the seams, so they are more visible on each side of the material.
This should create two pockets; one pocket for unpacking items from inside once completed, and one pocket for storing items within without having them fall out during travel.
The main advantage that a zipper puller offers is the ease of use.
Instead of trying to maneuver the zipper with your fingers, you can simply attach a small zipper puller to the slider and then use it to move up or down as needed.
This eliminates having to use your fingers, which can sometimes become very tired when trying to open or close smaller zippers.
Sew Together Sides
After adding pullers and seams, sew together using a regular stitch along three sides only—leave the unstitched top open, as this will be used for opening/closing purposes later down the line.
Be sure to double-check the tightness and strength before moving forward – if the seam isn’t strong enough, it could significantly reduce the durability of your packing cubes.
And you don’t want your packing cube falling apart at the seams!
Create Inner Pockets & Secure Edges
Once the outer shell has been stitched together, create internal pockets by stitching extra seams across the cube before sealing the top edge closed via double-stitching or other strong stitching type necessary based on type of fabric used; this will keep items safe within each cubicle while allowing quick access via opening/closing feature once complete.
Enjoy Your Packing Cubes!
You’re now ready to enjoy your set of homemade packing cubes!
All that’s left is loading up with clothes and getting ready for your adventure – these handy cubes keep everything neatly organized while preventing random piles from forming during travel jaunts!
Tips On How To Sew Fabric
Before starting on a sewing project such as making packing cubes, why not do some practice runs with some fabric.
You will need a few tools to get started sewing fabric. These include needles and threads, pins, scissors, measuring tape, chalk pencils or marking pens along with an iron.
You will also need your chosen fabric—either cotton, linen or another lightweight material such as muslin.
Press your fabric with a hot iron over an even surface.
Cut out each pattern piece according to your measurements or the size indicated by a pattern book or manual — this may include seam allowances, which you can mark on the seam lines using chalk pencils or markers.
Pin each pattern piece carefully onto your chosen fabric – be sure to follow defined directional arrows if there are any included on your patterns, as this may indicate matching pieces that need to be cut in reverse directions due to their orientation in relation to each other (these are known as ‘nested seams’).
Start stitching together pieces of fabric once your prepared bits have been placed accurately together on your cutting board/table surface below you.
Begin at one point where two pieces sit side-by-side.
Place those pieces under the foot of your machine and stitch slowly while following a straight line around each shape until you complete all points connected by straight ends.
Next, come back up again at one point towards the end when curved edges appear so that these curves can properly be interlocked from behind as well as from outside.
For best results, practice a few times on paper scrap pieces first before attempting anything elaborate! Finally finish off the raw edges inside a seam allowance if necessary for a tidy appearance.
If there are any exposed seams (add zigzag stitches near edges), then press towards right-wrong sides with the hot iron following the shapes and curves/angles accordingly until only one side remains unfilled/empty ready for its closure next!
Place two sides face-to-face bringing together the wrong sides inwards being matched evenly on the top level; clip pins whenever needed keeping alignment steady
Finally, thread the needle through both layers from the edge section continuing until arriving at the starting point again; secure the knot, finish off securely and add extra stitches along the sides if needed.
Conclusion
In conclusion, making your own packing cubes is a great way to save money and have a unique set of cubes that are tailored to your needs.
With the right fabric and some basic sewing skills, you can create a set of packing cubes that will last for years and make traveling much easier.
Whether you’re going on a short weekend trip or an extended vacation, having your own custom-made packing cubes is extremely useful.