If you’re looking for a fun and creative way to organize your bingo pieces or keep track of supplies on game night, then making a bingo bag is the perfect solution.
It’s easy to make with materials you probably already have around the home, and the best part is that it can be customizable, so you get exactly what you want.
Here, we’ll walk you through step-by-step instructions on how to make your own personalized bingo bag:
What Is A Bingo Bag?
A bingo bag is essentially just an ordinary bag that is filled with different items needed to play the game.
The most common items include balls, cards, chips, daubers (markers used to track numbers), and any other small accessories that could assist in play.
However, depending on the type of game being played, players may opt to bring more than just these tools.
Choosing which items to bring for a bingo game really comes down to personal preference; however, there are a few key items everyone should have in their bingo bags no matter where they’re playing or how serious they take the game.
Essentials For A Bingo Bag
The first item that should never be forgotten when packing a bingo bag is daubers (see also “How To Make DIY Packing Cubes“).
Daubers are used to mark each number that has been called out on one’s card so as not to miss any important numbers during play.
Other supplies include chips for tracking wins and losses, bingo boards for keeping track of which numbers have been called out already, and a handbook outlining how many spaces must be completed in order to win specific jackpots or bonus rounds.
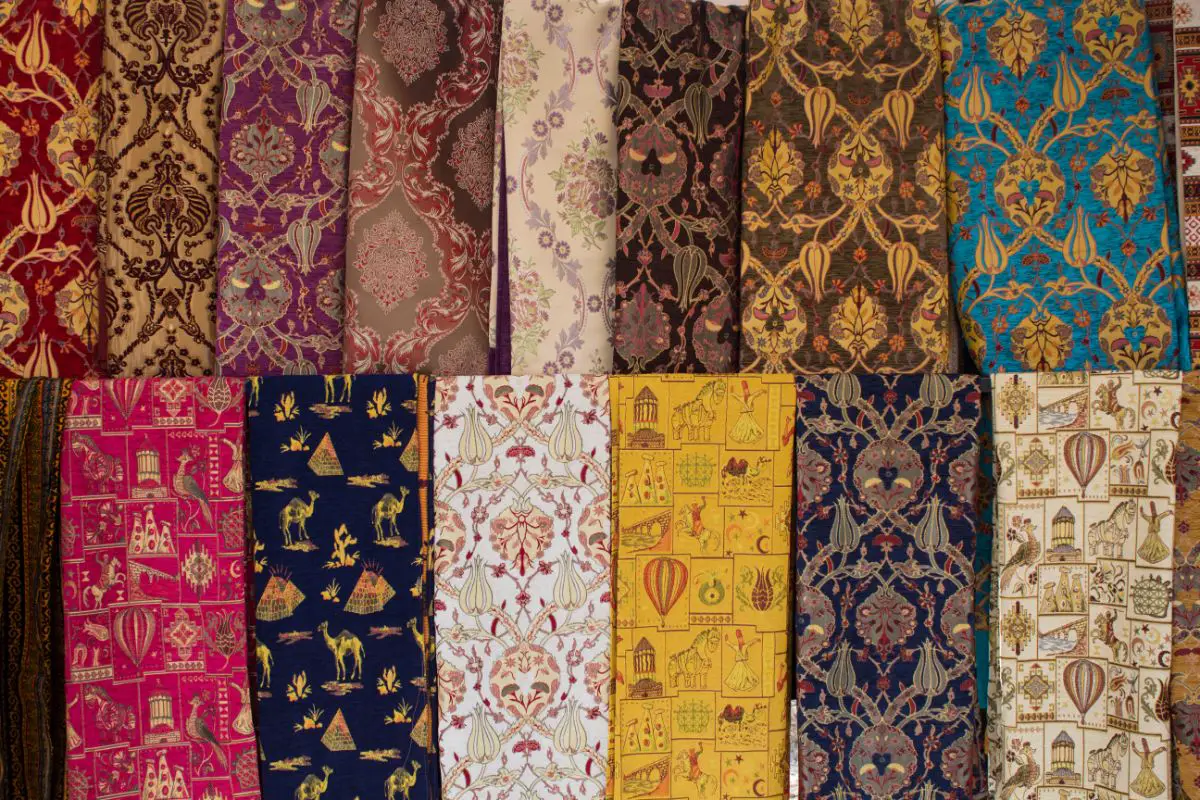
Choose A Fabric For Your Bag
Different types of fabric will work for bingo bags. If you’re looking for something that’s easy to clean and durable, then canvas or denim might be the best option.
For an extra indulgent look, velvet or faux fur can give your bag an upgraded feel.
Most Used Fabrics
Cotton Canvas
Cotton canvas is excellent for bingo bags due to its durability and versatility. Canvas has a natural strength, so it won’t rip or tear easily and can last through years of wear.
It is also extremely lightweight, making it a perfect fabric for bingo bags. However, keep in mind that cotton canvas can be prone to fading if it isn’t given enough care.
Oxford Polyester
Oxford polyester is another popular fabric choice as it is lightweight yet durable and comes in a variety of colors and patterns.
It is water-resistant and easy to clean, which makes it ideal for carrying around many bingo items.
It also looks great when paired with any type of bag style, since Oxford fabric tends to look smarter than standard cotton fabrics.
Velveteen Fabric
Velveteen fabric is often seen as luxurious due to its smooth velvet-like feel.
As well as being soft to touch, velveteen can stand up well against dirt, dust, and moisture — making it an ideal choice for anybody who wants their bag to last longer without having to worry about damage or discoloration.
Also, the fabric has a reflective quality which helps reduce noise compared to other types of materials; this property makes velveteen a choice among players who want less distractions while they are playing bingo games!
Denim Fabric
Denim is another widely used material when choosing the right fabric for your bingo bag – mainly because of its toughness!
Denim’s strong weave allows it to withstand numerous washes without compromising on hold or texture; this makes denim an ideal material to have on your bag when traveling around carrying heavy objects such as chips, binders etc.
However, beware – denim does tend to be bulky, so make sure you select one with extra pockets should you need them!
Cut Out The Fabric Pieces
Once you decide on the type of fabric, measure and cut out two rectangles that are about one inch larger than your desired finished size.
Make sure both pieces match in size and shape, so they come together seamlessly when assembled. You should also cut two long strips of fabric to serve as straps for the bag later on.
What You Will Need
The most important item required for cutting fabric is a sharp blade. Dull scissors will lead to uneven cuts; conversely, sharp ones allow you to cut cleanly through fabric without fraying it.
Other items that you may need to include rotary cutters, measuring tapes, marking pens, rulers and paper scissors.
Before You Cut
Once you have selected the pattern pieces for your project, take the time to pre-wash them if necessary (especially if working with delicate fabrics).
This takes out any shrinkage before use and allows for more accuracy when laying pieces down on the table. Make sure your pattern pieces are completely dry before moving forward with the next steps.
Always mark your fabric after laying out flat on the surface. When transferring pattern markings from paper onto cloth, never use pins!
An inexpensive tracing wheel can be used instead; this tool comes with two blades which help create perfectly exact transfers of marked lines onto lighter weight fabrics such as chiffon and silk charmeuse (iron-on interfacing works great on heavier fabrics like a denim).
Pay attention to special markings such as notches and darts—these act as guide points throughout the construction process and should never be missed!.
How To Cut
When ready to cut out pieces of fabric use long strokes while maintaining light pressure against your ruler; always make sure that scissors don’t overlap blades when closing them otherwise there won’t be proper tension on material leading to inaccurate cuts.
Finally leave enough allowance around edges so that edges can later be finished nicely by serging or hemming them up (this extra will depend on the type of garment being assembled).
As mentioned earlier, always keep blades sharp, so they don’t snag on lace or sheer materials (see also “How To Sew Sheer Lace“)!
Attach The Strap Pieces
Next, take one piece of fabric and fold it over onto itself with right sides facing outward before sewing along three edges using a sewing machine or by hand until they come together into a pocket shape.
Leave one side open, so BPA access can be easily secured at any point in time without having to undo any stitches (see also “How To Stitch A Summer Frock“). Once this pocket has been created, attach straps at each bottom corner where appropriate.
Sew Together And Add Casing For Drawstrings
Before sewing together all four pieces – placing wrong sides facing each other – sew each side except one short edge from top to bottom along all four edges, creating pockets in between layers which will allow this bingo pouch to be tightly closed up when necessary using drawstrings as soon as we add them later on.
Next, create small casings along this unclosed edge by folding over twice and stitching close and securely in order to add drawstrings later on without worry of fraying or pulling away like normal thread would do over time with prolonged use.
Finally flip the right side outwards so clean finished lines are visible!
How To Sew Fabric
When starting off with a new project, start off with shorter stitch lengths until you get used to the feel of different fabrics and thicknesses.
As your skills progress, you can increase the length of your stitches as needed. Shortest stitch lengths also help protect fabrics from pulling or tears caused by too much strain from longer stitches.
Tying knots properly is an important step when sewing because they can provide reinforcement where extra strength is needed, which will be useful as you will have your bingo equipment in the bag!
When tying knots at the end of threads, double tie them together instead of using single knots – this provides additional security so that even if stress or tension pulls one knot apart, it won’t undo your entire stitch work.
Sewing projects often require precision and attention – so take your time!
Measure twice before cutting; check pattern pieces against each other; make sure you’re following correct seam allowances etc.. It might seem tedious but it will save time (and fabric) in the end!
Insert A Lining If Desired
This step is optional but can help reinforce the durability of your bingo pouch considerably more – especially since lining prevents things from accidentally spilling out even if this fabric is delicate such as velvets or silks!
To insert the lining simply take another piece that matches the same measurements (or slightly smaller/larger) then tuck inside our previously stitched creation before topstitching along the top edge- hence closing off any loose ends now hidden within the casing.
It should slot nicely together like puzzle pieces being put back into place once again!
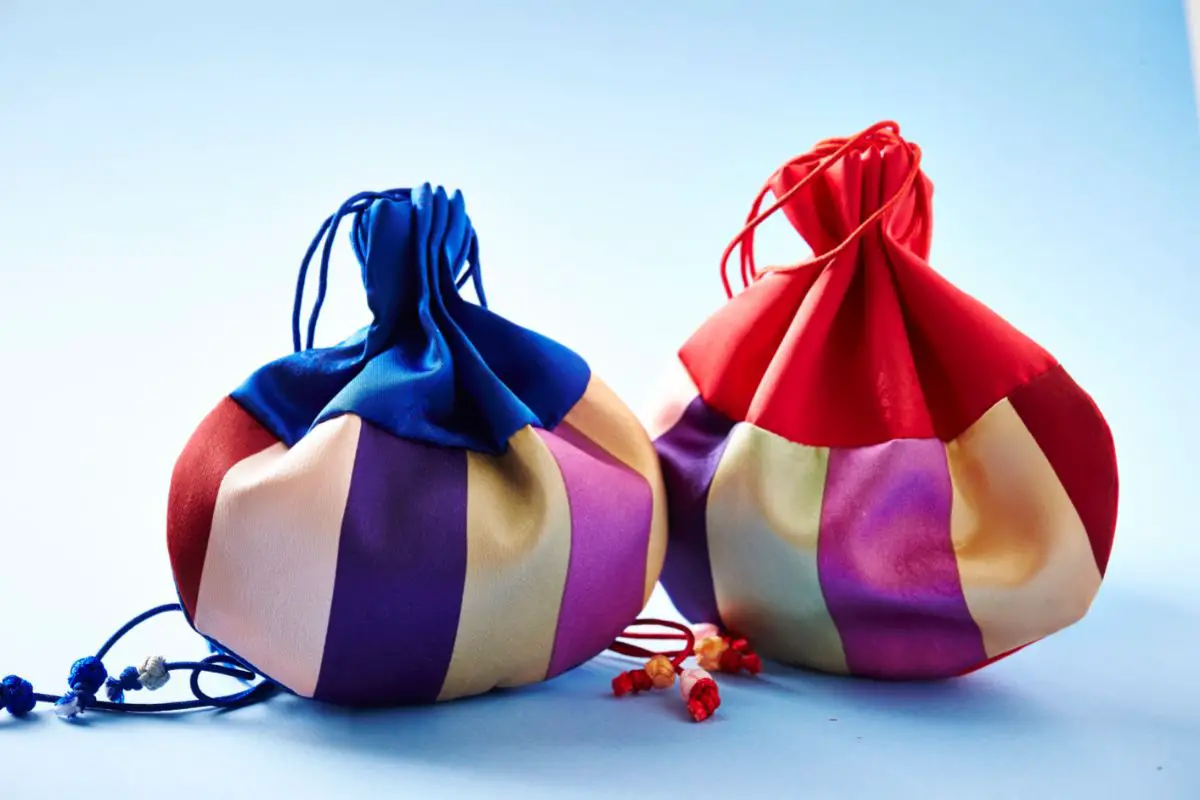
Add Drawstrings Or Ribbon Ties
To finish the project, add drawstrings or ribbon ties at bottom corners where applicable based upon how tight (or loose!) you want the bingo bag.
Just remember adding too much tension can cause premature wear & tear (so go slow).
Have fun customizing cord color accordingly either mixing materials up such a refreshing look by adding gold ribbon against bold blues hues…
Making a bingo bag is a great way to show off your creativity and have fun with friends and family.
With the right materials and some patience, you can create a unique and durable bingo bag that will last for years to come.
Sewing fabric requires precision, so take your time when measuring, cutting, and stitching. If desired, add a lining for extra reinforcement. Then bingo, your job is done!