If you’re a complete beginner to sewing, making doll clothes might seem like a daunting task but it needn’t be if you know a few hints and tricks.
In this article, we will explain how to sew doll clothes. This step-by-step guide can be referred to whenever you make doll clothes and will ensure that you don’t miss an important step!
How To Make Doll Clothes
Let’s take a look at how to make dolls’ clothes.
We’ll go through this process step-by-step so if you’re new to sewing and making clothes and don’t know where to start, this guide will help you.
1. Find A Doll Clothes Pattern
Many experienced and talented sewers may be able to make their own patterns from scratch but we wouldn’t advise this until you have more experience.
It’s best to start by using patterns that have been created by other people and you should follow these patterns without making any adjustments.
As you become better and more experienced, you can start to adjust patterns or even create your own.
However, for your first attempts, trust patterns that have been made by people more experienced than you are!
There are several ways you can find patterns.
There are some free patterns that you can find online and you will need to download and print these so that they can be used.
You can also find books or magazines that have patterns included that don’t require any printing.
If you’re looking to get patterns from online sellers, we would recommend looking at any possible reviews first to see if they are easy to use.
Etsy is a great place to find patterns at reasonable prices and you will be able to read the reviews before you buy.
Amazon is a great source for more professional patterns sold in magazines and books and again, they will have lots of reviews for you to read.
Here are some of our recommendations for books on doll patterns:
Although some of the exact tools you will require for making doll clothes will differ depending on the exact patterns you use, you can be sure that there are some tools you definitely will need.
It’s best to gather these before you start your doll clothes project as it means you don’t have to keep stopping and starting.
Make sure you also check your pattern and any instructions with it for any specific tools you may need.
Here is our list of the tools you are most likely to need while you make your doll clothes:
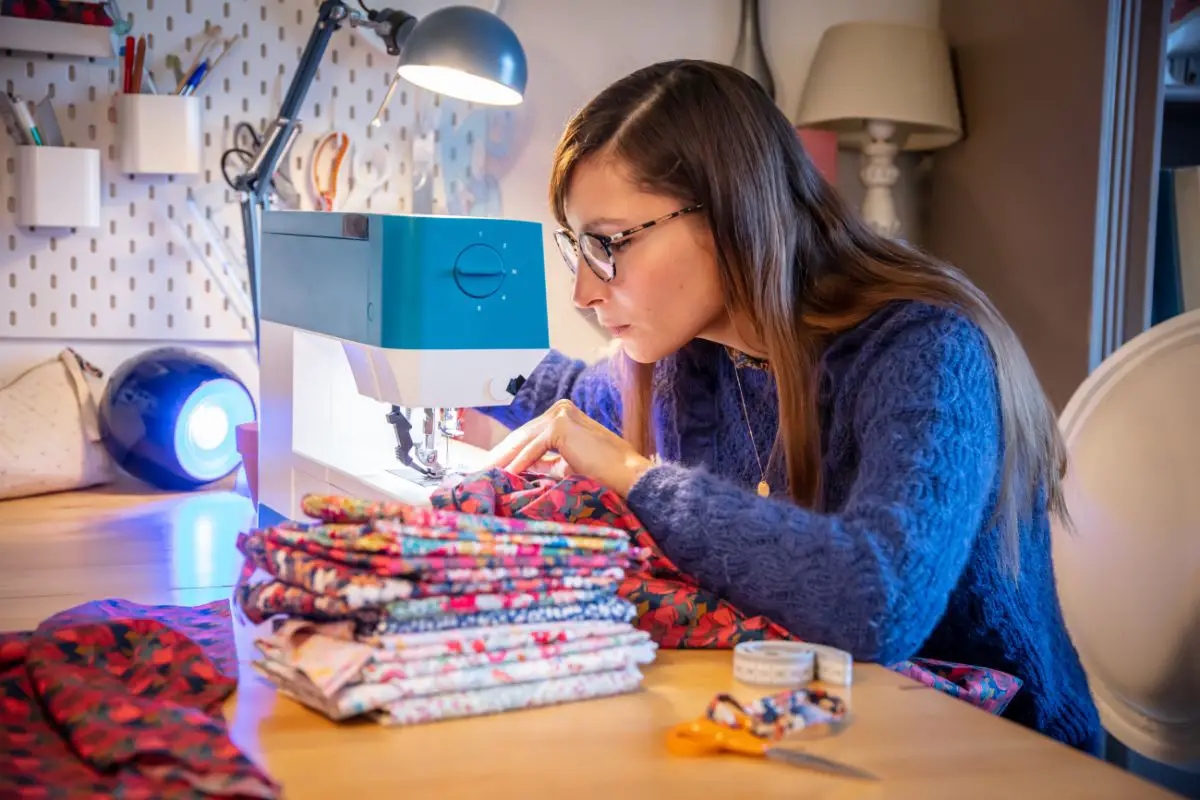
Sewing Machine (or needle) and Thread – You will need to sew your pattern together so make sure you have the right needles and colored threads before you start. Although sewing machines make this job easier, they aren’t essential. As doll clothes are so small, you can easily use a needle and thread instead.
Cutting Tools – There is a lot of cutting involved in making doll clothes. You will need to cut thread and fabric so make sure you have cutting tools at hand and that they are sharp enough to get the job done. We recommend investing in some sewing scissors, pinking shears, paper scissors, and a rotary cutter. You should also have a cutting mat to protect the surface you’re working on.
Tools for Your Pattern – You will need to transfer your pattern to your material so that you can neatly cut out your pattern. This is best done with materials such as tracing paper, tape, paperweights and writing utensils such as pencils or chalk.
Marking Tools – We touched on these in the last point but they are important enough to need their own section too. Make sure you have marking tools that won’t permanently mark your fabric or soak through, such as water-soluble fabric markers or tailor’s chalk.
Measuring Tools – There may be times you need to measure your pattern to stitch or fold it, so keep a tape measure and seam gauge handy.
Pressing Tools – Making patterns out of fabric and sewing them together can often result in the fabric becoming wrinkled or out of alignment, even if it is sewn correctly (see also “DIY Free Pattern Pressing Tools“). Using an iron or pressing ham will prevent this.
Pinning Tools – There are several points throughout the process of making your clothes that you will need to either permanently or temporarily pin items together. Ensure that you have pins, glue, safety pins, temporary basting spray, a seam ripper, and tube turner to hand.
3. Choose Your Material
In our opinion, this is the most fun part of making doll clothes!
There are many different factors you need to keep in mind when you choose the right fabric for your pattern, however.
Some fabrics won’t look as good on your doll as others and some fabrics are better for some types of clothes than others.
Most fabrics can be divided into the categories of being either woven or knitted. Some patterns may specify the type of fabric you should use but often, you need to make the decision yourself.
As woven fabrics don’t really stretch because of how tightly they are woven together, we would recommend these for clothes that don’t need to stretch.
They’re best for clothes with fasteners such as snaps, hooks, or loop fasteners. You should also consider them for lighter clothes such as shorts or sundresses (see also “How To Make Linen Bloomer Shorts“).
Knit fabrics do have a degree of stretchiness to them and this makes them more suitable for tops, such as shirts or sweaters.
If you do opt for knit fabrics and create clothes that take advantage of their stretchiness, make sure you use a stretch needle and stretch stitch as well so that your clothes don’t burst at the seams!
Once you know the type of fabric you want, you can have fun deciding the colors and patterns.
Consider choosing the fabric to be the same as choosing clothes for yourself: you need colors and patterns that will flatter your doll instead of overwhelm or clash with it.
4. Adjust The Pattern
If you’re just trying out making doll clothes to see if it’s something you can do and you aren’t too concerned about fitting your doll exactly, you can skip this step and proceed with the pattern as it is.
If you are an absolute beginner to sewing you may want to try making a few items with scrap fabric before you begin making clothes in earnest.
However, if you do need to adjust your pattern then we have a few tips to make this an easier process.
You need to measure your doll and compare them to the measurements of the pattern. If you’re lucky, you won’t need to make any adjustments at all!
The measurements that we suggest you take are:
Neck circumference – this is only really necessary for clothes that fit tightly around the neck
Arm length – measure from the shoulder to the top of the wrist
Chest – measure the body from armpit to armpit
Waist circumference – measure around the body at the waist
Hip circumference – measure around the body at the widest part of the hips
Leg length – measure the inseam from where the leg joins the body down to the ankle
We recommend keeping a record of these measurements so that you won’t need to measure the same doll again for future clothes as well.
You can also measure your doll first before you decide on a pattern.
If you don’t feel comfortable adjusting a pattern yourself but want one that fits perfectly, just look for a pattern that is as close to your measurements as possible.
5. Trace The Pattern
We recommend tracing the pattern, especially if you are going to be making adjustments to it.
This means you will always have a copy of your original pattern so you don’t need to worry if you make mistakes while adjusting it.
It can also make reusing patterns easier to do.
To trace the pattern, you will need a tracing medium such as tracing paper or parchment paper.
The process is the same as tracing drawings as a child, simply take a pencil and copy the lines from the original pattern.
Make sure that you copy all of the lines and information on the original pattern.
When your pattern is copied, cut it out using regular craft scissors.
Remember to keep your sewing scissors for sewing only as you want those scissors to remain as sharp as possible.
6. Prepare And Cut Your Fabric
Now that you have your pattern ready to go, you can move on to preparing your fabric.
We recommend washing your fabric before you do any cutting or sewing. This will ensure that any shrinkage happens before you start measuring.
If you leave washing until after you’ve cut the fabric or have made the clothes, you run the risk of the fabric shrinking and your clothes no longer fitting your doll.
You may not anticipate needing to wash the doll clothes, but spills and mistakes can always happen!
There are a variety of different ways you can cut the fabric and it just depends on which way suits you best.
You pin your pattern to the fabric and use fabric scissors to cut around it or try using a rotary cutter on a cutting mat.
You can also use transfer paper to iron the pattern onto your fabric first so you don’t need to worry about pinning the pattern in place.
Whichever method you choose, it is best to take your time and double-check that your pattern is in place correctly.
You can’t take back any cuts you make so make sure that each cut is correct before you make it.
Once your fabric is cut out, check that all of the pattern markings are in place. These include fold lines and other such markings.
A water-soluble fabric marker is the best choice for this as the marks will stay in place as you work but can be easily removed later.
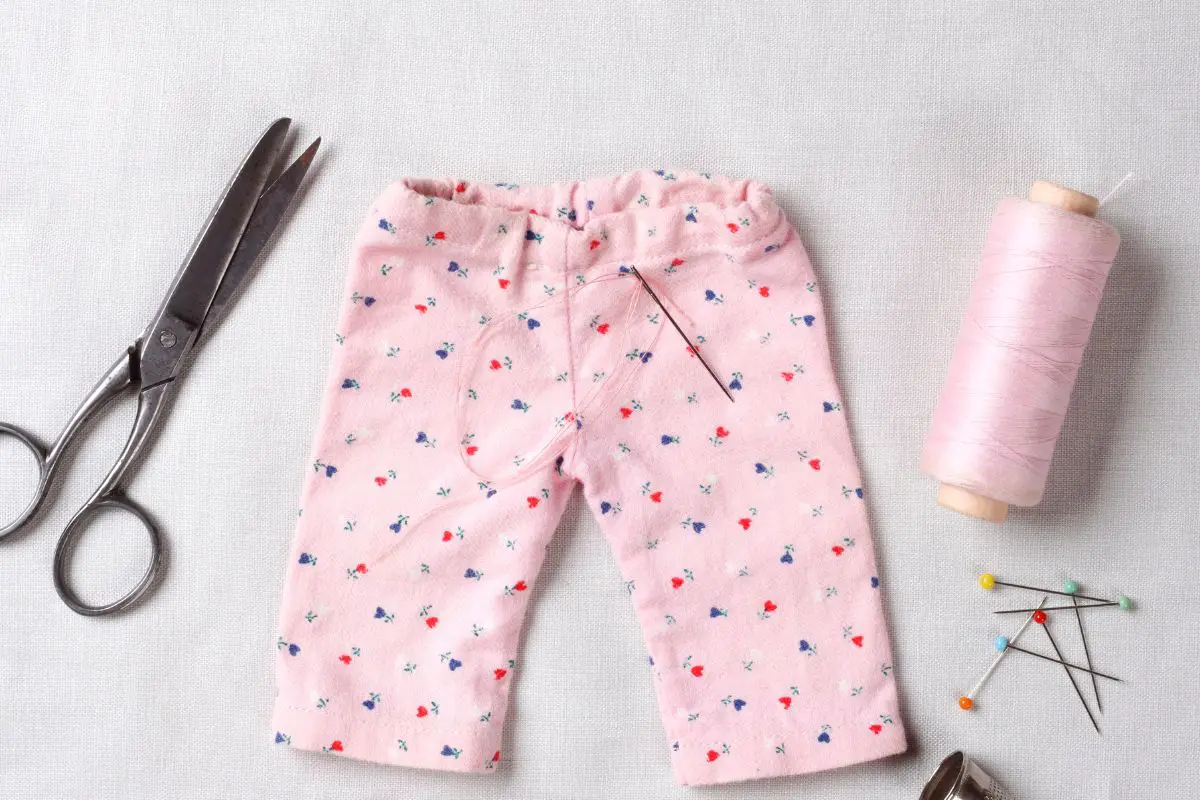
7. The Sewing
Before you put a single stitch into your fabric, make sure you check what the seam allowance is. Most commonly it is ¼ inch but it can vary between this value and up to ⅝ inch.
Try to keep your stitches as small as possible.
They not only look better, but they also make it easier to maneuver around corners and you will find that doll clothes have lots of corners! Begin by backstitching and end with a backstitch as well.
As you finish each seam, we recommend pressing them with an iron.
This will ensure your seams are neat and will make the rest of the stitching easier to do. You should also do this when your project is finished.
Final Thoughts
In this article, we looked at some basic hints and tips to help you get started with making doll clothes.
All of the information in this article can be applied to any pattern you choose for making doll clothes and we hope it will help you make your own doll clothes.